

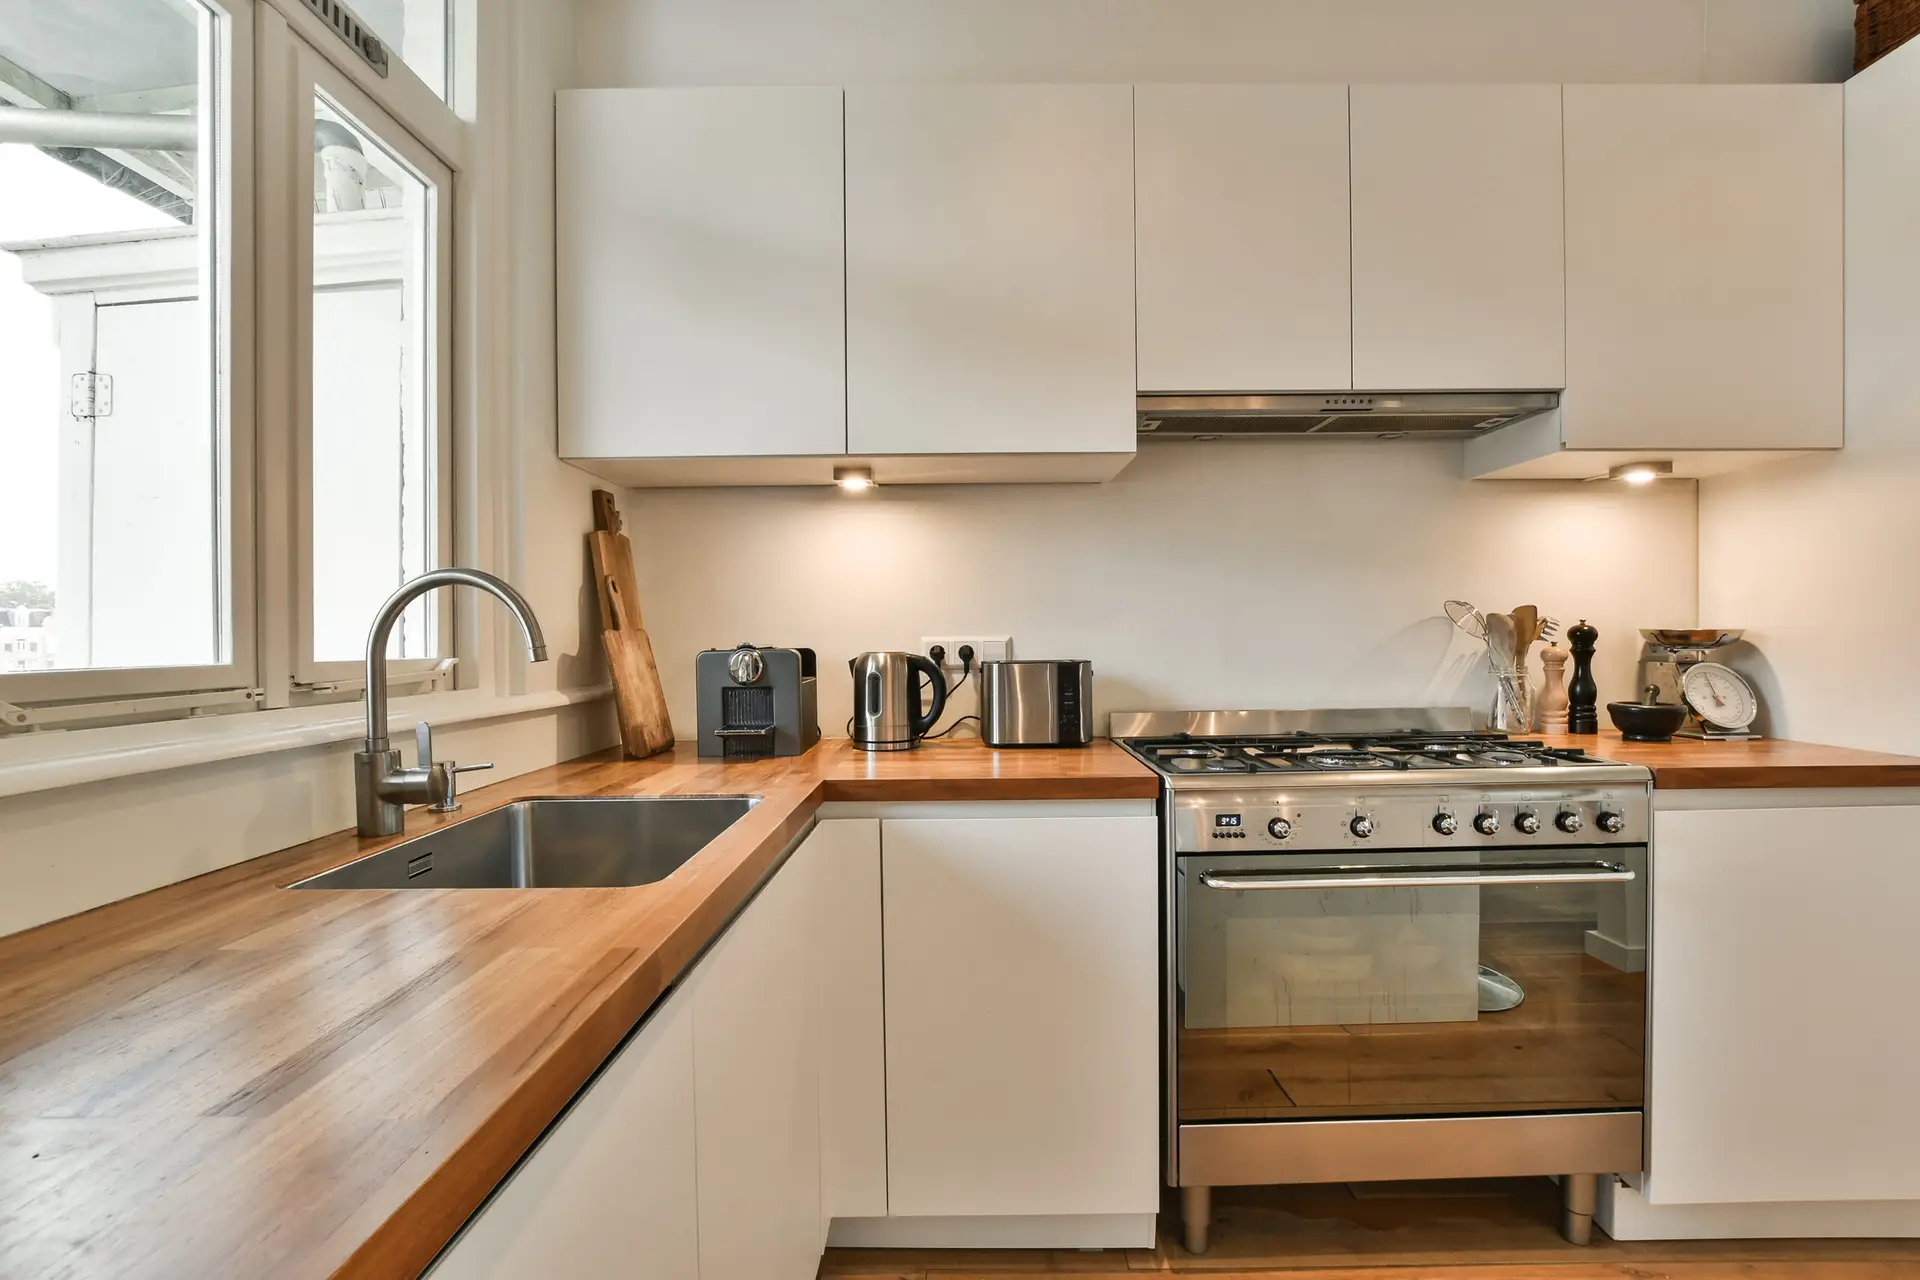
An outdated or unfashionable tile backsplash can instantly age a kitchen, yet replacing it can be a costly and time-consuming endeavor involving demolition, dust, and significant expense. This leads many homeowners to seek a more budget-friendly alternative: painting the existing tiles. The good news is, yes, you absolutely can paint a tile backsplash! With the right preparation, specialized products, and meticulous application, you can achieve a fresh, modern look that revitalizes your kitchen’s aesthetic. Delux General Services provides a comprehensive, step-by-step guide to painting your kitchen tile backsplash, exploring the feasibility, process, and essential maintenance tips for a durable and beautiful result.
Can you paint a tile backsplash?
Yes, you can paint a tile backsplash, and it’s a popular DIY solution for updating a kitchen on a budget. However, it’s crucial to understand that painting tiles is not the same as painting a wall. Kitchen backsplashes are high-traffic areas exposed to grease, food splatters, heat, and frequent cleaning. Therefore, simply applying regular wall paint will not suffice.
The success and durability of a painted tile backsplash depend entirely on:
- Meticulous preparation: Tiles are non-porous and often glossy, requiring special cleaning and sanding to create a surface for paint adhesion.
- Specialized products: You need high-adhesion primers, durable paints designed for tough surfaces, and a strong, protective topcoat.
- Realistic expectations: While painting provides a dramatic visual update, it will not replicate the texture or inherent durability of natural stone, ceramic, or porcelain tiles. It’s a painted surface and should be treated with care.
Pros and cons of painting tiles
Weighing the advantages against the disadvantages is essential before embarking on this project.
Pros of Painting Tiles:
- Cost-Effective: Significantly cheaper than tile replacement, saving on material and labor costs (demolition, new tiles, mortar, grout).
- Aesthetic Transformation: Instantly updates a dated, ugly, or mismatched backsplash, giving your kitchen a fresh, modern feel.
- Quick Makeover: The process is relatively faster than retiling, minimizing kitchen downtime.
- DIY Accessibility: While demanding, it’s a project many homeowners can successfully complete themselves.
- Color Versatility: Allows for endless color possibilities to match your cabinets, countertops, or overall kitchen decor.
- Temporary Solution: Ideal for rental properties or homes where a full kitchen renovation is planned for the distant future.
Cons of Painting Tiles:
- Durability Limitations: Even with the best products, painted tiles are not as durable as unpainted ceramic, porcelain, or natural stone. They are more susceptible to chipping, scratching, and wear, especially in high-impact areas or if not properly prepped/sealed.
- Requires Meticulous Preparation: The success hinges on thorough cleaning, degreasing, and sanding. Shortcuts will lead to peeling paint.
- Fumes: Many of the recommended primers, paints, and sealers are epoxy-based or have strong fumes, necessitating excellent ventilation.
- Curing Time: The painted surface requires significant time to fully cure (often 7-30 days) before it reaches maximum hardness and durability.
- Texture Remains: The original grout lines and tile texture will still be visible beneath the paint. If you want a perfectly flat, seamless look, painting is not the solution.
- Maintenance: Requires gentle cleaning. Abrasive cleaners or harsh scrubbing will damage the finish.
- Realistic Expectations: It’s a painted surface. While it can look very good, it will not feel or perform exactly like new unpainted tiles.
Check it out: Do you need a backsplash in the kitchen? Pros, cons & design tips
Step-by-step painting process
Following these steps meticulously is key to a long-lasting and professional-looking painted tile backsplash.
1. Cleaning and prepping tiles (the most crucial step!)
- Clear the Area: Remove everything from the countertop. Mask off surrounding cabinets, countertops, outlets, and switches with high-quality painter’s tape and plastic sheeting.
- Deep Clean: Tiles, especially in a kitchen, accumulate a layer of grease and grime. This must be completely removed for paint adhesion.
- Use a strong degreaser cleaner (e.g., TSP substitute, Krud Kutter, or a heavy-duty kitchen degreaser).
- Scrub the tiles and grout lines thoroughly with a stiff brush or scrubbing sponge.
- Rinse meticulously multiple times with clean water and a clean cloth to remove all cleaner residue. Any residue will prevent adhesion.
- Allow the backsplash to dry completely. Use fans to aid drying.
- Repair Damage: Fill any significant chips, cracks, or missing grout with epoxy filler or tile repair compound. Allow to dry and sand smooth.
- Sanding (Scuff Sanding):
- Purpose: To create a “tooth” (micro-scratches) on the slick, non-porous tile surface for the primer to grip onto. Do not skip this!
- Method: Lightly scuff-sand the entire tile and grout surface with 180-220 grit sandpaper or a sanding sponge. You’re not trying to remove the glaze, just dull the shine.
- Clean Dust: After sanding, thoroughly wipe down the entire surface with a tack cloth or a damp microfiber cloth to remove ALL sanding dust. Repeat until no dust remains. Allow to dry completely after wiping.
2. Choosing the right primer and paint
This is where specialized products are non-negotiable.
- Primer (High-Adhesion Bonding Primer):
- Purpose: This is the bridge between your slick tiles and the paint. It’s the most critical product.
- Types: Look for epoxy-based primers (best), shellac-based primers (e.g., Zinsser B-I-N), or specialized high-adhesion water-based primers (e.g., Kilz Adhesion, Sherwin-Williams Extreme Bond Primer). These are specifically designed for glossy, non-porous surfaces like tile.
- Application: Stir thoroughly. Apply thin, even coats with a high-quality brush for grout lines and edges, and a small foam roller for flat tile surfaces. Two thin coats are better than one thick coat. Allow to dry completely (check manufacturer’s recoat time). Lightly sand with 220-grit between coats if needed for smoothness, and remove dust.
- Paint (Extremely Durable, Hard-Wearing Enamel):
- Countertop/Tile Refinishing Kits: These all-in-one kits are the easiest option for DIYers as they contain compatible primer, paint, and topcoat. They are typically 2-part epoxy or acrylic-urethane systems. (e.g., Rust-Oleum Tile Transformations, Suvinil Epóxi base água).
- 2-Part Epoxy Paint (e.g., Suvinil Epóxi, Coral Epóxi): If not using a kit, a standalone 2-part epoxy paint offers incredible durability, chemical resistance, and a hard, non-porous surface. They require precise mixing and have a limited pot life. These are highly recommended for kitchen backsplashes.
- High-Quality Acrylic-Urethane Enamel: For a slightly less durable but still robust option, a top-tier acrylic-urethane enamel (often used for cabinets and floors) can be used, but must be paired with an exceptionally strong bonding primer and a very durable topcoat.
- Finish (Sheen): Semi-gloss or high-gloss are recommended for durability and ease of cleaning in a kitchen environment. Matte or satin finishes are harder to clean and less durable on backsplashes.
- Application: Stir thoroughly. Use an angled brush for grout lines and edges, and a small foam roller for flat tile surfaces. Apply two or three thin, even coats. Do not try to achieve full coverage in one coat. Allow each coat to dry completely per manufacturer instructions. Lightly sand (220-grit) between coats for smoothness and adhesion, removing all dust.
3. Applying sealer (topcoat)
- Purpose: To provide an additional layer of protection against scratches, heat, moisture, and chemical exposure, and to achieve the desired sheen.
- Types:
- If using an epoxy paint system (kit or standalone), use the corresponding epoxy clear coat for maximum durability and chemical resistance. This is generally the most durable option.
- If using a high-quality acrylic-urethane enamel, you can apply an extra-durable, non-yellowing, water-based polyurethane designed for floors or high-traffic areas.
- Application: Once the final paint coat is fully dry (check manufacturer instructions, usually 24-48 hours), apply thin, even coats of sealer. Most sealers require 2-3 coats for optimal protection. Allow each coat to dry thoroughly between applications.
- Remove Tape: While the final sealer coat is still slightly wet (but not tacky), carefully and slowly pull off the painter’s tape at a 45-degree angle.
How long it lasts & maintenance tips
Even with specialized products, painted tile backsplashes require diligent care to extend their lifespan.
- Curing Time (Crucial!): The paint needs to fully cure and harden. This can take anywhere from 7 to 30 days depending on the product and environmental conditions. Avoid heavy use, water, or cleaning the surface during this time. This is vital for long-term durability.
- Gentle Cleaning: Clean painted backsplashes with mild dish soap and warm water, using a soft cloth or sponge.
- AVOID: Abrasive cleaners, scouring pads, harsh chemicals (bleach, ammonia, acidic cleaners), abrasive scrubbing, or anything that could scratch the surface.
- Wipe Spills Immediately: Promptly wipe up all food splatters, grease, or water to prevent staining or damage.
- Protect from Heat: While backsplashes generally don’t get as hot as countertops, avoid directing extreme heat onto them (e.g., from certain small appliances without adequate ventilation).
- Avoid Impacts: Be careful not to hit the backsplash with pots, pans, or utensils, as this can chip the paint.
- Re-sealing (Periodic): Depending on use and the type of sealer, you might consider re-applying a clear topcoat every few years to refresh durability and shine.
Painting a tile backsplash is a rewarding DIY project that can dramatically refresh your kitchen’s look for a fraction of the cost of replacement. By committing to thorough preparation, using the right specialized products, and practicing diligent maintenance, you can enjoy a beautiful, updated kitchen for years to come.
Ready to transform your kitchen with a stunning new backsplash without the high cost of renovation? While this guide empowers DIYers, for a truly professional, durable, and seamless finish, trust the experts. Delux General Services specializes in high-quality kitchen transformations, including expert tile painting with the right products and techniques for lasting results. Contact us today for a free consultation and estimate!