Paint Bubbling and Peeling Fix Guide

Professional solutions for paint bubbling and peeling problems from Massachusetts painting experts with 20+ years of experience.

Understanding Paint Bubbling and Peeling

Paint bubbling and peeling are among the most frustrating problems homeowners face after a painting project. These issues not only ruin the aesthetic appeal of your walls but can also indicate underlying problems that need immediate attention. With over 2,000 successful painting projects completed across Massachusetts, our team at Deluxe General Services has encountered and resolved every type of paint failure imaginable.

Paint bubbling occurs when the paint film loses adhesion to the surface underneath, creating raised areas that look like blisters. Peeling happens when these bubbles eventually burst or when paint simply separates from the surface in sheets or flakes. Both problems share similar root causes and require systematic approaches to fix properly.

The key to successful repair isn't just removing the damaged paint—it's identifying and addressing the underlying cause to prevent recurrence. Whether you're dealing with moisture issues, poor surface preparation, or incompatible paint systems, understanding the root cause will save you time, money, and frustration in the long run.
Extensive Paint Damage? Get Professional Help!

Large areas of bubbling or peeling may indicate serious moisture or structural issues. Our experienced team can assess and fix complex paint problems professionally.

Get Expert Assessment

Common Causes of Paint Bubbling and Peeling

Moisture Problems

Moisture is the number one enemy of paint adhesion. When water gets behind the paint film, it breaks the bond between paint and surface, causing bubbles to form. This moisture can come from several sources: high humidity, leaks, condensation, or painting over damp surfaces. In Massachusetts, our humid summers and wet springs create perfect conditions for moisture-related paint failures.

Poor Surface Preparation

Rushing through surface preparation is a common mistake that leads to paint failure. Painting over dirty, greasy, or glossy surfaces prevents proper adhesion. Old paint that's already failing, dust, cobwebs, or residue from cleaning products can all interfere with the new paint's ability to bond properly.

Incompatible Paint Systems

Not all paints are compatible with each other. Applying latex paint over oil-based paint without proper preparation, using interior paint outdoors, or applying paint over certain primers can cause adhesion problems. Temperature and humidity during application also play crucial roles in paint performance.

Application Issues

Applying paint too thickly, painting in direct sunlight, or working in extreme temperatures can cause bubbling. Paint needs proper conditions to cure correctly, and rushing the process often leads to problems down the road.

Step-by-Step Repair Process

1

Assess the Damage

Before starting any repair work, carefully examine the affected area to determine the extent of the problem. Look for patterns in the damage—bubbling near windows might indicate moisture issues, while random bubbling could suggest surface preparation problems. Check if the bubbling goes down to the substrate or just affects the top coat. This assessment will guide your repair strategy and help prevent future problems.

⚠️ Safety First

If your home was built before 1978, the existing paint may contain lead. Test for lead before disturbing any paint, and follow EPA guidelines for safe removal if lead is present.

2

Remove Damaged Paint

Using a paint scraper, carefully remove all bubbling and peeling paint. Work systematically, scraping away loose material until you reach paint that's firmly adhered to the surface. Don't try to save partially attached paint—it will likely fail again. For stubborn areas, lightly sand with 120-grit sandpaper to ensure complete removal.

3

Identify and Address Root Causes

This is the most critical step that many DIYers skip. If moisture caused the problem, find and fix the source before proceeding. Check for leaks, improve ventilation, or address humidity issues. If poor preparation was the culprit, ensure the surface is completely clean and properly prepared this time.

4

Prepare the Surface

Sand the edges of the remaining paint to create a smooth transition. Clean the entire area with a degreasing cleaner and allow it to dry completely. If you're working with bare wood or metal, apply an appropriate primer. For previously painted surfaces, use a high-quality bonding primer to ensure proper adhesion.

5

Prime and Paint

Apply primer in thin, even coats, allowing proper drying time between coats. Once the primer is fully cured, apply your finish paint using the same technique. Don't rush this process—proper drying time is essential for long-lasting results. Apply multiple thin coats rather than one thick coat.

6

Monitor and Maintain

Keep an eye on the repaired area for the first few months, especially during seasonal changes. Address any new issues immediately before they become major problems. Regular maintenance and prompt attention to small issues will prevent large-scale paint failures in the future.

Professional Tools Make the Difference

Our team uses commercial-grade surface preparation equipment and premium primers that aren't available to homeowners. For challenging repairs, professional expertise can save time and ensure lasting results.

Contact Our Experts

Prevention Strategies

Proper Surface Preparation

The foundation of any successful paint job is thorough surface preparation. This means cleaning all surfaces with appropriate cleaners, sanding glossy areas to provide tooth for the new paint, and filling any holes or cracks. Don't skip the primer—it's your insurance policy against paint failure.

Moisture Control

Control humidity levels in your home, especially in bathrooms and kitchens. Use exhaust fans, fix leaks promptly, and ensure proper ventilation. In Massachusetts, where humidity can be high, consider using moisture-resistant paints in problem areas.

Quality Materials

Invest in high-quality paints and primers appropriate for your specific application. While premium products cost more upfront, they provide better adhesion, durability, and coverage, ultimately saving money by lasting longer and requiring fewer touch-ups.

Proper Application Conditions

Paint when conditions are right—moderate temperatures, low humidity, and no direct sunlight on the work area. Follow manufacturer recommendations for temperature and humidity ranges, and allow proper drying time between coats.

Our Professional Projects

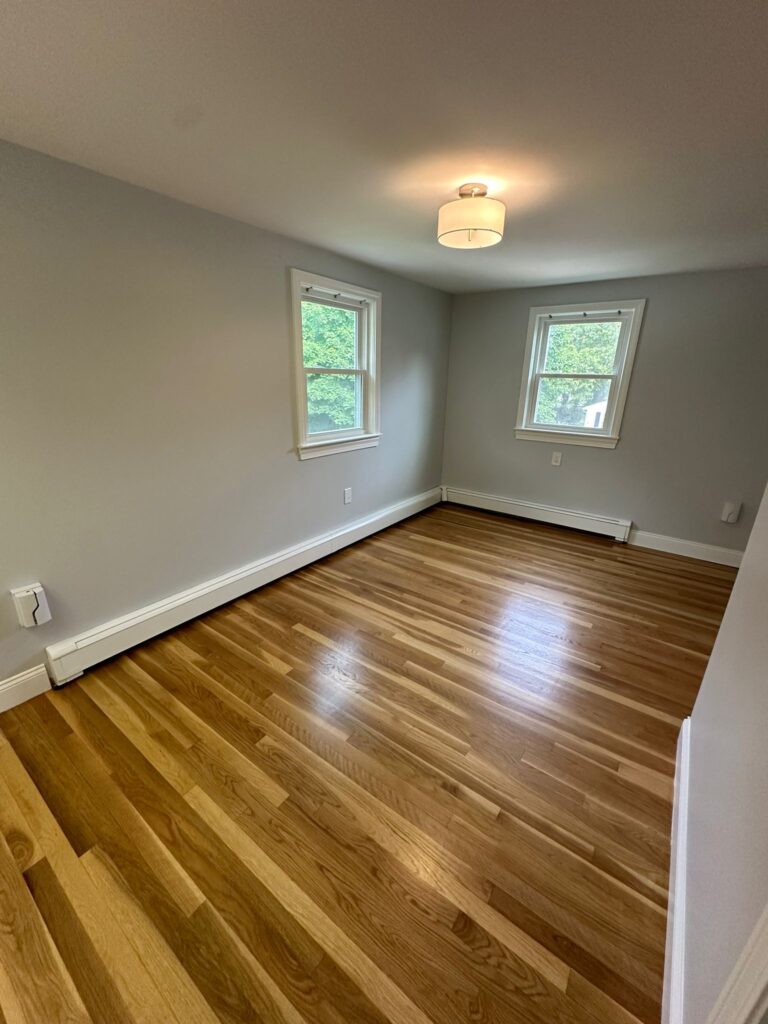
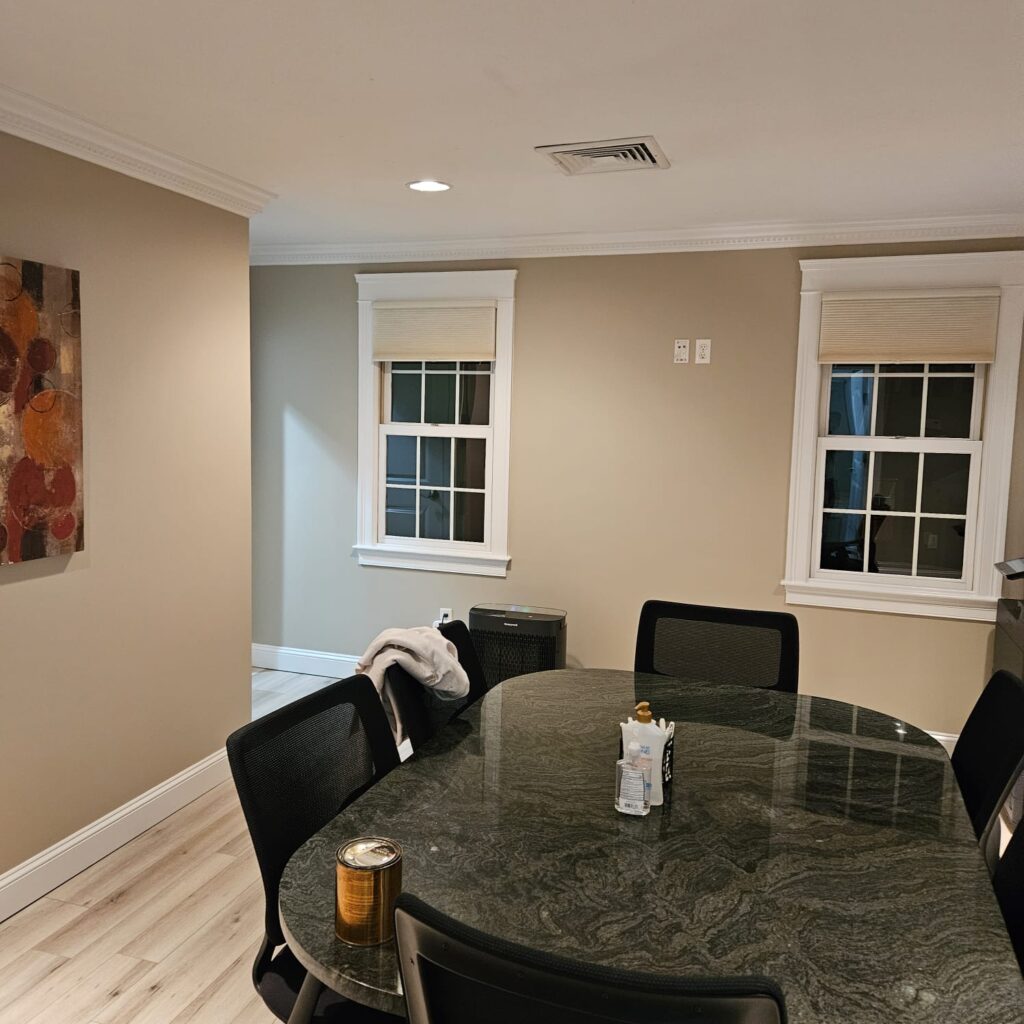
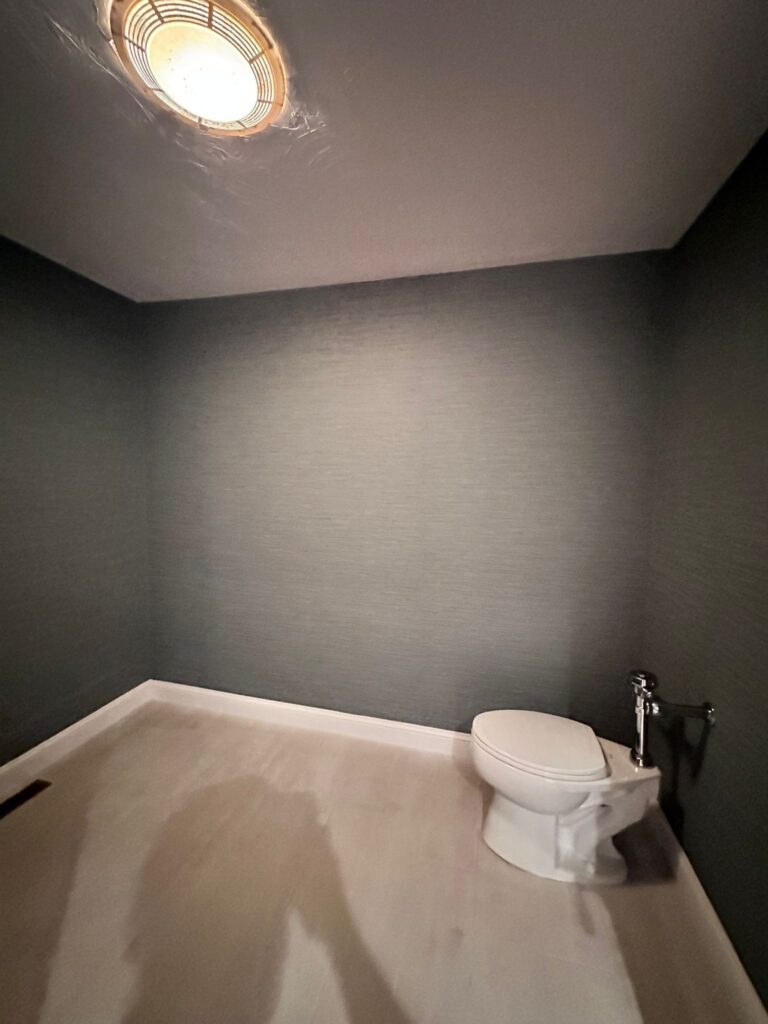
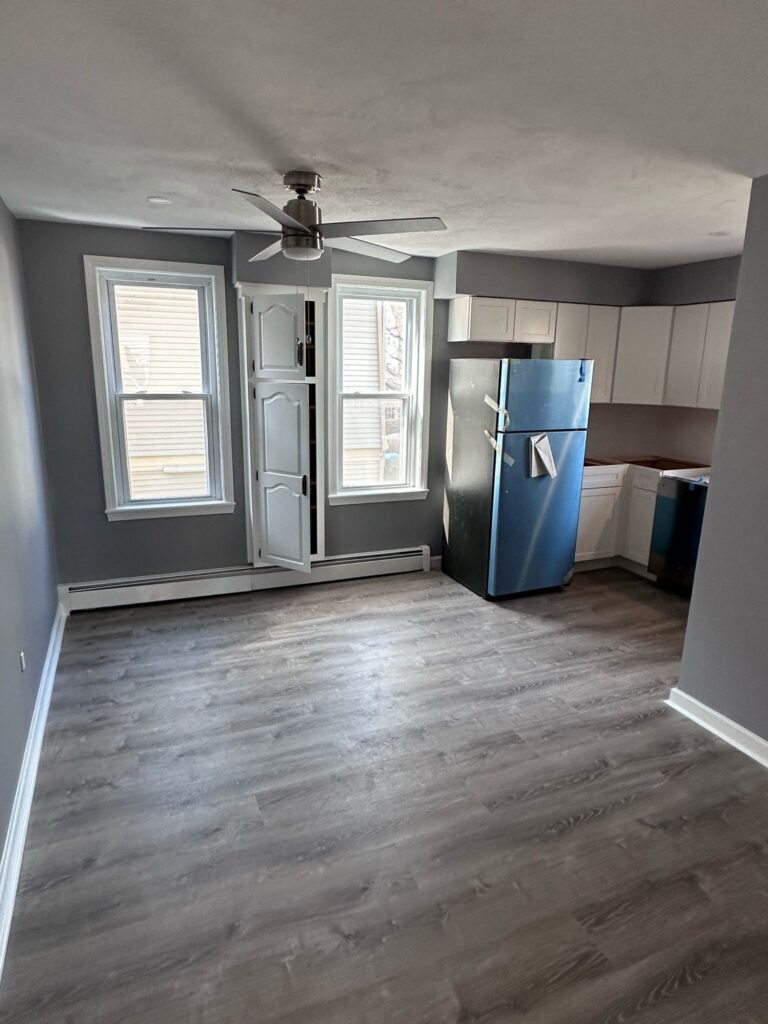
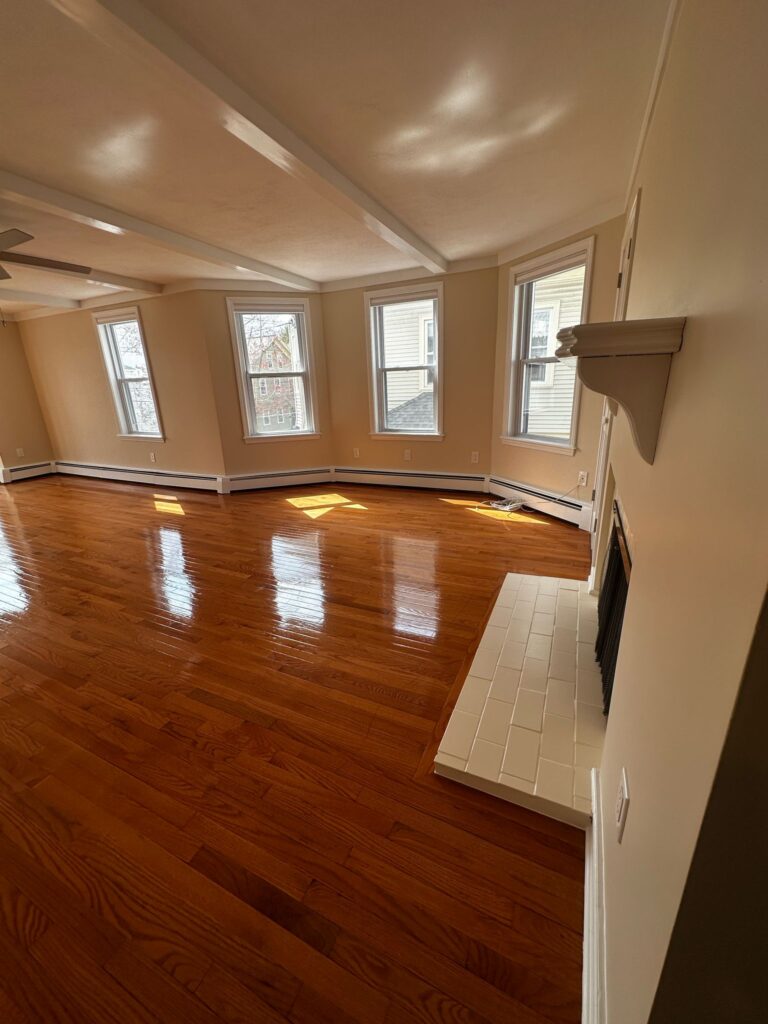
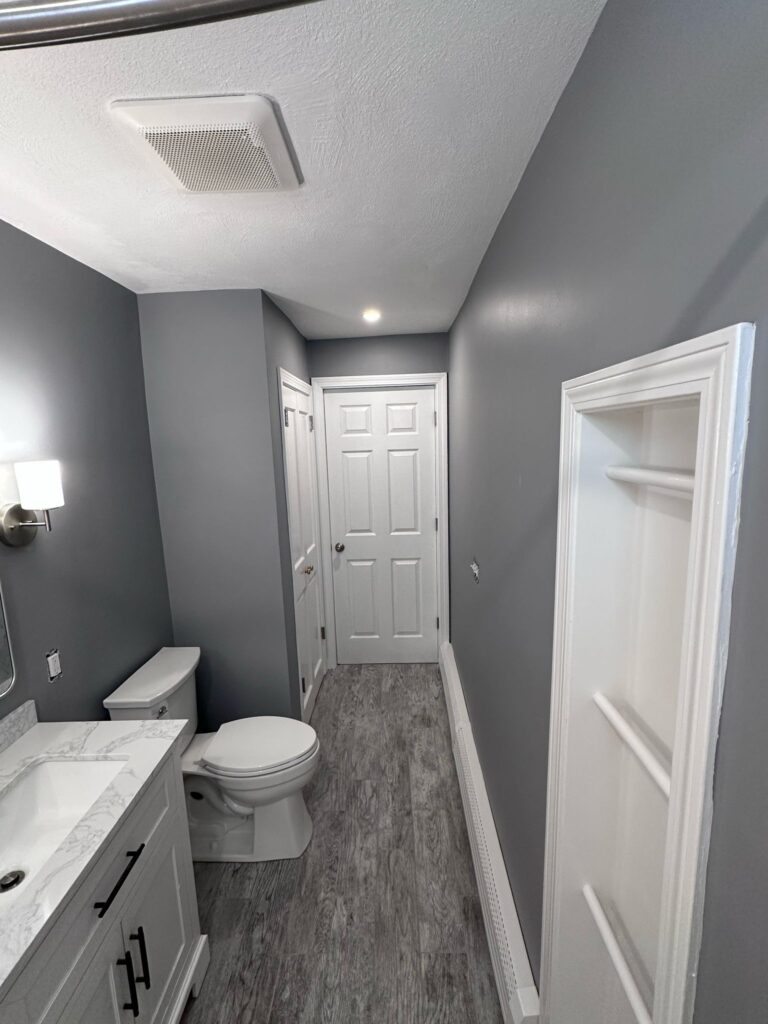
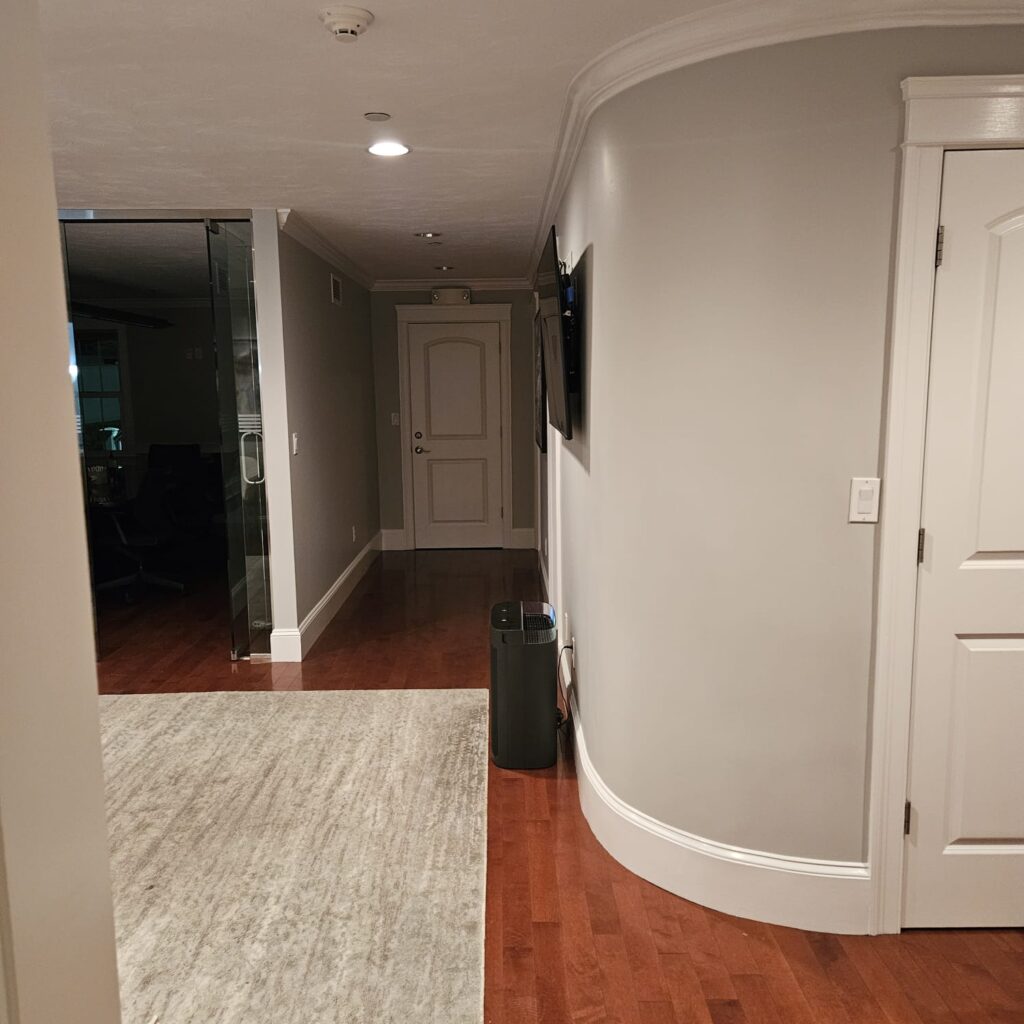
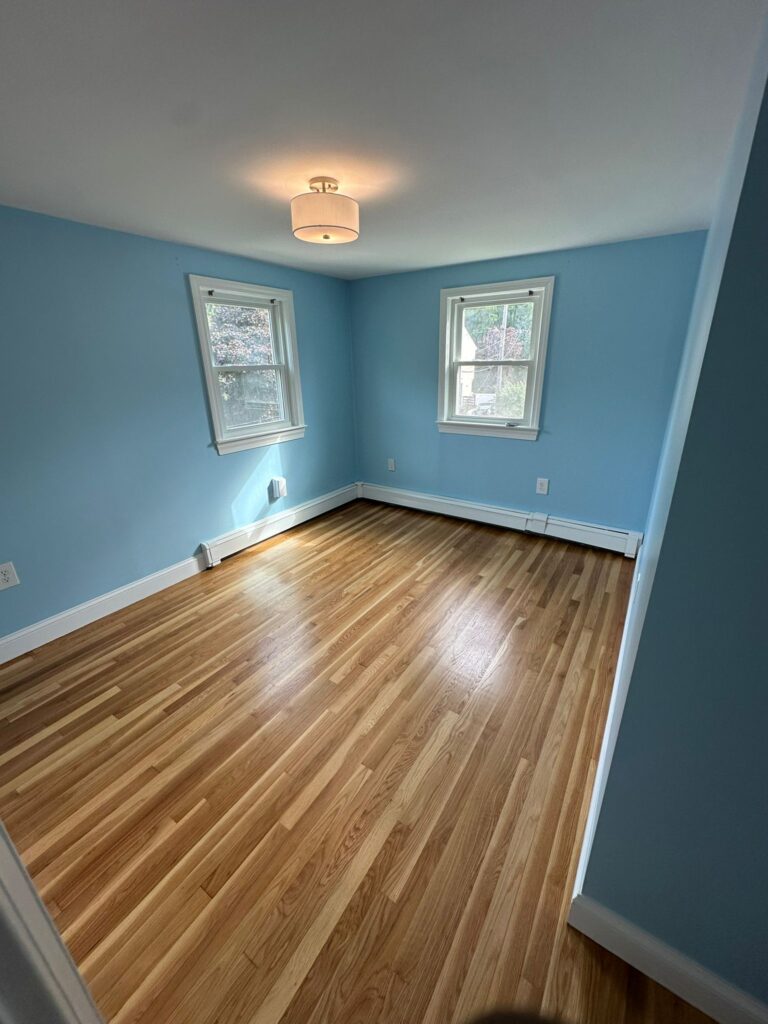
See the quality and craftsmanship that sets Deluxe General Services apart. With 20+ years of experience and 2,000+ completed projects across Massachusetts.

Recurring Paint Problems?

If you've tried fixing paint bubbling and peeling multiple times without success, there may be underlying structural or moisture issues that require professional diagnosis and treatment.

Get Professional Diagnosis

Need Professional Paint Repair Help?

With 20+ years of experience and 2,000+ successful projects, Deluxe General Services has the expertise to handle any paint-related challenge. Get your free consultation today!