Eliminating Paint Brush Marks Guide

Professional techniques for achieving smooth, brush-mark-free finishes from Massachusetts painting experts with 20+ years of experience.

Achieving Professional Smooth Finishes

Brush marks are one of the most common complaints about DIY paint jobs, and they can make even high-quality paint look amateurish. These visible streaks and ridges occur when paint doesn't level properly after application, leaving behind the texture of the brush bristles. With over 2,000 painting projects completed across Massachusetts, our team at Deluxe General Services has mastered the techniques needed to eliminate brush marks and achieve factory-smooth finishes.

The key to eliminating brush marks isn't just about technique—it's about understanding how paint behaves, choosing the right tools, and creating optimal conditions for paint to self-level. Modern paints are formulated to flow and level after application, but this process can be disrupted by poor technique, wrong tools, or adverse conditions.

Professional painters know that preventing brush marks is much easier than trying to fix them after the paint has dried. Once brush marks are set in dried paint, the only solution is usually sanding and repainting. That's why understanding proper application techniques is crucial for anyone serious about achieving professional results.
Struggling with Brush Marks?

Achieving a perfectly smooth finish requires the right tools, techniques, and experience. Our professional team can deliver the flawless results you're looking for.

Get Professional Results

Why Brush Marks Occur

Poor Brush Quality

Cheap brushes are the number one cause of brush marks. Low-quality brushes shed bristles, don't hold paint properly, and create uneven application patterns. The bristles may be too stiff, too soft, or poorly shaped, all of which contribute to visible brush marks. Investing in high-quality brushes is essential for professional results.

Wrong Brush Type

Different paints require different brush types. Natural bristle brushes work best with oil-based paints, while synthetic bristles are designed for water-based paints. Using the wrong brush type can cause the paint to drag, creating visible streaks and marks.

Improper Technique

Applying too much pressure, using short choppy strokes, or failing to maintain a wet edge all contribute to brush marks. Many DIYers also make the mistake of overworking the paint, going back over areas that have already started to set up.

Paint Consistency Issues

Paint that's too thick won't level properly, while paint that's too thin may run and create uneven coverage. Temperature and humidity also affect paint consistency and flow characteristics. Cold paint is thicker and harder to brush smoothly, while hot conditions can cause paint to set up too quickly.

Surface Preparation Problems

Rough or improperly prepared surfaces can cause brushes to drag and skip, creating uneven application. Dust, debris, or residue from previous coatings can also interfere with smooth paint application.

Professional Brush Mark Prevention

1

Choose the Right Brush

Invest in high-quality brushes designed for your specific paint type. For water-based paints, use synthetic bristle brushes with flagged tips. For oil-based paints, natural bristle brushes work best. The brush width should match your project—wider brushes for large areas, angled brushes for trim and detail work.

🎨 Brush Selection Tips

A good brush should feel substantial in your hand, have bristles that spring back when bent, and show minimal shedding when new. Expect to pay $15-30 for a quality brush that will last for years with proper care.

2

Prepare Your Paint

Ensure your paint is at the right consistency and temperature. Cold paint should be warmed to room temperature before use. If the paint seems thick, add the appropriate thinner or conditioner according to manufacturer instructions. Stir thoroughly but avoid creating air bubbles.

3

Use Proper Loading Technique

Don't overload your brush with paint. Dip the brush about one-third of the way into the paint, then gently tap against the side of the container to remove excess. The brush should hold enough paint to cover a reasonable area without dripping.

4

Apply with Long, Smooth Strokes

Use long, continuous strokes in one direction, applying gentle, even pressure. Start each stroke in an unpainted area and brush toward the wet edge. Avoid short, choppy strokes or excessive back-and-forth motion that can create texture.

5

Maintain a Wet Edge

Always work into wet paint to avoid lap marks and brush marks. Plan your work so you can complete entire sections without stopping. If you must take a break, stop at a natural break point like a corner or edge.

6

Light Final Pass

After applying paint to a section, make one final light pass with an almost-dry brush to smooth out any remaining marks. Use very light pressure and long strokes, barely touching the surface. This technique, called "laying off," helps the paint level for a smooth finish.

Professional Tools and Techniques

Our team uses premium brushes, paint conditioners, and proven application techniques that ensure smooth, professional finishes every time. Experience the difference professional tools make.

See Professional Results

Advanced Smooth Finish Techniques

Paint Conditioners and Additives

Paint conditioners like Floetrol for latex paints or Penetrol for oil-based paints can significantly improve flow and leveling. These additives extend the working time of paint, allowing it to self-level and eliminate brush marks. Use according to manufacturer instructions—typically 8-16 ounces per gallon.

Brush and Roll Technique

For large areas, consider using a combination technique: apply paint with a roller for coverage, then immediately brush it out with long, smooth strokes. This gives you the speed of rolling with the smooth finish of brushing. Use a high-quality roller with the appropriate nap for your surface.

Environmental Control

Control temperature and humidity for optimal paint performance. Ideal conditions are 70-75°F with 40-50% humidity. Avoid painting in direct sunlight, high winds, or extreme temperatures. Use fans to improve air circulation but don't blow directly on wet paint.

Surface Preparation Excellence

Smooth finishes start with smooth surfaces. Sand any imperfections, fill holes and cracks, and ensure the surface is completely clean and dust-free. Use tack cloths to remove all dust before painting. Prime if necessary to ensure uniform absorption.

Fixing Existing Brush Marks

Assessment and Planning

Before attempting to fix brush marks, assess their severity. Light brush marks might be fixable with careful sanding and touch-up, while heavy marks may require complete repainting of the affected area. Consider the age of the paint—fresh paint is easier to work with than fully cured paint.

Sanding Technique

For dried brush marks, light sanding with 220-grit sandpaper can level the surface. Sand gently in the direction of the brush marks, not across them. Use a sanding block to maintain even pressure and avoid creating low spots. Clean thoroughly after sanding.

Repainting Strategy

When repainting over brush marks, use a high-quality brush and proper technique. Consider using a paint conditioner to improve flow. Apply thin coats rather than trying to cover in one heavy coat. Multiple thin coats will give better results than one thick coat.

Our Professional Projects

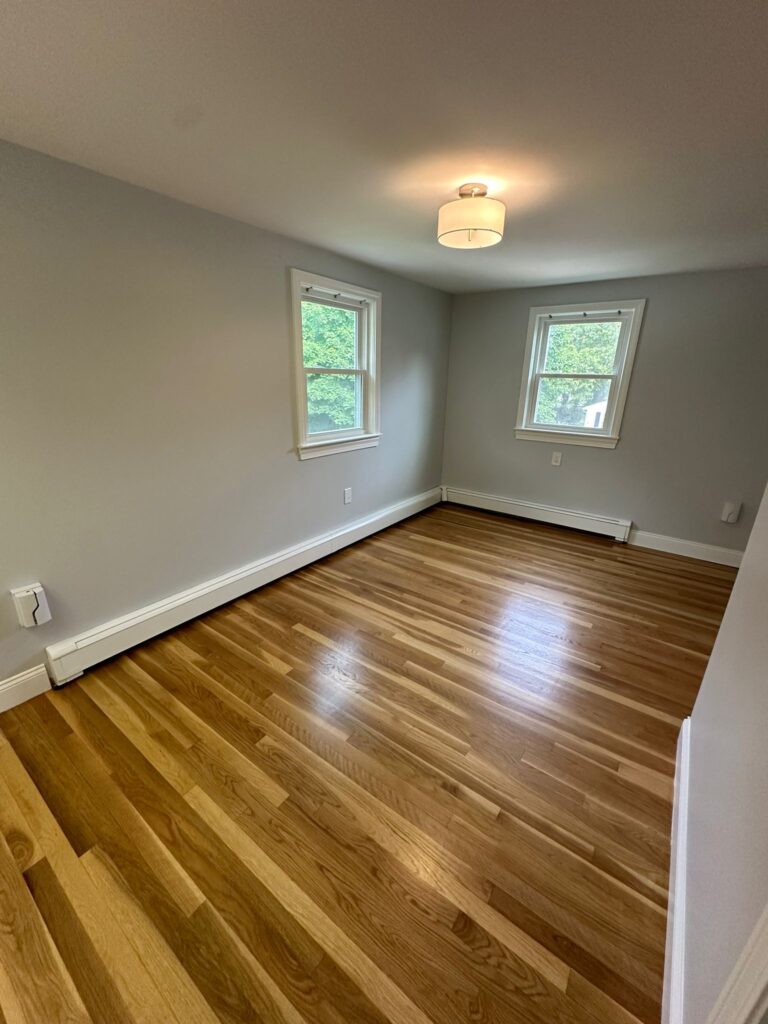
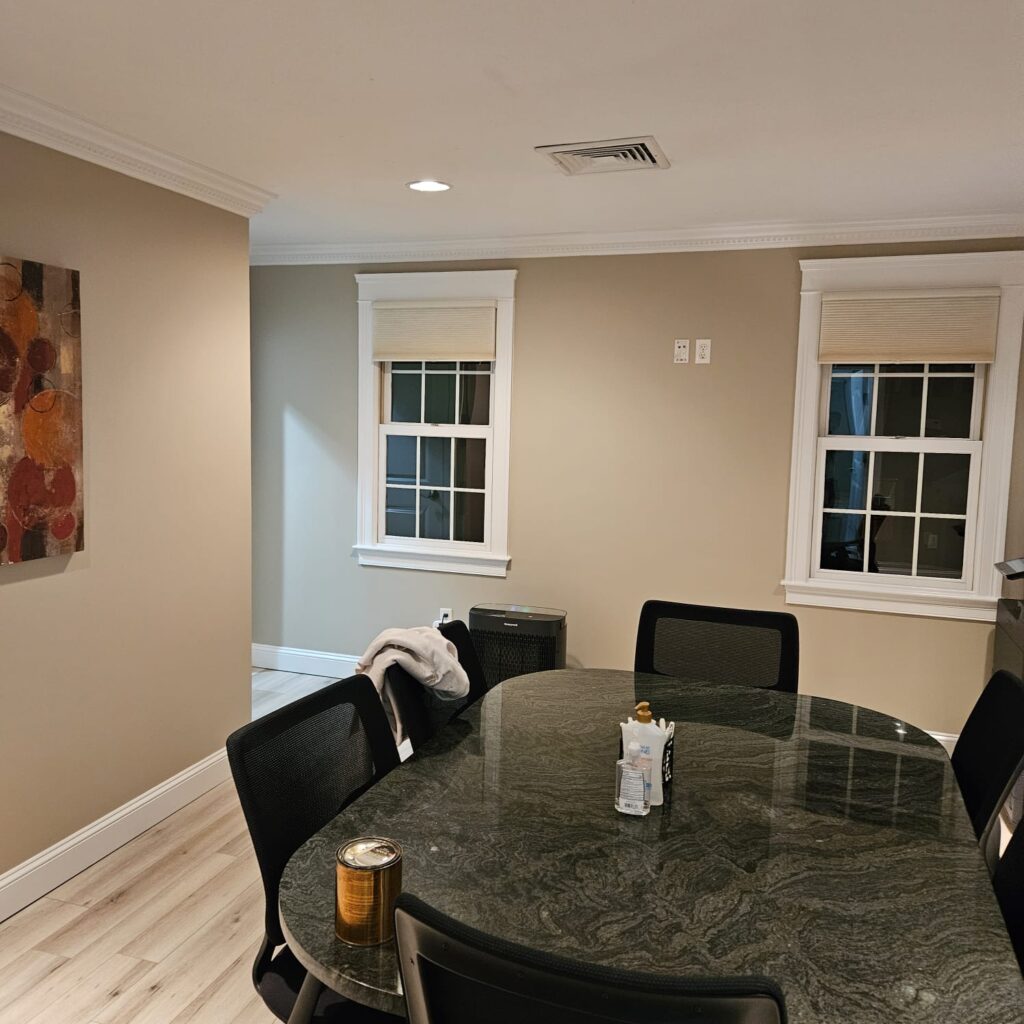
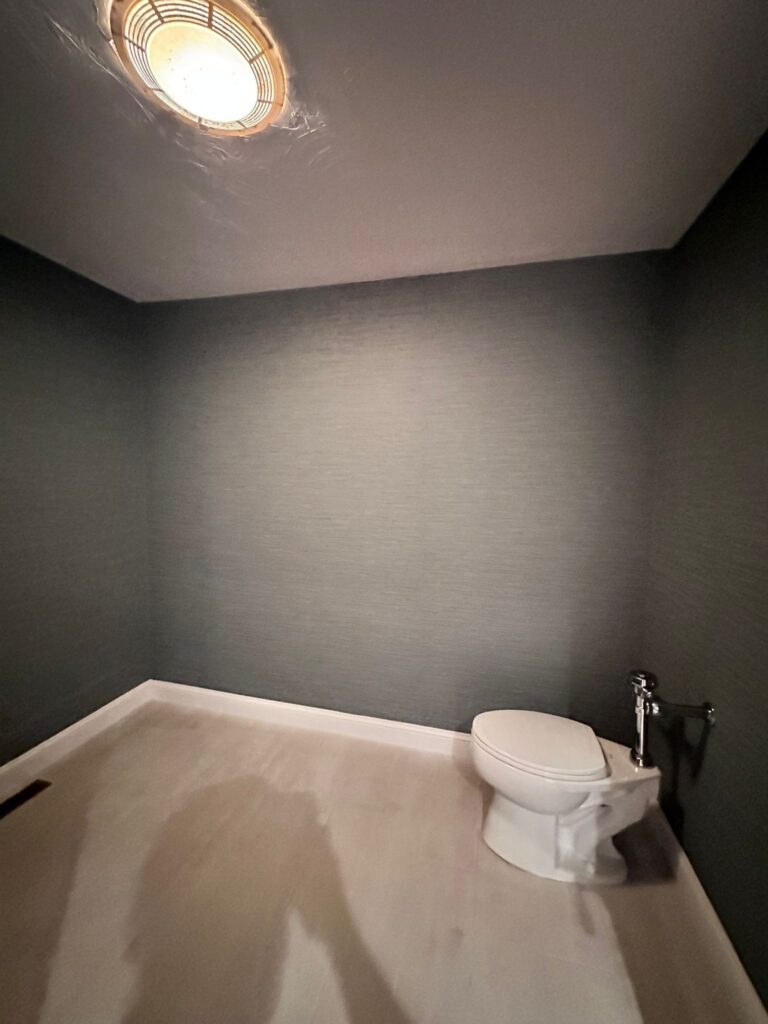
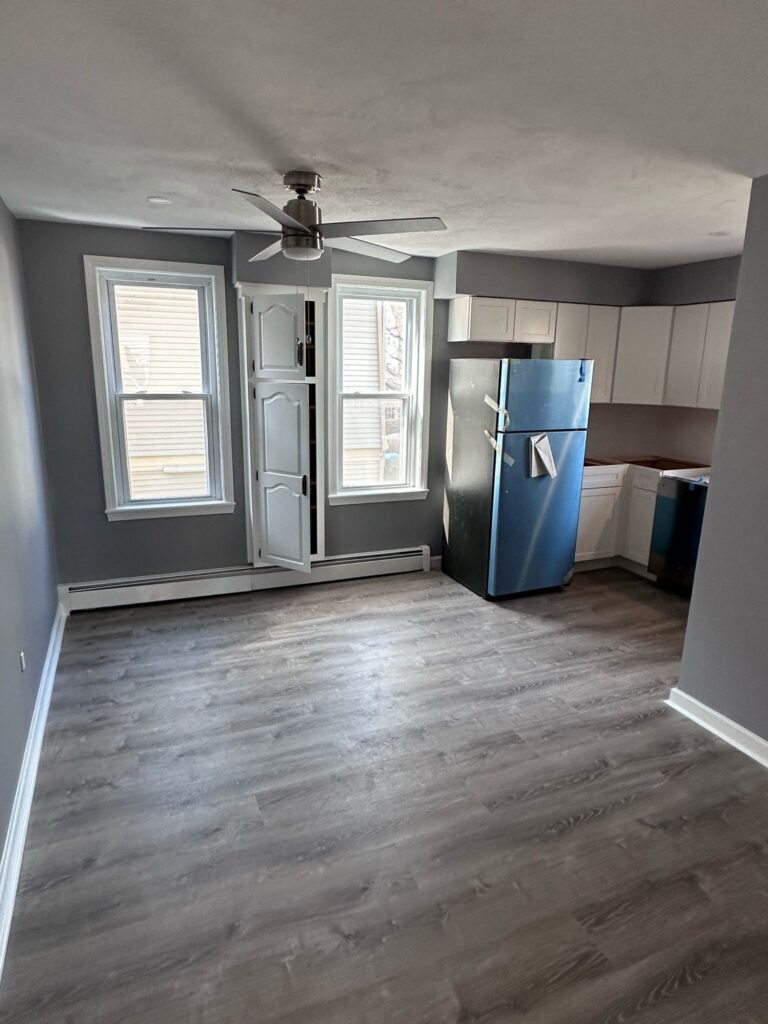
See the quality and craftsmanship that sets Deluxe General Services apart. With 20+ years of experience and 2,000+ completed projects across Massachusetts.

Want Factory-Smooth Finishes?

Achieving truly smooth, brush-mark-free finishes requires professional expertise, premium tools, and years of experience. Let us deliver the flawless results you deserve.

Get Smooth Professional Finishes

Need Professional Smooth Finish Help?

With 20+ years of experience and 2,000+ successful projects, Deluxe General Services has the expertise to deliver flawless, brush-mark-free finishes. Get your free consultation today!