

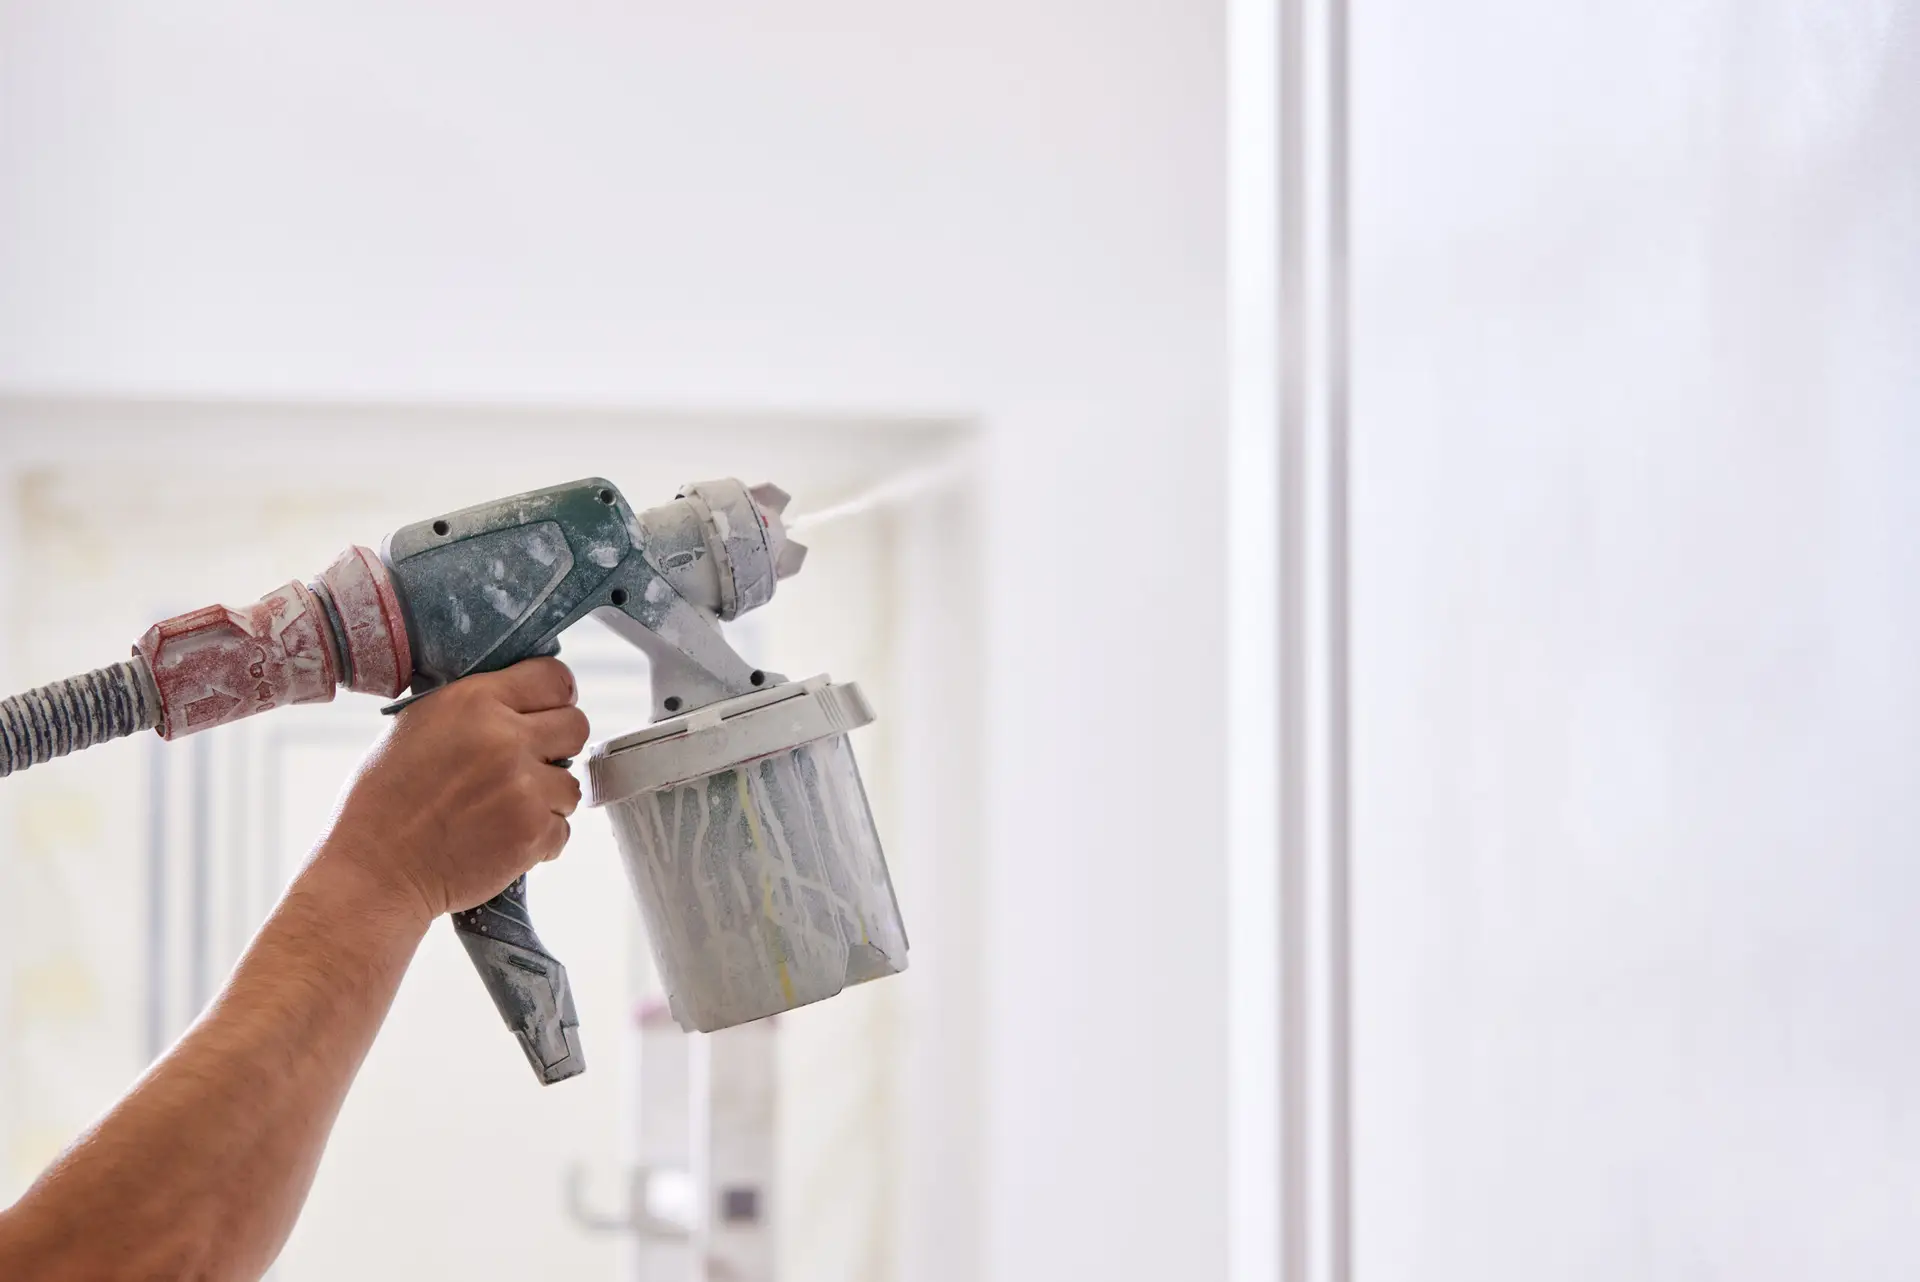
While a paint sprayer provides speed and a superior finish, achieving that quality look in an interior setting is heavily dependent on meticulous preparation and flawless technique. Here is the professional guide to spraying walls and ceilings.
Preparation Is Key: What to Do Before Spraying
In interior spraying, preparation is not just important—it is the majority of the work. Proper masking dictates whether your project is a success or a costly clean-up job.
Clear Room, Cover Furniture/Flooring, Taping & Masking
- Clear the Space: Remove all furniture, curtains, blinds, light fixtures, and wall plates (switch and outlet covers). If large furniture cannot be removed, move it to the center of the room and cover it entirely with thick plastic sheeting, taped down to create an airtight cocoon.
- Flooring: Cover all flooring with heavy-duty builder’s paper or specialized masking plastic. Do not rely on thin drop cloths, as overspray can atomize and drift considerable distances. Tape all seams securely.
- Taping & Masking (The Critical Step): Use high-quality painter’s tape and plastic sheeting to meticulously cover every surface you do not want painted:
- Trim and Baseboards: Apply tape and use a masking dispenser to secure plastic sheeting several feet up the wall or onto the floor, creating a barrier against overspray bounce-back.
- Windows and Doors: Cover the glass and frames completely with sheeting.
- Ceiling/Wall Junction (if colors differ): Apply painter’s tape precisely along the ceiling line on the walls (or vice-versa).
Sanding, Cleaning Walls, and Patching Holes
- Patching: Fill all nail holes, cracks, and surface imperfections with spackle or joint compound. Allow it to dry fully.
- Sanding: Sand the patched areas smooth and lightly scuff the entire wall surface with fine-grit sandpaper ($180-220$ grit) to ensure good adhesion, especially if the previous paint was glossy.
- Cleaning: Wipe down the sanded surfaces with a damp cloth or a tack cloth to remove all dust. The paint must adhere to a clean, non-dusty surface.
- Priming: If you patched aggressively or are making a significant color change, apply a spot primer or a full coat of primer. Primer helps the color coat look uniform.
Spraying Technique for Walls & Ceilings
Consistency in movement and distance is the secret to a smooth, drip-free application.
Spraying the Ceiling First (If Same Color) or Walls First (If Different)
Rule of Thumb: Always spray the ceiling before the walls.
- Ceiling First: If the ceiling paint and wall paint are different, spray the ceiling first. This allows any ceiling paint overspray to fall onto the unpainted walls, which will be covered later.
- Wall/Ceiling Color Change: If the walls and ceiling will be different colors, mask the wall edges thoroughly while spraying the ceiling. Once the ceiling is dry, remove the tape and mask the ceiling perimeter before spraying the walls.
Holding Nozzle Distance, Overlapping Passes
- Distance: Maintain the nozzle distance consistently between $12$ and $18$ inches from the surface. Practice this distance before starting. Too close causes pooling and runs; too far causes excessive overspray and a dry, rough finish (pebbly texture).
- Overlapping Passes: Overlap each spray pass by about $50$ percent. This means the center of your current spray fan should cover the edge of the previous pass. This ensures two thin layers are applied, preventing light spots and ensuring color uniformity.
- Consistency: The key to an even finish is moving your arm at a constant speed. Practice dry passes without paint to lock in your movement pattern.
Direction of Spray Passes and Avoiding Drips
- Vertical Passes: The most common and recommended direction for walls is vertical (up and down) for the first coat, starting from a corner.
- Directional Cross-Hatching (Second Coat): For the second coat (if needed), consider changing the direction to horizontal (side to side). This technique, called cross-hatching, ensures maximum, even coverage and minimizes inconsistencies.
- Trigger Control: Only engage the trigger after your arm is in motion and release the trigger before your arm stops moving at the end of the pass. This prevents “fat ends” or concentrated buildup that leads to drips and runs.
Post-Spray: Touch-up, Cleanup, and Care
The job isn’t done until the sprayer is clean and the masking is removed correctly.
Letting Paint Cure, Removing Masking Tape Properly
- Removal Time: Remove the painter’s tape and masking plastic when the paint is still slightly damp or wet (usually within 30 minutes to an hour of the last coat). Waiting until the paint is fully cured risks the tape peeling the dried paint off the wall and leaving jagged edges.
- Score the Edge: If the paint has started to dry, use a utility knife to lightly score along the edge where the tape meets the wall before removing the tape. This breaks the paint film and ensures a clean line.
- Cure Time: Allow the paint to fully cure (usually 2-7 days, depending on humidity and paint type) before placing furniture back against the walls or scrubbing the surface.
Cleaning the Sprayer and Storing Equipment
As detailed in the previous guide, immediate and thorough cleaning is paramount.
- Flush: Immediately run clean water (for latex) or mineral spirits (for oil-based) through the pump and hose until the fluid runs completely clear.
- Filters and Tip: Remove and scrub all filters and the spray tip.
- Storage: Store the pump with a manufacturer-recommended storage fluid to keep internal seals lubricated and prevent seizing.
Troubleshooting Common Issues
Identifying and correcting common spraying problems quickly can save hours of rework.
Overspray and Uneven Finish
- Overspray: This occurs when paint atomizes too widely or bounces back.
- Fix: Increase masking coverage. Lower the pressure setting on your Airless unit. If using HVLP, move closer to the surface.
- Uneven Finish: Often caused by inconsistent distance or overlap.
- Fix: Check your distance ($12-18$ inches) and ensure you maintain a strict $50\%$ overlap on every pass.
Paint Pooling or Dripping
- Cause: Applying too much material too quickly, or slowing down/stopping the gun movement while the trigger is pulled.
- Fix: Increase the speed of your arm movement. Ensure you are only triggering the gun when moving. Reduce the tip size or lower the pressure setting to decrease flow rate.
Inconsistent Coverage
- Cause: This usually manifests as stripes or light areas. It can be due to a clogged tip or inadequate overlap.
- Fix:
- Check Tip: If the spray pattern looks heavy on one side, it may be a partially clogged tip. Flip the reversible tip to the clean position (prime the sprayer again) and spray.
- Adjust Overlap: Ensure you are consistently overlapping each pass by $50\%$.
- Fix:
FAQs About Spraying Interiors
“Can I spray while furniture is still in the room?”
It is highly discouraged. While it can be done by moving furniture to the center and covering it completely with plastic, the risk of overspray finding an unmasked gap is high. The time saved spraying is often lost in cleaning up paint mist that settles on uncovered items.
“Is it faster than rolling and worth the mess?”
For small rooms or just a single accent wall, the setup time (masking) usually makes rolling faster. However, for an entire basement, a full floor of walls, or ceilings, spraying is significantly faster and the superior finish is often worth the extra time spent on prep. The rule of thumb: If the job requires more than a day of rolling, spraying is worth the prep mess.
“What size tip should I use for walls vs. ceilings?”
Walls and ceilings typically use the same high-volume material (latex house paint) and therefore use the same tip sizes.
- Standard Wall Latex: A $515$ or $517$ tip is the industry standard. This gives a $10$-inch or $12$-inch fan pattern respectively, and an orifice large enough ($.015$ or $.017$ inches) to handle the viscosity of standard latex paint without clogging.
Tired of the tedious prep work and inconsistent results?
Let Deluxe General Services handle your next interior project. Our experts utilize professional-grade masking techniques and perfected spray technology to deliver pristine, roller-mark-free results every time.