

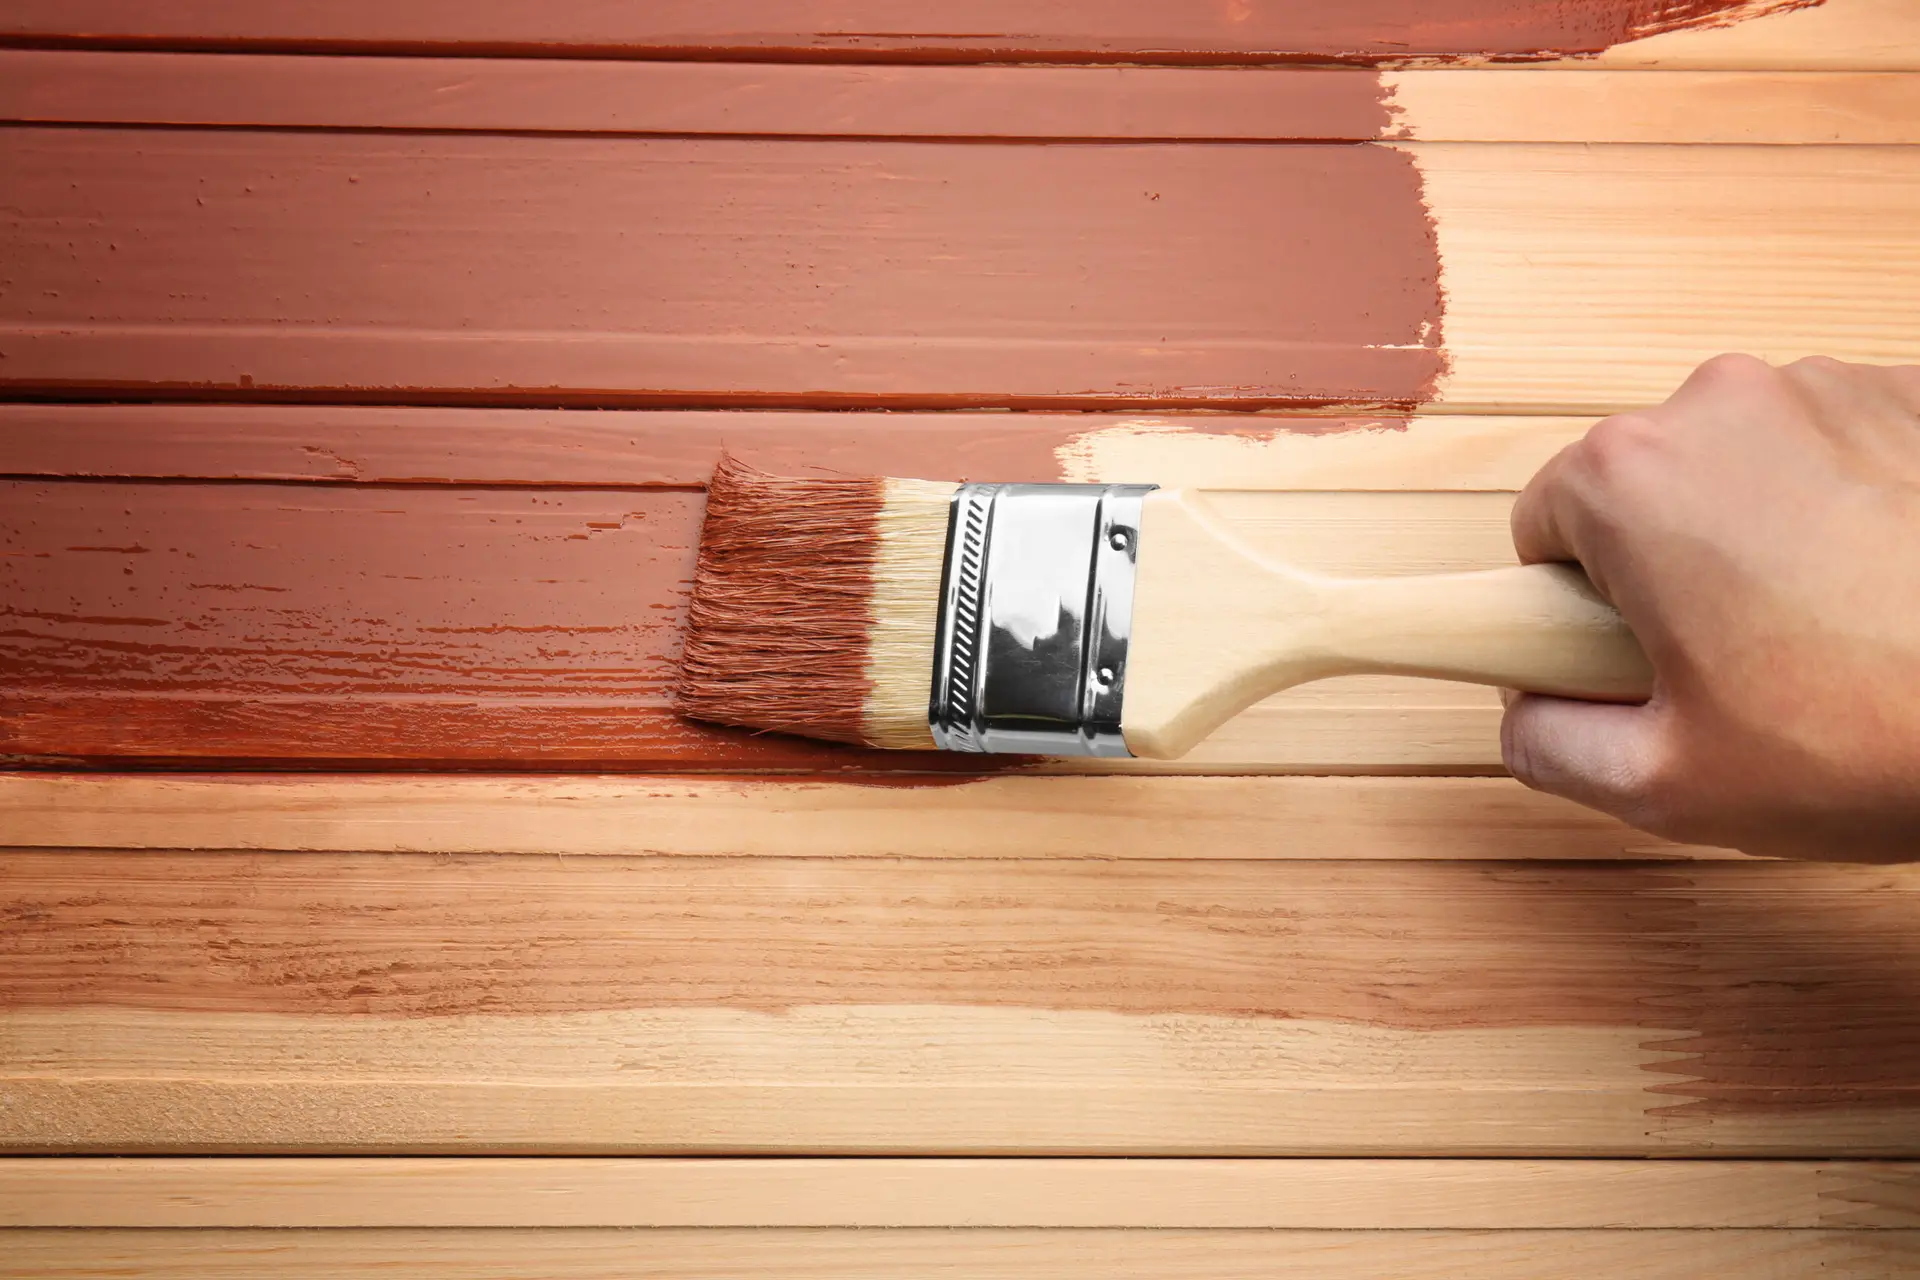
Painting wood floors is a fantastic way to refresh a tired space, conceal imperfections, or inject bold new style into your home. It’s often a more affordable and less labor-intensive alternative to a full sand and refinish, but it’s not without its challenges. The key to success lies in understanding how to paint wood floors without damaging them, ensuring the new finish is not only beautiful but also durable and long-lasting. Proper preparation and the right materials are paramount to avoid issues like chipping, peeling, or unsightly wear.
Should you paint or stain? Pros and cons
Before grabbing a paint can, consider whether painting or staining is the right choice for your wood floors.
Painting wood floors:
- Pros:
- Conceals Flaws: Excellent for covering heavily stained, damaged, or mismatched wood. It creates an opaque, uniform surface.
- Unlimited Color Options: Allows for any color imaginable, enabling unique design statements like patterns, stencils, or a distressed look.
- Cost-Effective: Often less expensive than professional sanding and refinishing, especially if you DIY.
- Transforms Appearance: Can dramatically update the look of a room.
- Cons:
- Hides Natural Beauty: Covers the wood grain, which some homeowners prefer to showcase.
- Durability Concerns: While modern floor paints are tough, they can chip or scratch, requiring touch-ups.
- Can Be Permanent: Reverting to a natural wood look often requires extensive sanding to remove all layers of paint.
- Requires Precise Prep: Poor preparation will lead to peeling and failure.
Staining wood floors:
- Pros:
- Enhances Natural Beauty: Allows the wood grain to show through, highlighting the material’s inherent character.
- Durable Finish: When properly sealed with polyurethane, stained floors are very durable and resistant to wear.
- Timeless Appeal: A classic look that holds its value.
- Easier Touch-ups (sometimes): Minor scratches can sometimes be blended in with spot staining and topcoat.
- Cons:
- Doesn’t Conceal Damage: Stains are transparent; they will highlight rather than hide imperfections, deep scratches, or water damage.
- Limited Color Palette: Restricted to wood tones or semi-transparent colors.
- More Involved Process: Usually requires full sanding to bare wood, which is messy and labor-intensive.
When to Choose Paint: Paint is best for floors that are too damaged for staining, when you desire a bold, custom look, or when budget and time are major constraints for a full refinish.
Prepping the floor: Cleaning and sanding
Proper preparation is the most crucial step for a durable, non-damaging painted finish. Skip this, and you risk paint failure.
- Empty the Room Completely: Remove all furniture, rugs, and decor. If possible, remove baseboards for a cleaner edge, or tape them off meticulously.
- Deep Clean the Floor:
- Vacuum Thoroughly: Remove all loose dust, dirt, and debris from the floor and crevices.
- Degrease and Clean: Use a specialized wood floor cleaner, a TSP (trisodium phosphate) substitute, or a strong detergent mixed with water. Mop the entire floor to remove all grime, wax, grease, and old cleaning product residue. Pay special attention to corners and edges.
- Rinse Well: Rinse the floor multiple times with clean water to ensure all cleaning solution residue is gone. This is vital for paint adhesion.
- Dry Completely: Allow the floor to dry absolutely completely. Use fans to aid airflow. Any moisture will compromise adhesion.
- Repair Imperfections:
- Fill Holes & Cracks: Use a good quality paintable wood filler to patch nail holes, deep scratches, or minor cracks. For wider gaps between floorboards, a flexible wood-floor specific caulk can be used, but ensure it’s paintable.
- Allow to Dry: Let the filler dry completely according to manufacturer instructions.
- Sanding is Non-Negotiable:
- Purpose: The goal is not to remove all the old finish, but to create a “profile” or “tooth” on the surface for the primer to grip onto. This is called “scuff sanding” or “etching.”
- Grit: Use 80-grit to 120-grit sandpaper. For large areas, rent an orbital or vibrating floor sander. For smaller rooms or edges, a hand orbital sander or pole sander will suffice. Do NOT use a drum sander unless you are an experienced professional; they can easily damage floors.
- Technique: Sand evenly across the entire surface. If the existing finish is very glossy, you might start with 80-grit and then refine with 100 or 120-grit. If it’s dull, start with 100 or 120-grit.
- Thorough Dust Removal: This step is crucial.
- Vacuum: Vacuum the entire floor thoroughly, including crevices and corners, using a shop vac or powerful household vacuum.
- Wipe: Follow up by wiping the floor meticulously with a clean tack cloth or a very lightly damp (almost dry) microfiber cloth. Repeat until no dust comes up. Any dust left behind will create bumps and prevent proper paint adhesion.
What paint to use on wood floors
Choosing the right paint is paramount for durability and appearance on a floor.
- Type of Paint:
- 100% Acrylic Latex Floor Paint (Water-Based Enamel): This is the most popular and recommended choice for DIYers and many professionals. Look for paints specifically labeled “Floor Paint,” “Porch & Floor Paint,” or “Deck & Porch Paint.” These are formulated to withstand foot traffic, resist scuffs, and offer good adhesion and flexibility. They also dry faster and have lower VOCs than oil-based options.
- Oil-Based Floor Enamel: Offers exceptional durability and a very hard finish, but comes with higher VOCs, a stronger odor, and much longer drying/curing times. Cleanup requires mineral spirits. While historically the gold standard, modern water-based options have largely matched their performance.
- Epoxy Floor Paint: Typically a two-part system, epoxy provides the ultimate in durability, chemical resistance, and a very hard, often glossy, finish. Best for high-traffic or utility areas, but can be challenging to apply and more expensive.
- Primer: A high-quality bonding primer or a wood floor specific primer is essential. It ensures maximum adhesion of the topcoat to the prepped wood and helps block any stains from bleeding through. If using oil-based paint, an oil-based primer is recommended. For water-based paints, a water-based acrylic bonding primer is ideal.
- Sheen (Finish):
- Satin or Semi-Gloss: These are the most common and practical choices for floors. They offer a good balance of durability, cleanability, and a subtle sheen that helps hide minor imperfections while still looking refined.
- High-Gloss: Very durable and reflective, but will highlight every imperfection and can be quite slippery. Best for a very dramatic, modern look.
- Avoid Flat/Matte: These finishes are not durable or washable enough for floors and will quickly show wear.
Step-by-step painting process
Once all the prep is done, you’re ready to paint!
- Mask Off: Use high-quality painter’s tape to carefully tape off baseboards, doorways, and any other areas you don’t want to paint. Press the tape down firmly to create a tight seal.
- Prime the Floor:
- Stir your primer thoroughly.
- Using a high-quality roller with a short nap (1/4″ to 3/8″ for smooth surfaces), apply a thin, even coat of primer to the entire floor. Use an angled brush to cut in along the edges where the floor meets the taped-off areas.
- Work in sections, moving from the farthest point of the room towards your exit.
- Allow the primer to dry completely according to the manufacturer’s instructions.
- Apply First Coat of Paint:
- Stir your chosen floor paint thoroughly.
- Apply the first thin, even coat of paint using the same roller and brush technique as with the primer. Paint with the grain of the wood.
- Avoid over-applying or creating puddles, which can lead to cracking or uneven drying.
- Maintain a “wet edge” by working quickly and overlapping slightly to prevent lap marks.
- Ensure proper ventilation in the room.
- Allow Proper Drying Between Coats:
- This is critical. Do not apply the second coat until the first coat is completely dry to the touch, and ideally, allow the manufacturer’s recommended re-coat time. Rushing will lead to poor adhesion and a soft finish.
- Apply Second Coat (and Third if Needed):
- Once the first coat is fully dry, apply the second thin, even coat.
- For very high-traffic areas or if you’re making a drastic color change, a third coat may be beneficial for maximum durability and coverage.
- Remove Tape:
- Crucially, remove the painter’s tape while the final coat of paint is still slightly wet or tacky. If you wait until it’s fully dry, the paint can bond to the tape and pull up in jagged lines. Pull the tape slowly at a 45-degree angle.
Sealing the paint for durability
While floor paints are designed to be durable, adding a clear topcoat or sealer can significantly enhance longevity and protect your newly painted floor.
- When to Seal: If you used a standard floor enamel, applying 1-2 coats of a clear, water-based, non-yellowing polyurethane or polycrylic sealer is highly recommended, especially in higher-traffic areas. This adds an extra layer of protection against scratches, scuffs, and spills.
- Sheen: Choose a sealer sheen that matches or complements your paint sheen (e.g., satin sealer over satin paint).
- Application: Apply the sealer thinly and evenly using a clean roller, following the manufacturer’s instructions for drying times between coats.
- Full Cure: Just like paint, clear sealers also require a full cure time (often 7-30 days) to reach maximum hardness.
Maintenance and cleaning tips
Proper care will keep your painted wood floors looking great for years.
- Initial Curing Period: Avoid placing heavy furniture, rugs, or allowing heavy foot traffic for the full curing period (typically 7-30 days). Place felt pads under all furniture legs permanently.
- Regular Cleaning:
- Dust/Dirt: Sweep or vacuum regularly (using a soft brush attachment) to remove grit, which acts like sandpaper and can scratch the paint.
- Damp Mopping: For general cleaning, use a damp mop with a mild, pH-neutral floor cleaner. Avoid harsh chemicals, abrasive cleaners, or excessive water, which can damage the paint.
- Spills: Wipe up spills immediately to prevent staining.
- Protect High-Traffic Areas: Use area rugs in high-traffic zones like entryways, hallways, and under dining tables to protect the paint.
- No Steam Mops: Avoid using steam mops on painted wood floors, as the heat and moisture can delaminate the paint.
- Avoid Harsh Chemicals: Bleach, ammonia-based cleaners, and abrasive pads can dull, stain, or strip the paint.
- Touch-ups: Keep leftover paint and sealer for minor touch-ups. Small chips or scratches can be repaired relatively easily with a small artist’s brush.
By following these comprehensive steps, you can successfully paint your wood floors, giving them a fresh, personalized look that stands up to daily life without compromising the integrity of the wood underneath.
Considering a transformative paint job for your wood floors? Deluxe General Services offers expert floor painting and finishing services, ensuring meticulous preparation, the right materials, and a durable, beautiful result that protects your floors for years. Let us help you achieve the look you envision! Contact us today for a free estimate!