

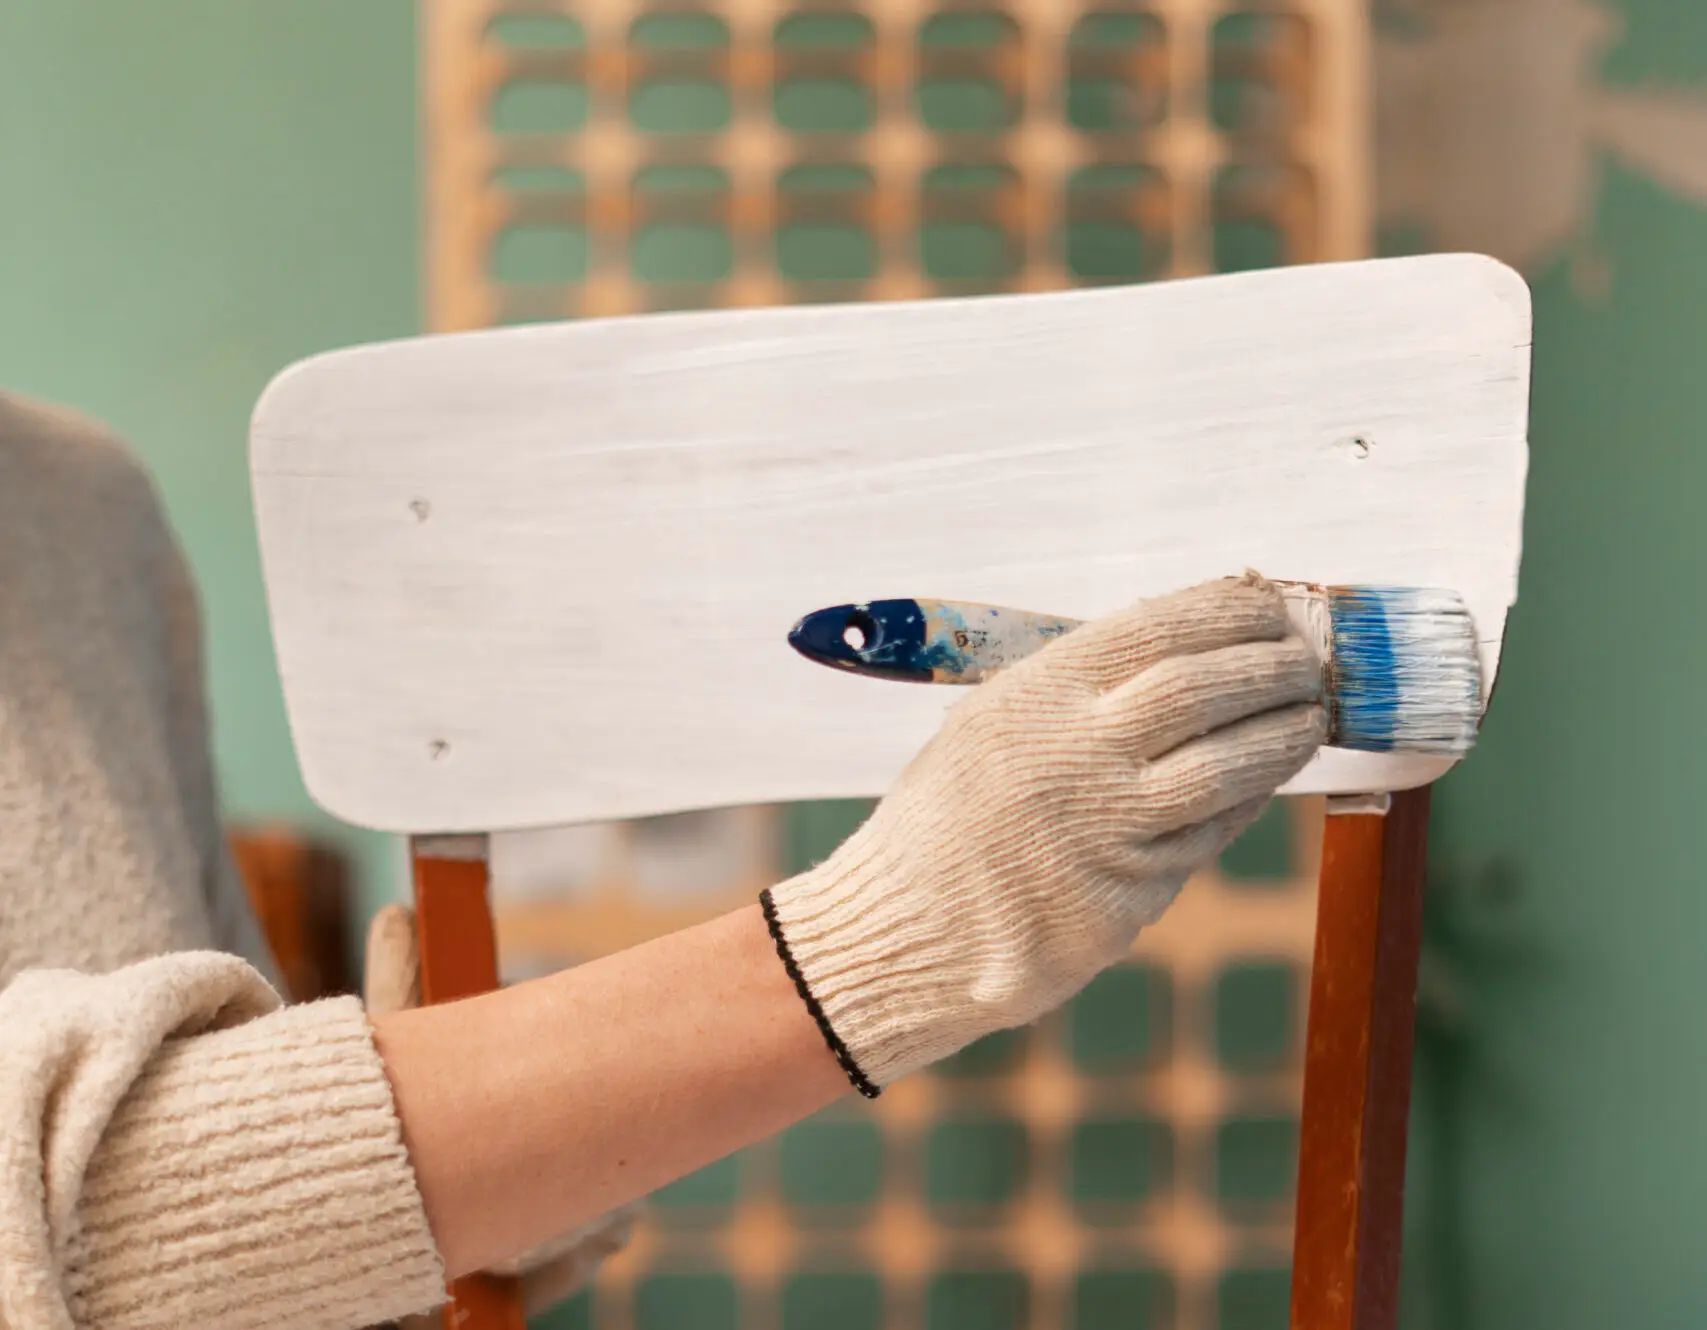
Painting dining chairs is a high-impact DIY project, but due to their complex structure (spindles, curves, and joints), they require more effort than a flat table. The key to a long-lasting finish on chairs is maximizing the bond between the wood and the paint, especially in high-wear areas like the seat and rungs.
Prepping Chairs for Painting
The quality of your paint job is 80% preparation. Do not rush this stage.
Cleaning and Degreasing
Chairs accumulate dirt, hand oils, and furniture polish residue, which act as a barrier to paint adhesion.
- Wash Thoroughly: Use a strong degreasing solution like a TSP (Trisodium Phosphate) substitute or a specialized furniture cleaner.
- Rinse and Dry: Wipe the chair down with a clean, water-damp cloth to remove all cleaning residue. Ensure the wood is completely dry before moving on.
Sanding Spindles and Curves
Sanding is crucial for creating the necessary “tooth” for the paint to grip.
- Focus on Scuffing: You don’t need to strip the chair down to bare wood, but you must dull any glossy finish. Use 120-150 grit sandpaper to break the existing finish.
- Use Sponges for Detail: For curved areas, legs, and spindles, use sanding sponges or flexible sanding pads. Wrap a piece of sandpaper around a dowel rod to sand between rungs.
- Final Wipe: After sanding, use a vacuum hose attachment followed by a tack cloth to remove every trace of sanding dust.
Fixing Wobbly Joints and Loose Screws
Painting over wobbly chairs will not fix the structure; it will only make the instability worse.
- Tighten Hardware: Check all screws and brackets and tighten them.
- Glue Joints: If a joint is wobbly, you may need to disassemble the piece slightly, apply high-quality wood glue (like Titebond), and clamp the joint firmly until the glue is completely cured (often 24 hours). This structural repair must happen before painting.
Best Paint Options for Dining Chairs
The chair’s shape and your desired finish should dictate your paint choice.
Enamel Paint for Durability
Enamel paints (often labeled as Cabinet & Trim Enamels) are ideal for furniture.
- Best For: Creating a factory-smooth, hard finish that resists nicks and scratches better than standard wall paint.
- Sheen: Semi-Gloss or Satin are recommended for easy cleaning.
Chalk Paint + Sealer for Farmhouse Style
Chalk paint is popular for its ultra-matte, rustic look and minimal prep requirements.
- Best For: Achieving a distressed, aged, or soft matte finish.
- Crucial Note: Chalk paint is inherently soft. You MUST use a durable polyurethane topcoat over the seat and high-wear areas, as standard furniture wax will not hold up to dining chair use.
Spray Paint for Smooth, Even Finish
High-quality furniture spray paints are the fastest route to a flawless finish on chairs.
- Best For: Chairs with many spindles, rungs, and detailed turnings where a brush would inevitably leave streaks and drips.
- Tip: Look for oil-based or specialized enamel spray paints that dry to a hard finish.
Step-by-Step Painting Process
Patience and thin coats are the secrets to a smooth, drip-free finish.
Step 1: Prime (Especially for Glossy Surface)
Primer ensures the paint adheres, seals in potential bleed-through from old stains, and allows the topcoat color to be vibrant and true.
- Use a Bonding Primer: If the chair has a glossy, non-porous finish, use a shellac-based or high-adhesion bonding primer.
- Apply Thinly: Apply one coat and allow it to dry completely. If brushing, lightly sand the dried primer with 220 grit to knock down any texture.
Step 2: Paint in Thin Coats
Thin coats prevent drips, dry faster, and cure harder.
- Use a Systematic Approach: Start with the underside of the chair (rungs, bottom of the seat). Flip the chair and paint the back, moving from top to bottom (spindles, rails, legs).
- Brush Technique: Load the brush sparingly. Apply paint and immediately smooth out brushstrokes.
- Spray Technique: Hold the can/sprayer about 10-12 inches away and use sweeping, steady motions to avoid concentrating paint in one spot.
Step 3: Allow Proper Drying Time
Check the manufacturer’s drying time (dry to the touch) and recoat time (when you can apply the next coat). Never rush the recoat time, or the new coat will pull up the layer beneath it. Typically, 2-3 coats are needed for full coverage.
Step 4: Apply Protective Topcoat
The seat, back, and armrests of a dining chair must be protected from friction and cleaning agents.
- Apply 2-3 Coats: Apply 2-3 coats of Water-Based Polyurethane (unless you are using a very dark paint and don’t mind the slight amber tone of oil-based poly).
- Scuff Sand: Lightly sand the topcoat with 320 grit sandpaper between coats for the smoothest possible finish.
- Cure Time: Allow the chairs to cure for a full 5-7 days before heavy use.
Tips for Hard-to-Reach Areas
Using Angled Brushes
A 1-inch or 1.5-inch angled sash brush is your best friend for chairs. The angled tip allows you to cut smoothly around rungs, spindles, and joints without overloading the brush. Use detail brushes (artist brushes) for very small, intricate carvings.
Masking Fabric or Cushions
If the chair has upholstered or cane seats you wish to protect:
- Use Painter’s Tape: Carefully run blue painter’s tape along the edge of the wood where it meets the fabric or cushion.
- Use Plastic Sheeting: Cover the remaining fabric area with light plastic sheeting or paper secured by the tape. If possible, remove the seat entirely before painting.
Rotating Chairs While Painting
Work on the chairs in stages to allow access to all surfaces without constantly touching wet paint.
- Stage 1: Upside Down: Paint all legs, rungs, and the underside of the seat. Let dry.
- Stage 2: Right-Side Up: Paint the back, spindles, and top of the seat. Let dry.
FAQs
“Is it better to spray or brush chairs?”
Spray is generally better for chairs. Spraying achieves a smoother, factory-like finish with fewer drips, especially on intricate rungs and spindles. Brushing is fine for chairs with large, flat surfaces, but it requires more skill and time to eliminate streaks.
“How do I avoid drips on chair legs?”
Drips are caused by overloaded brushes or holding the spray can too close. The solution is:
- Use Thin Coats: Always apply paint very lightly and apply a second coat if needed.
- Check Immediately: After painting a leg, immediately circle back to it and look for drips, wiping them with a dry brush or clean finger before they set.
- Paint Vertically: Always apply the final brush stroke down the length of the leg.
“What’s the best topcoat for dining chairs?”
The best topcoat is a Water-Based Polyurethane in a Satin or Semi-Gloss finish. It provides a clear, highly durable, water-resistant, and non-yellowing shield that can withstand the friction and cleaning required for dining furniture. Avoid standard polycrylic, which is softer, and furniture wax, which is not durable enough.
Are you planning a full dining room refresh?
Contact Deluxe General Services today. Our team can handle the tedious preparation and precise painting required for your dining chairs, ensuring a flawless and professional result that lasts for years.