

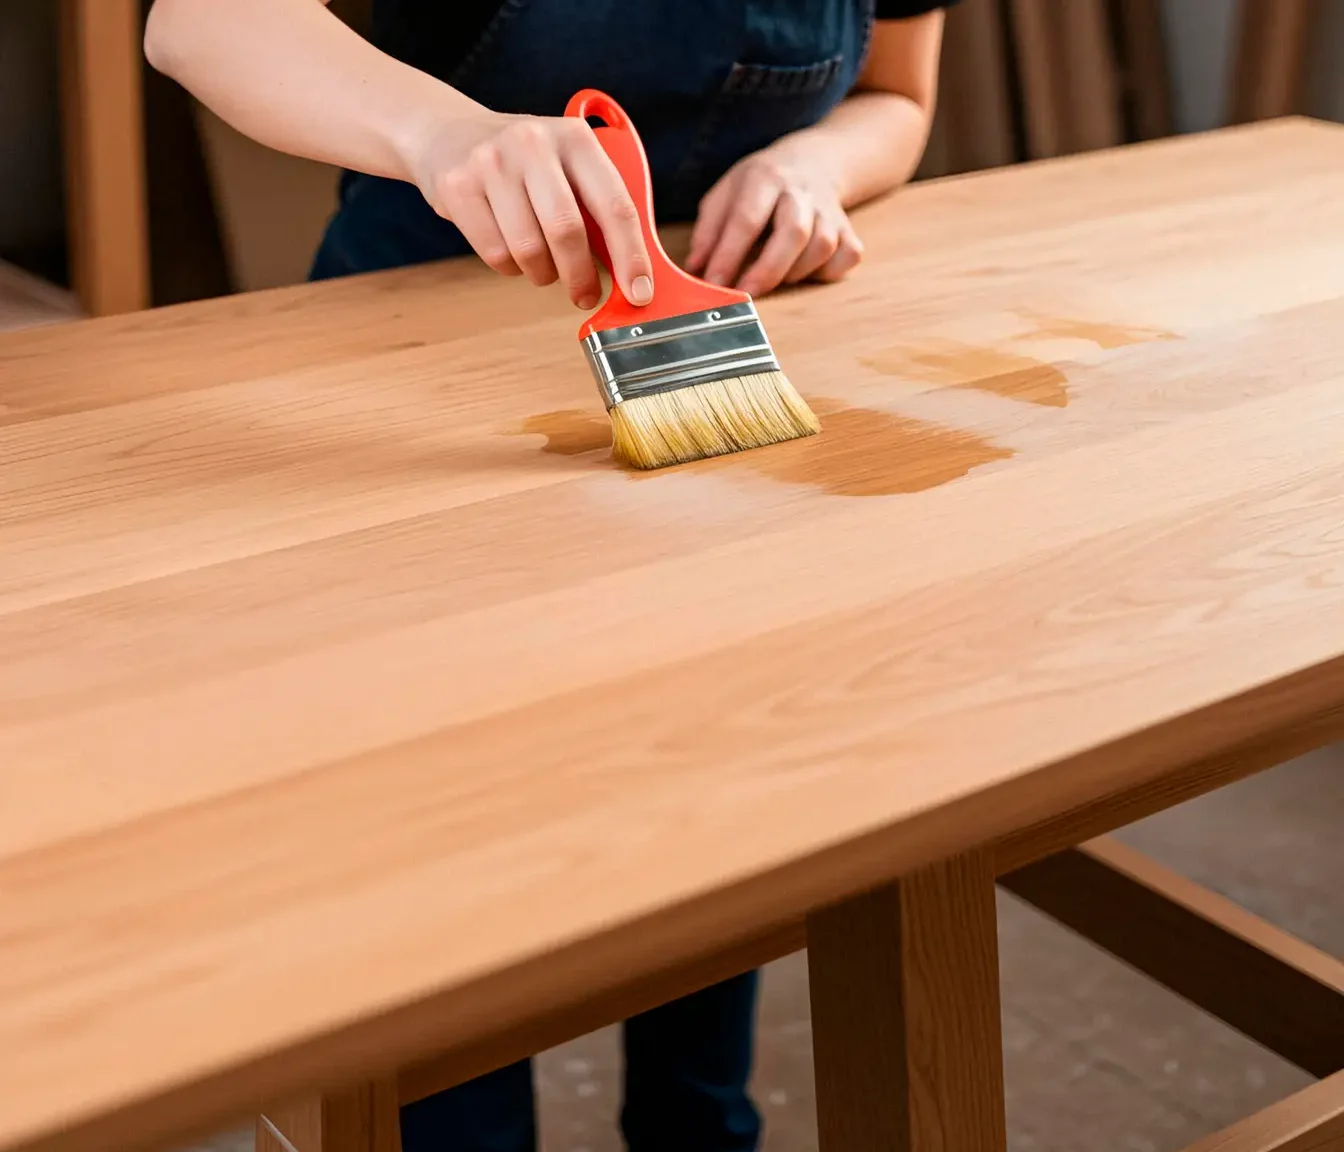
Painting an old dining room table is an excellent way to update your décor and extend the life of a beloved piece of furniture. Because dining tables receive heavy daily use, the most critical elements of this project are the preparation and the application of a durable topcoat. Follow these steps for a professional, long-lasting finish.
Materials You’ll Need
Proper preparation requires the right tools to ensure adhesion and durability.
Sandpaper Grits
- 80-100 Grit: For aggressive sanding on old, chipped, or heavily varnished surfaces.
- 120-150 Grit: For general sanding to remove existing finish and scuff the surface (essential for adhesion).
- 220 Grit: For final smoothing before priming, and for light sanding (scuffing) between coats of primer and paint.
Primer (Stain-Blocking or Bonding)
The type of primer depends on the table’s material:
- Stain-Blocking Primer (Shellac-based): Mandatory for old wood, especially mahogany or cherry, to prevent wood tannins (stains) from bleeding through the final paint color.
- Bonding Primer (Water-based or Oil-based): Necessary for slick surfaces like laminate, particleboard, or previously high-gloss finishes where typical paint struggles to adhere.
Paint Type (Enamel, Acrylic, Chalk)
Choose a paint specifically formulated for furniture and cabinets, prioritizing a durable, washable finish.
Polyurethane or Topcoat
This is non-negotiable for a dining table. It provides the crucial barrier against food, water, and scratching.
- Water-based Polyurethane: Dries clear, cleans up easily, and is less toxic. Ideal for light colors.
- Oil-based Polyurethane: Provides a slightly harder finish but can yellow over time, making it better suited for dark or black colors.
Step-by-Step: Painting a Dining Table
Execute each step thoroughly for a durable, professional result.
Step 1: Clean and Degrease
Thoroughly clean the table using a degreasing agent like TSP (Trisodium Phosphate) substitute or a strong liquid degreaser. Years of hand oils, cleaning sprays, and food residue must be removed to ensure the primer and paint stick properly. Rinse the surface with clean water and allow it to dry completely.
Step 2: Sand Surface Evenly
Sanding is the foundation of a successful paint job. The goal is not always to remove all the old finish, but to create a rough texture (a “tooth”) for the new paint to grip.
- Start with 120-150 grit sandpaper to rough up the surface, focusing on high-traffic areas like the tabletop.
- Move to 220 grit for a final pass to smooth out any deep scratches left by the coarser paper.
- Wipe away all dust with a tack cloth or a damp paper towel. Do not skip this—dust ruins paint adhesion.
Step 3: Repair Dents and Scratches
Fill any noticeable gouges, deep scratches, or gaps in the wood grain using a high-quality wood filler or putty.
- Apply the filler with a putty knife, slightly overfilling the defect.
- Allow the filler to cure completely according to the manufacturer’s directions.
- Sand the patched area smooth with 220 grit sandpaper until it is level with the surrounding wood.
Step 4: Apply Primer
Primer is the bridge between the table surface and the paint.
- Apply a single, thin, even coat of your chosen primer using a high-quality synthetic brush or foam roller. Thin coats dry faster and cure harder.
- Allow the primer to dry and cure according to the can’s instructions (often 1-4 hours).
- Optional: Lightly scuff the dried primer with 220 grit sandpaper (this removes brush strokes and nibs) and wipe clean with a tack cloth before applying paint.
Step 5: Apply Multiple Thin Coats of Paint
Avoid the temptation to apply one thick coat; it will lead to drips, runs, and a soft, easily damaged finish.
- Apply the first thin coat of your chosen paint (enamel or acrylic).
- Allow the paint to dry completely.
- Lightly sand (220 grit) between coats to ensure a smooth finish, wiping away dust completely.
- Repeat this process until you achieve the desired depth of color (usually 2-3 coats).
Step 6: Seal for Durability
This final step is the most critical for a dining table.
- Ensure your final coat of paint is completely dry (24-48 hours is often best, depending on humidity).
- Apply a thin, even coat of your chosen polyurethane or durable topcoat. Use a high-quality foam brush or pad to minimize bubbles and streaks.
- Allow the topcoat to dry completely.
- Lightly sand (320 grit) the topcoat between applications. This is especially important for water-based poly to remove plastic-like tackiness.
- Apply 2-3 final coats of polyurethane for maximum protection.
Choosing the Best Paint Type
The choice of paint impacts both the look and the longevity of the table.
Enamel for High Durability
- Description: Often oil-based or advanced water-based formulas specifically designed to dry to a very hard, high-traffic finish.
- Pros: Resists chipping and scratches better than standard acrylics; easy to wipe clean.
- Cons: Can be slow to dry and may require mineral spirits for clean-up if oil-based.
Chalk Paint + Sealer for a Vintage Look
- Description: A water-based paint that adheres without extensive sanding and dries to a matte, velvety finish.
- Pros: Excellent for vintage, rustic, or distressed looks; minimal prep work required.
- Cons: Requires a very hard topcoat (polyurethane, not just wax) for a dining table. Wax is not durable enough for high-use flat surfaces.
Acrylic Latex for Easier Touch-Ups
- Description: Standard interior wall paint (acrylic latex) in a Satin or Semi-Gloss finish.
- Pros: Widest color selection; easy water clean-up; affordable; very easy to touch up small dings later.
- Cons: Not as hard as true enamel; requires 3-4 coats of a durable topcoat to achieve adequate dining table protection.
Common Mistakes to Avoid
These pitfalls lead to early chipping and poor finishes.
Not Sanding Enough
A slick surface is the enemy of adhesion. Even if you use a bonding primer, a light scuff sanding (150-220 grit) of the original finish is essential to give the primer a mechanical grip on the surface.
Skipping Primer on Slick Surfaces
If you are painting laminate, glossy wood, or metal, you must use a bonding primer. Paint applied directly to these surfaces will scratch off almost immediately, regardless of the topcoat used.
Using a Soft Sealer That Scratches Easily
Avoid using furniture waxes or standard decoupage sealers on the tabletop. Only polyurethane (water-based or oil-based) or an epoxy finish offers the necessary hardness to withstand sliding plates, hot items, and repeated cleaning.
FAQs
“How long before I can use the table again?”
The table will be dry to the touch within 2-4 hours. However, paint and polyurethane need time to cure (harden completely). You can generally handle the table and place light items on it after 48-72 hours. Wait a full 5-7 days before using the tabletop for normal dining activities, and be gentle for the first 30 days.
“Is spray painting an option?”
Yes, spray painting (either using cans or a paint sprayer) is a great option as it minimizes brush strokes and provides the smoothest finish. You must spray outdoors or in a well-ventilated garage, and apply the same rules: multiple thin coats, and always follow up with a hard, brushed-on or sprayed-on polyurethane topcoat.
“Do I need a topcoat every time?”
Yes, for a dining room table, a durable topcoat (polyurethane) is mandatory. Unlike decorative furniture like end tables, a dining table is subject to heat, moisture, friction, and chemicals. The topcoat is the only layer that provides adequate protection against wear and tear, ensuring your paint job lasts for years.
Ready to start your dining table transformation project?
Contact Deluxe General Services for high-quality, professional furniture refinishing services. We ensure every step, from meticulous prep to the final durable topcoat, is handled perfectly.