

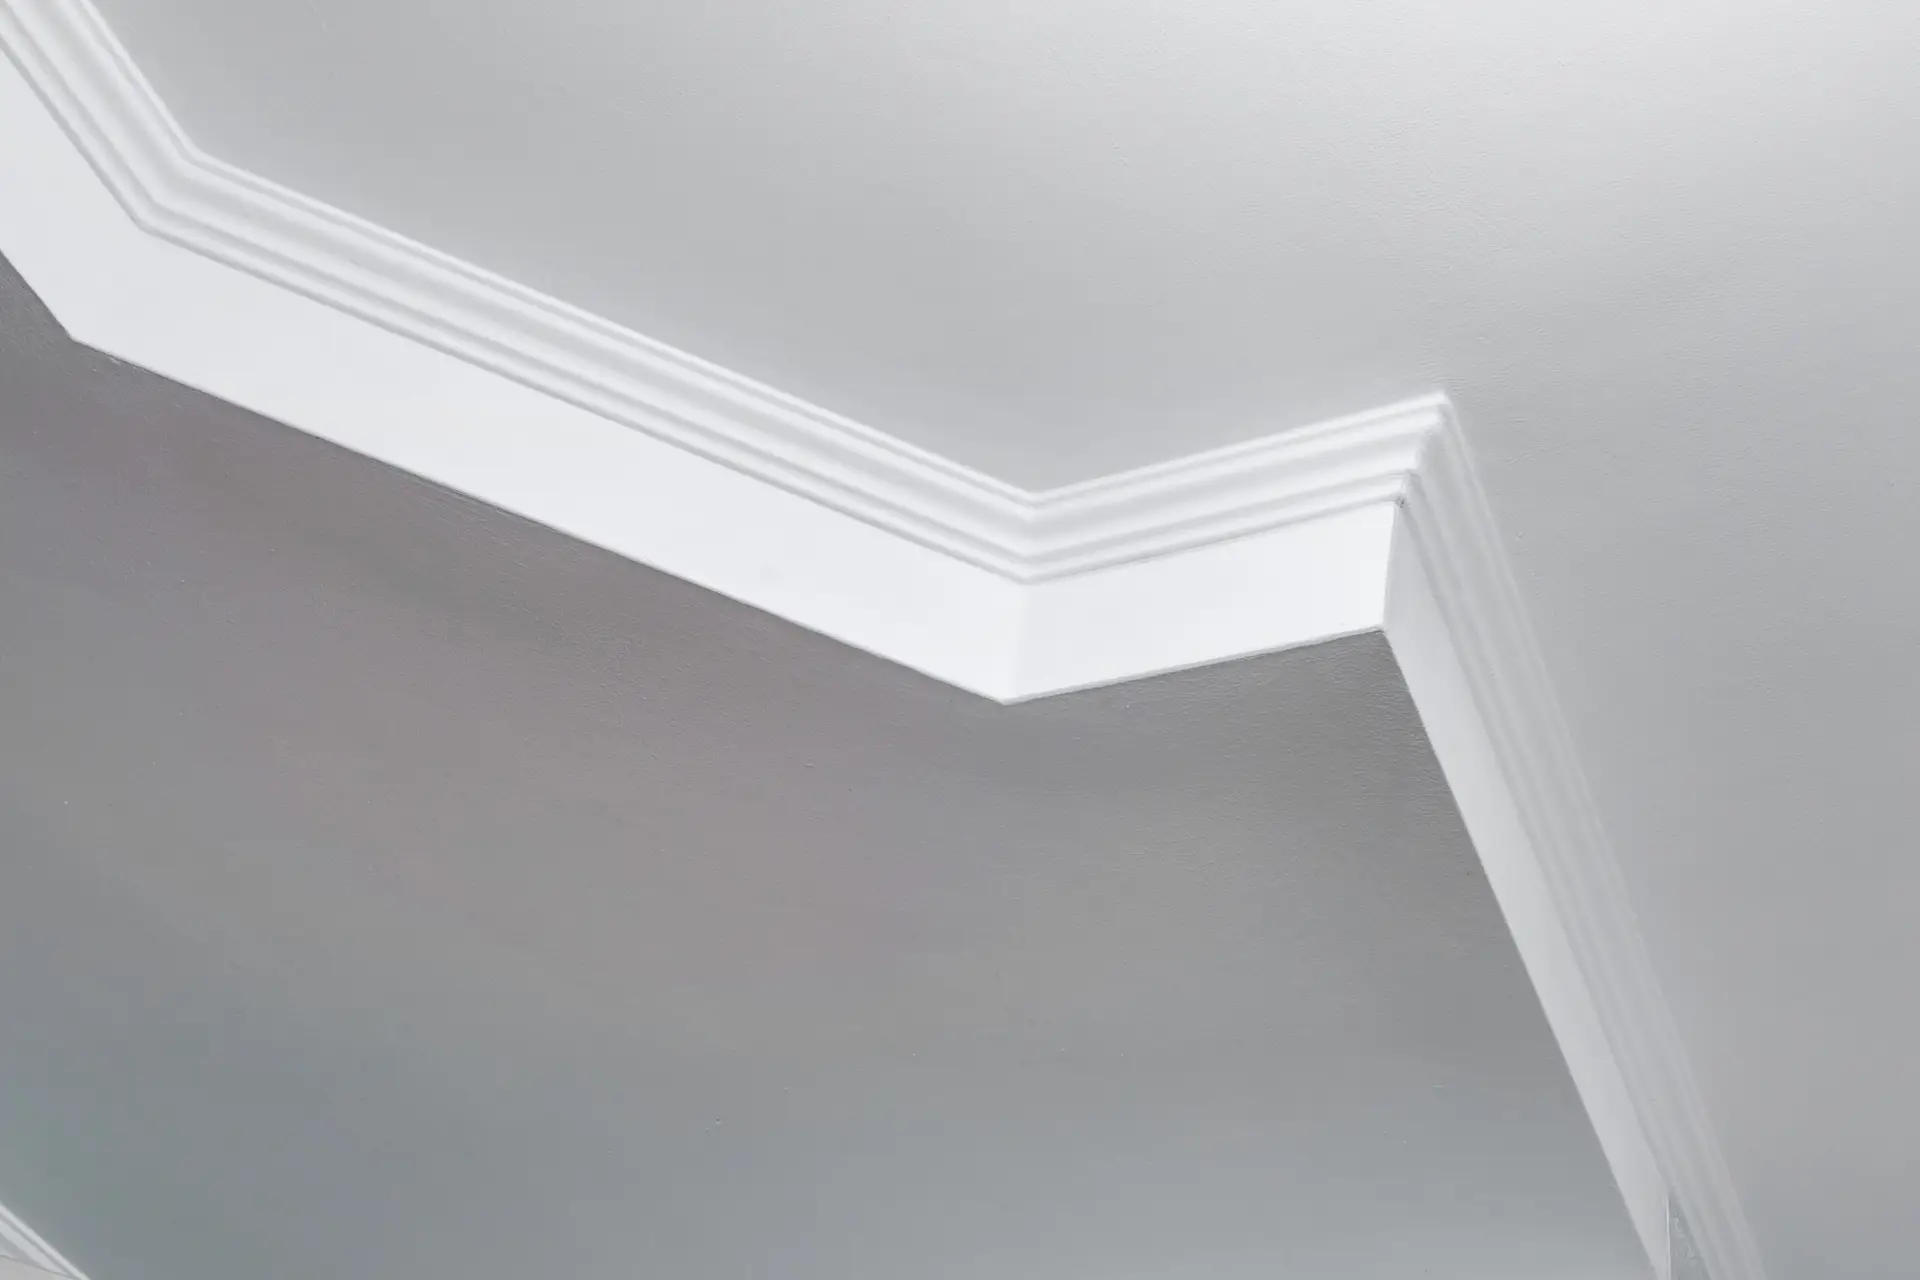
When embarking on an interior painting project, one of the most common questions that arises is: Do you paint trim or walls first? This seemingly simple decision can significantly impact your efficiency, the quality of your finished lines, and your overall sanity. While there’s some debate, professional painters generally follow a standard practice designed to achieve the cleanest edges and a more streamlined workflow.
Trim or walls first: What’s the industry standard?
The overwhelming consensus among professional painters is to paint the ceiling first, then the walls, and finally the trim (doors, windows, baseboards).
This order is preferred because:
- Gravity Works With You: Any drips or splatters from the ceiling paint will fall onto the wall, which will then be painted over. Similarly, wall paint splatters onto the trim are easier to manage before the trim is painted.
- Easier Cut-In: It’s generally easier to cut a straight line with a brush against a straight edge of trim than it is to tape off intricate trim profiles and cut a wall color. By painting the walls first, you can be slightly less precise at the trim line, knowing the trim paint will cover any minor overlap.
- Cleaner Finish: This sequence helps minimize the risk of stray brush strokes or roller marks on your freshly painted trim.
Pros and cons of painting trim first
While painting trim first isn’t the standard, some DIYers or professionals with specific techniques might consider it. Let’s look at why it’s generally less favored.
Pros of Painting Trim First (Less Common Approach):
- No Taping for Trim: If you’re confident in your ability to “cut in” walls perfectly against the trim, you might avoid taping the trim entirely.
- Easier to Paint Detailed Trim: Some find it easier to focus on painting detailed trim pieces without worrying about getting paint on the wall.
Cons of Painting Trim First:
- Increased Risk of Wall Paint Overlap: It’s much harder to cut in a perfectly straight line with a roller or wall brush against already-painted trim without getting wall paint on the trim. This means you’d need to meticulously tape the trim or be incredibly precise, which slows down the wall painting process significantly.
- Potential for Damage: If you need to make corrections on the wall near the trim, you risk scuffing or damaging the freshly painted trim.
- Time-Consuming Wall Cut-In: If you do tape, taping off the trim before painting the walls can be extremely tedious due to the often intricate profiles of trim, potentially taking more time than the standard method.
- Messier Workflow: Splatters from wall painting will inevitably land on the freshly painted trim, requiring cleanup or touch-ups, which negates the benefit of painting trim first.
In summary, the cons of painting trim first generally outweigh the pros for most standard painting projects.
How tape and cutting-in affect the process
Understanding the roles of painter’s tape and “cutting-in” (painting precise lines with a brush) is crucial to an efficient and clean process.
- Painter’s Tape:
- Purpose: To create crisp, straight lines and protect adjacent surfaces from paint.
- When to Use: When painting walls after the ceiling, you might use tape where the wall meets the ceiling, or if you’re uncomfortable cutting in perfectly. When painting trim after the walls, tape is almost always used to protect the freshly painted walls from trim paint.
- Application: Apply tape firmly, pressing down the edge where the paint will meet to prevent bleed-through.
- Removal: Crucially, remove painter’s tape while the paint is still slightly wet (tacky), not fully dry. This prevents the paint from bonding to the tape and peeling or cracking along the line. Pull at a 45-degree angle.
- Cutting-In:
- Skill: The ability to paint a straight line freehand with a brush. This skill improves with practice.
- Efficiency: For professionals, cutting in is often faster than taping, especially for longer runs.
- Standard Method: When painting walls after the ceiling, you cut in the wall color along the ceiling line and at the top edge of the baseboards. When painting trim after the walls, you then cut in the trim color along the wall line.
Tips for clean edges and efficient workflow
Regardless of the order, these tips will help you achieve a professional-looking finish.
- Prep is Paramount:
- Clean Surfaces: Ensure all surfaces (ceiling, walls, trim) are clean, dry, and free of dust, dirt, or grease.
- Fill and Caulk: Fill any nail holes or imperfections in the trim with wood filler and caulk any gaps where trim meets the wall or ceiling. Let them dry completely. This creates a smooth, seamless surface for paint.
- High-Quality Tools:
- Brushes: Invest in a good quality angled sash brush (2-2.5 inches) for cutting in. Synthetic bristles are best for latex paints; natural bristles for oil-based.
- Rollers: Use appropriate nap rollers for your wall and trim surfaces.
- Tape: Use reputable brands of painter’s tape designed for clean lines.
- Proper Loading:
- Don’t overload your brush or roller. Excess paint leads to drips, runs, and uneven coverage. Dip your brush only 1/3 of the way in, and gently tap off excess.
- Work in Sections:
- Don’t try to paint an entire wall or a long stretch of trim at once. Work in manageable sections.
- Maintain a Wet Edge:
- When rolling walls, overlap your strokes slightly to maintain a wet edge. This prevents unsightly lap marks.
- Patience Between Coats:
- Allow adequate drying time between coats for both walls and trim. Rushing can lead to poor adhesion and a compromised finish. Check paint can instructions.
- Good Lighting:
- Work in a well-lit room to spot drips, uneven coverage, or missed spots.
What if you’re repainting a previously painted room?
The same principles apply, but with a few extra considerations:
- Assess Existing Condition:
- Good Condition: If the existing paint on both walls and trim is in good condition (no peeling, chipping, or heavy damage), you’ll follow the standard ceiling-walls-trim order, ensuring proper cleaning and light sanding for adhesion.
- Damaged Surfaces: If there’s peeling or flaking paint on either the walls or trim, you’ll need to scrape, sand, and prime those areas thoroughly before applying new paint.
- Color Change:
- Similar Colors: If you’re painting similar colors, the order is less critical in terms of coverage, but efficiency still favors the standard method.
- Drastic Change: If you’re going from dark to light (or vice-versa), expect to need multiple coats for both walls and trim. A good quality primer is essential for achieving full coverage and true color.
- Sheen Change:
- If you’re changing the sheen of the trim (e.g., from semi-gloss to satin), you’ll still follow the standard order, but ensure thorough cleaning and light scuff sanding of the existing trim to help the new sheen adhere properly.
By adhering to the professional recommendation of painting ceiling, then walls, then trim, and implementing careful preparation and technique, you’ll set yourself up for a successful interior painting project with crisp lines and a truly finished look.
Ready to transform your home’s interior with a flawless paint job? Deluxe General Services offers expert interior painting services, ensuring meticulous preparation, crisp lines on walls and trim, and a beautiful, long-lasting finish. Let our professionals handle the details for a stress-free and stunning result. Contact us today for a free estimate!