

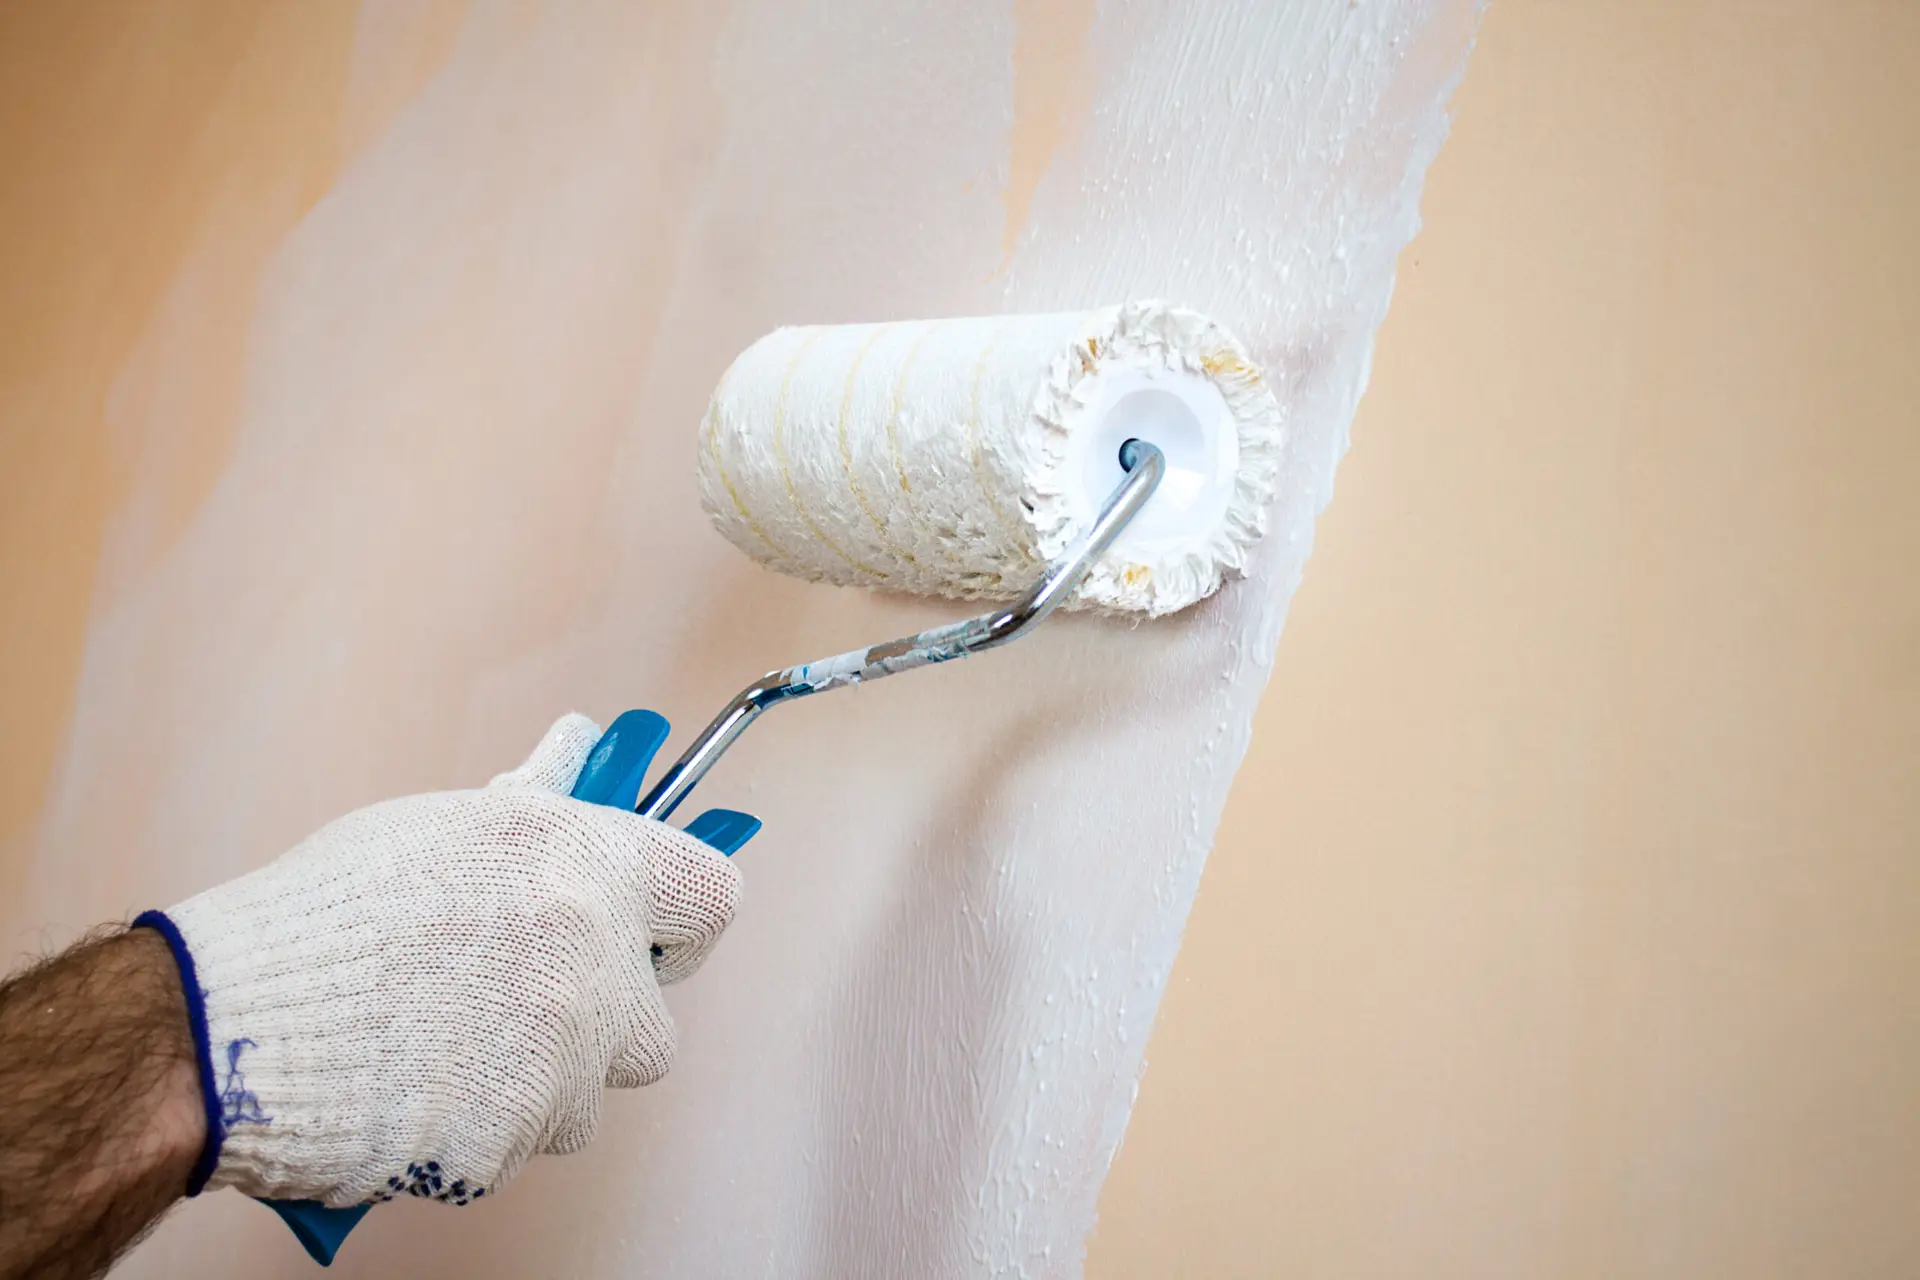
This is one of the most common questions in residential and commercial painting. The conventional wisdom often leans toward always priming, but modern paint technologies allow for skipping primer in many scenarios, provided the existing surface is stable and properly prepared. Knowing when to use a primer (and which kind) versus when you can go straight to the topcoat is key to a cost-effective and successful project.
In Most Cases, You Can Paint Over Paint
If the existing surface is in good structural condition and you are using a modern, high-quality acrylic latex paint (which is the standard for interior walls), you often do not need a separate primer coat.
If the Surface is Clean, Intact, and Not Glossy
You can proceed directly to painting if the following conditions are met:
- Good Condition: The existing paint is firmly adhered, with no peeling, blistering, or significant cracks.
- Clean: The surface is free of dirt, grease, and residue.
- Similar Color/Sheen: You are painting a similar color or going slightly darker, and the existing sheen is not high-gloss (i.e., it is flat, eggshell, or satin).
- Similar Base: You are painting latex over latex (the most common scenario).
Basic Prep That Matters Most: Wash + Degloss + Patch
Preparation is non-negotiable, even when skipping primer. Poor adhesion due to a contaminated or slick surface is the number one cause of paint failure.
- Wash: Clean the entire surface thoroughly. Use a general all-purpose cleaner or a TSP substitute (trisodium phosphate) to cut through dirt and greasy buildup, especially in kitchens and bathrooms. Rinse thoroughly with clean water.
- Degloss (Scuff Sand): If the existing paint has any noticeable sheen (satin, semi-gloss, or gloss), you must “degloss” it. Use fine-grit sandpaper (180 to 220 grit) or a sanding sponge to lightly scuff the entire surface. This mechanical abrasion creates micro-scratches, which significantly increase the adhesion profile for the new topcoat.
- Patch and Repair: Fill all nail holes, dents, and cracks with spackle or joint compound. Sand the repairs flush with the wall. Note: These patched areas must be primed—see the section below on “flashing.”
- Dust: Wipe or vacuum all sanding dust using a tack cloth before opening your paint can.
When Primer IS Necessary
Primer is not just an undercoat; it’s a specialty coating designed to solve specific surface problems before the final paint is applied. If any of these conditions exist, skipping primer is a serious risk.
Stains (Water, Smoke, Tannins) and Odor Sealing
If the surface has visible stains from water damage, smoke, or nicotine, or if bare wood is present (which can leach tannins), a standard topcoat will not seal these contaminants.
- Solution: Use a dedicated stain-blocking primer. These are typically shellac-based (the most effective for blocking odors and tough stains like smoke) or oil-based (excellent for water stains and tannin bleed). A specialty primer locks the stain down, preventing it from migrating up into the fresh topcoat.
Glossy Finishes or Slick Surfaces That Need Adhesion Help
If the existing paint is high-gloss, or the surface is inherently slick (like plastic trim, fiberglass, or glazed tile), a regular topcoat will slide right off. Even light sanding might not be enough.
- Solution: Use a bonding primer (also called high-adhesion primer). These are often 100% acrylic or modified alkyds that are formulated to “stick” to difficult surfaces where traditional paints cannot get a mechanical grip.
Heavy Repairs/Patches (“Flashing” Prevention)
Whenever you use spackle, joint compound, or wood filler, those patched areas absorb paint differently than the surrounding painted drywall or wood. This difference in absorption causes a visible unevenness in sheen and color, known as “flashing.”
- Solution: You must spot-prime the repaired areas. The primer seals the porous patch material, making its porosity equal to the surrounding painted surface, thus ensuring a uniform finish with the final topcoat.
Going From Very Dark to Very Light for Better Coverage
While not strictly required for adhesion, primer is an economic necessity when making a dramatic color change (e.g., black to white, or deep red to light gray).
- Solution: Use a tinted primer (gray or light neutral). Primer is significantly cheaper than topcoat paint. Applying one coat of tinted primer will dramatically reduce the number of expensive topcoats required to achieve full hide and accurate color, usually reducing the required topcoats from three or four down to two.
Quick Decision Checklist
Use this checklist to quickly determine if you need to prime your surface:
| Condition | Action Required | Recommended Primer Type |
| Does the paint peel or chalk? | YES. Old, peeling, or chalky paint must be scraped, sanded, and primed to stabilize the surface. | Oil-based or high-adhesion bonding primer. |
| Is the existing paint oil-based? | YES, unless it’s perfectly clean and scuffed. For maximum adhesion security when switching to latex, prime. | High-adhesion acrylic or an oil-based primer. |
| Is there staining or water damage? | YES. Stains must be locked down before painting. | Shellac-based primer (best) or oil-based stain blocker. |
| Are there significant repairs/patches? | YES. Spot-prime all filled areas to prevent color/sheen “flashing.” | Standard latex primer or the topcoat primer. |
| Are you making a dramatic color change? | OPTIONAL (Recommended). Prime with a tinted primer to save money and coats. | Tinted latex primer (gray or neutral). |
FAQs
Can I skip primer if I use “paint + primer”?
The term “paint + primer” is generally a marketing term. It refers to a thicker, higher-build topcoat paint that has excellent hide and covering capabilities. While these products are great for going over existing, well-adhered paint of a similar color, they DO NOT replace the specialized functions of a dedicated primer, such as:
- Blocking tough stains (smoke, tannins).
- Sealing porous new materials (spackle, bare wood).
- Adhering to slick, glossy surfaces.
If you have a problem surface (stains, heavy gloss), you need a dedicated, specialty primer, not a “paint + primer” product.
What primer should I use for glossy walls?
For glossy or slick non-porous surfaces like cured high-gloss paint, fiberglass, or laminate, you need a high-adhesion or bonding primer. Look for products marketed as “Adhesion Promoting” or “X-I-M formula.”
- Best Options: Oil-based primers or advanced 100% acrylic bonding primers. Ensure the product explicitly states it adheres to difficult, non-sanded surfaces.
Should I prime spot repairs or the whole wall?
You should spot-prime the repairs, not necessarily the entire wall.
After patching and sanding your repair areas:
- Apply a light coat of primer (or the first coat of your final paint color) only to the repaired area.
- Let it dry fully.
- Once the spot-primed areas are dry, you can proceed with painting your first full coat over the entire wall.
Spot-priming ensures those patches won’t show through (flash) after the full coat is applied, giving you a seamless, professional finish.
Don’t leave the longevity and appearance of your paint job to chance. If you have a question about the right primer or preparation for a challenging surface, consultation is key.
Contact Deluxe General Services today for a personalized surface evaluation and painting quote!