

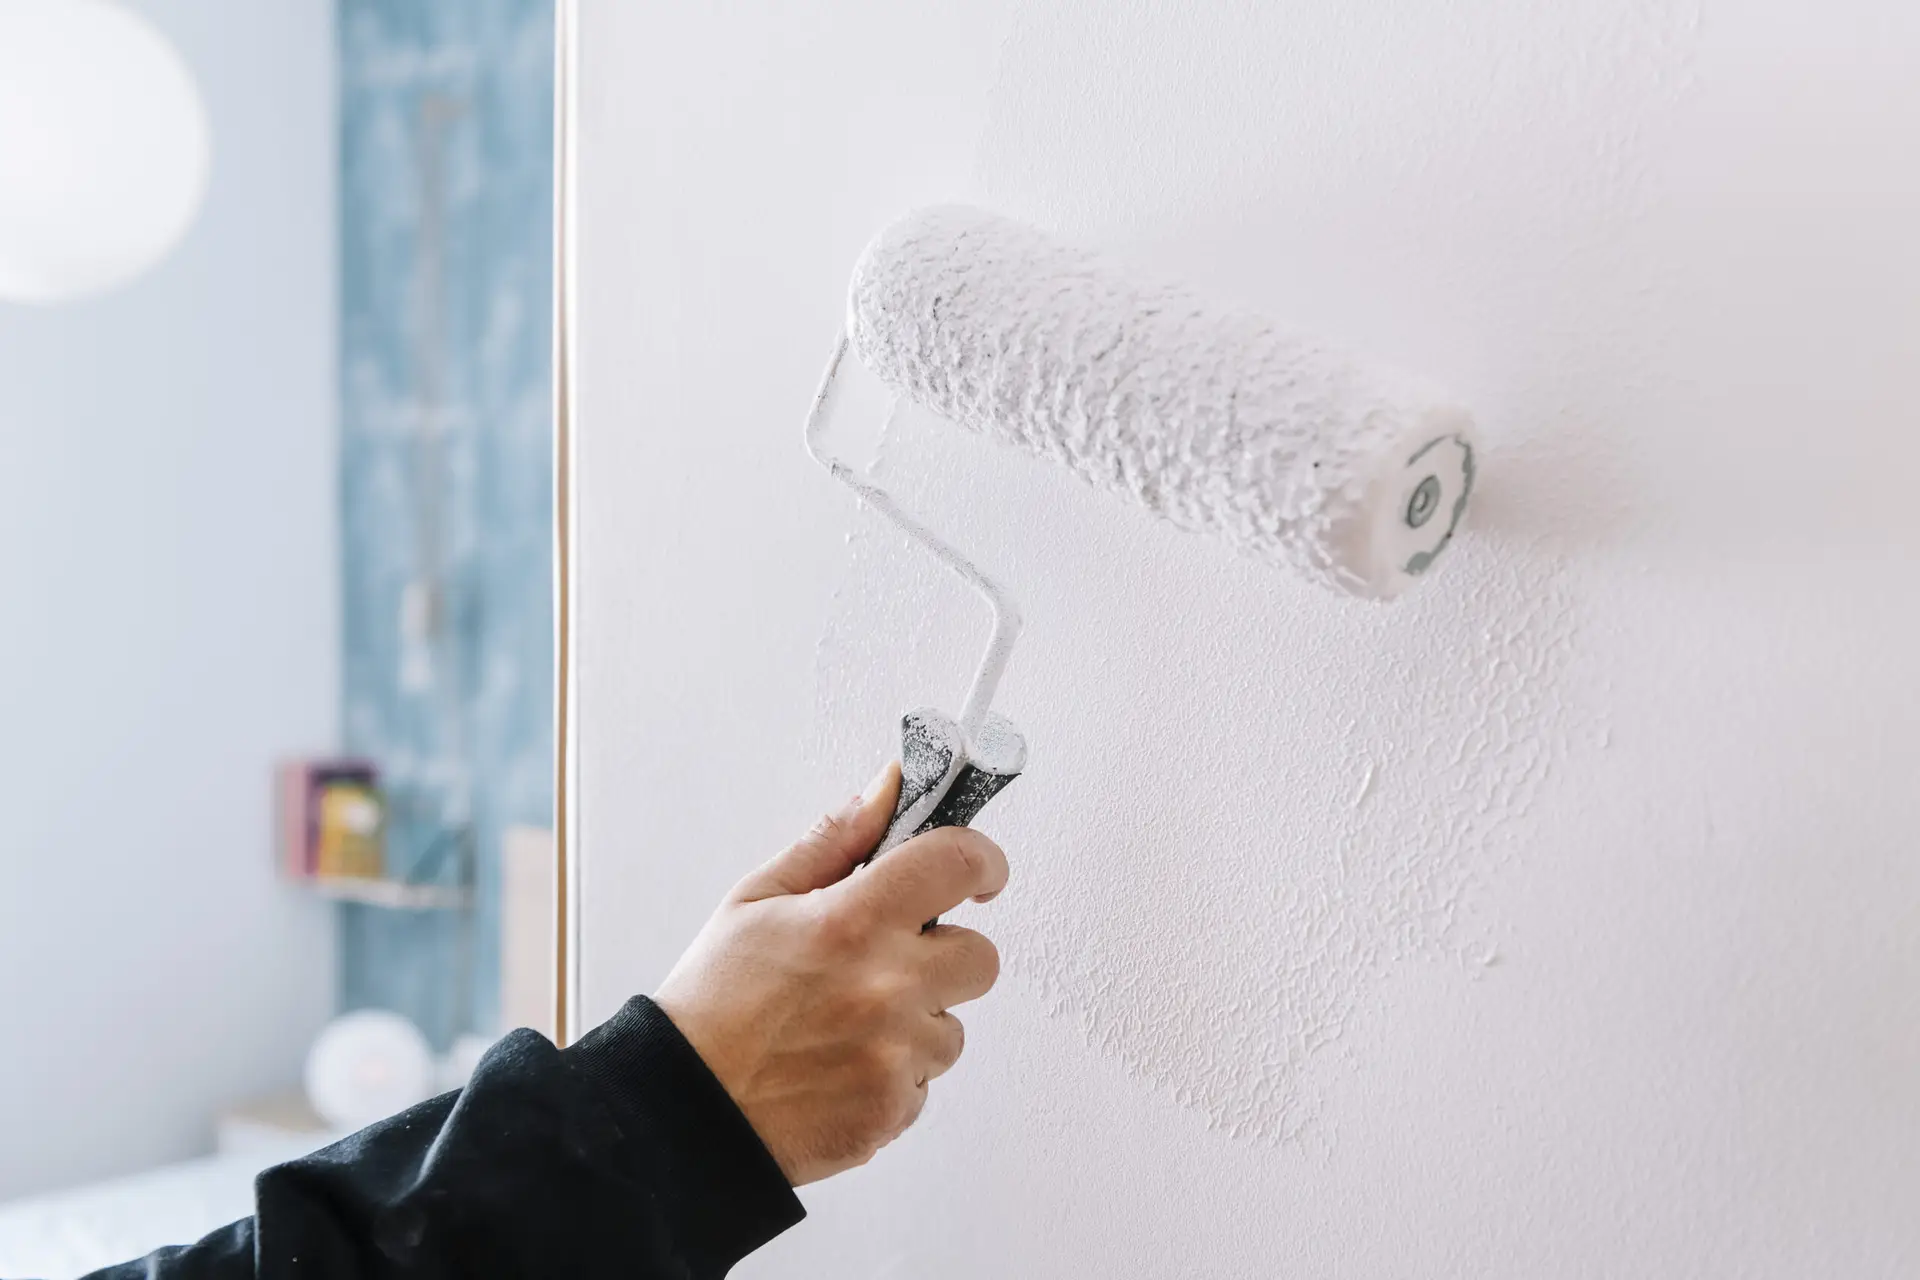
As experts in general services and home maintenance, one of the most frequent questions we encounter from DIY enthusiasts and new homeowners is whether paint primer can double as a final, durable finish coat. While using primer alone might seem like an easy way to save a step, the functional differences between primer and topcoat paint make this a mistake that costs more in the long run due to durability issues and poor aesthetics.
Quick Answer: Primer Is Not a Finish Coat
In short, no, primer should never be used as a substitute for a topcoat (finish) paint.
Primer and finish paint are fundamentally different chemical formulations designed for completely different tasks. Applying primer as your final coat sacrifices durability, washability, and overall aesthetic quality.
Why Primer Is Formulated Differently Than Paint (Adhesion vs. Durability)
| Feature | Primer (The Foundation) | Topcoat Paint (The Shield and Color) |
| Primary Goal | Adhesion. To bond strongly to the bare surface and provide a neutral, uniform base for the topcoat. | Durability and Appearance. To provide color, sheen, protection, and washability. |
| Resin Content | High concentration of binding resins. These resins are designed to penetrate porous materials (like drywall or wood) and seal them. | Optimized ratio of resins, pigments, and additives for flexibility and wear resistance. |
| Pigments | Contains basic pigments (usually titanium dioxide) used solely for color uniformity and opacity. | Contains high-quality, fine pigments optimized for UV stability, rich color depth, and lasting consistency. |
| Volume Solids | Typically contains high amounts of solids and often softer binders, making the dried film porous. | Features a harder, more compact film, designed to resist abrasion and moisture. |
What Happens If You “Finish” with Primer (Scuffing, Staining, Uneven Sheen)
When primer is left exposed, it fails rapidly in several key areas:
- Poor Durability and Scuffing: Primer’s softer, more porous film is prone to damage. Anything that brushes against it (a shoulder bag, a vacuum cleaner, or even a light touch) will leave an immediate, permanent scuff mark.
- Staining and Non-Washability: Because primer is porous, it absorbs liquids and dirt quickly. If you spill coffee, brush against it with greasy hands, or splash water, the primer will absorb the contaminant. Unlike washable topcoat paints, attempting to scrub primer will likely rub the material off or create a sheen change, making the stain more noticeable.
- Uneven Sheen (Flashing): Primers are typically flat or ultra-matte. However, the surface of primer often absorbs light inconsistently, leading to “flashing” or an uneven sheen when viewed from different angles. This effect is aesthetically unacceptable for a finish coat.
- Moisture Issues: Primers offer minimal resistance to moisture or humidity compared to a finish paint, leaving the substrate (like drywall or wood) vulnerable to water damage or mold growth over time, especially in basements or bathrooms.
When Homeowners Try to Use Primer as Paint
While the reasons are understandable—usually budget or time constraints—using primer as a final coat often occurs in low-traffic or utilitarian spaces where homeowners believe appearance matters less.
Garage Walls, Ceilings, Closets, Basements
These are the most common areas where we see exposed primer. Homeowners reason that since these areas aren’t living spaces, durability is less critical.
- The Problem: Garage walls and basements are high-impact areas. They are subject to vehicle contact, tool storage, and moisture swings. Exposed primer in a garage will stain immediately from grease and oil, and it will quickly rub away around light switches and door frames. In basements, the porosity of primer invites moisture absorption, which can lead to mildew.
Rental Turnovers and “Paint + Primer” Confusion
Two scenarios frequently lead to this mistake, especially in quick rental unit turnovers:
- Speed: To speed up a turnover, a landlord might assume a coat of primer will suffice for the next tenant. The porous, chalky nature of exposed primer, however, will lead to complaints and require a repaint sooner than if a durable topcoat had been applied.
- Misunderstanding “Paint + Primer” Formulas: Modern hybrid products often marketed as “Paint + Primer in One” cause confusion. These products are high-build topcoats that may eliminate the need for a separate primer on previously painted surfaces in good condition. They are still topcoat paints, not just pure primer, and they should never be used on bare, unsealed drywall or wood.
If You Must Leave Primer Exposed Temporarily
Sometimes, project timelines dictate that you can’t immediately apply the final coat. If you must leave a primed surface exposed, follow these guidelines to protect your substrate and ensure future paint adhesion.
How Long It Can Sit Before Topcoating (Dust, Contamination Risk)
Ideally, topcoat paint should be applied within 30 days of priming. This window ensures optimal chemical bond with the primer.
- Dust and Contamination: After priming, the porous surface acts like a magnet for airborne dust, grease, and moisture. The longer the primer sits, the more contaminated it becomes. Dust and fine particles settle onto the surface, creating a microscopic barrier that compromises the bond of the final paint layer.
- Manufacturer Recommendations: Always check the specific manufacturer’s technical data sheet, but generally, anything longer than 90 days requires re-priming or at least special preparation.
How to Prep Before Painting Later (Cleaning + Light Scuff Sand)
If your primer has been exposed for more than a few weeks, you must prep the surface before topcoating:
- Clean: Lightly wipe the surface down with a tack cloth or a microfiber cloth dampened with clean water to remove surface dust. Avoid harsh detergents, which can contaminate the surface.
- Scuff Sand: Gently abrade the entire surface with a fine-grit sanding sponge or sandpaper (e.g., 220-grit). This process removes any lingering surface contaminants, dulls any unintentional sheen variations, and creates a mechanical “tooth” for the final coat to adhere to.
- Tack Cloth: Wipe the surface again with a clean tack cloth to remove all sanding dust before painting.
Better Alternatives to “Primer as Paint”
If time or budget is the main constraint, there are far better solutions than using straight primer as a finish coat.
One-Coat Durable Wall Paints
Invest in premium, high-quality, thick-formula paints specifically labeled as “High-Hide” or “One-Coat Coverage.”
- Cost-Effectiveness: While the initial cost of a premium paint is higher than a standard gallon, the labor savings from eliminating a second coat often make it the more economical choice for large projects.
- Speed: A quality paint and primer in one product (used correctly over a properly sealed substrate) can cut your painting time in half while providing the necessary protection and washability of a true finish coat.
Washable Finishes for High-Traffic Spaces
For utilitarian areas like mudrooms, hallways, kitchens, or children’s rooms, durability is paramount. Always choose a sheen that offers true washability:
- Satin or Semi-Gloss: These finishes have a tighter surface film than flat or matte paint, resisting moisture penetration and making them easy to wipe clean with soap and water without damaging the paint film. This is the ideal choice for any area that will receive frequent abuse or cleaning, ensuring your paint job lasts for years, not weeks.
Choosing the right paint system—primer followed by a high-quality topcoat—is essential for protecting your investment, ensuring longevity, and delivering an aesthetic result you will be proud of.
Ready to start your next painting project the right way? Contact Deluxe General Services today for advice on the best materials and professional application to ensure your interior spaces are finished beautifully and built to last.
Reach out to us for a consultation and a detailed estimate for your home improvement needs!