

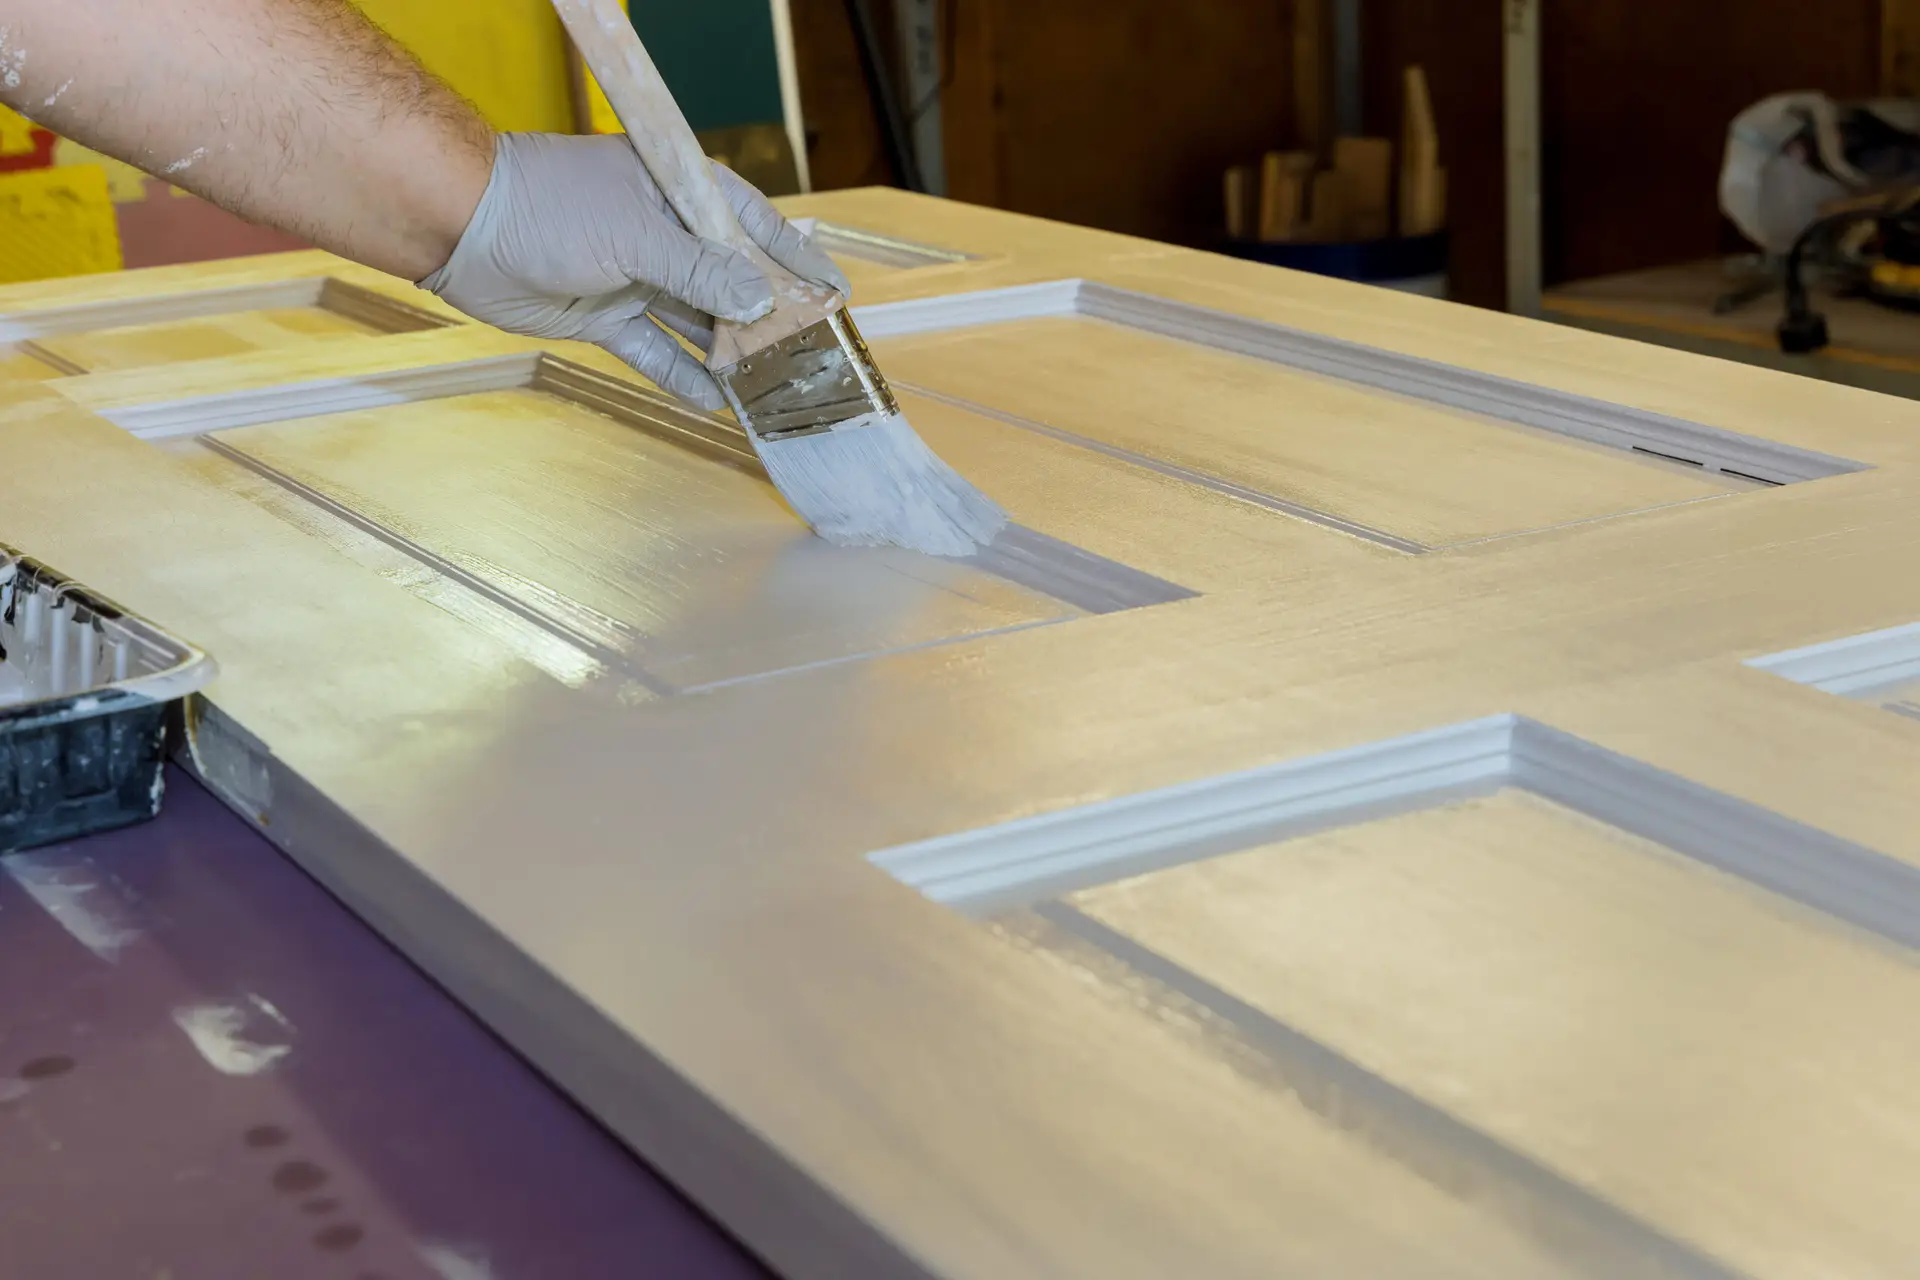
Painting an interior door is one of the most impactful DIY projects you can tackle, but getting a factory-smooth finish requires attention to detail in every step, especially preparation and application technique.
Decide Whether to Remove the Door or Paint in Place
The first major decision is whether to work on the door while it remains in its frame or to remove it entirely.
Pros and Cons of Taking Doors Off the Hinges
| Option | Pros | Cons |
| Removed (Lying Flat) | Superior finish quality due to no drips/sags; Easier access to all edges; Best for spraying; Ideal for panel doors. | Requires more space (sawhorses or drop cloth area); Requires fully removing hardware (knobs/hinges); Longer total project time. |
| In Place (Hanging) | Faster overall process; No heavy lifting required; Door can be secured slightly ajar for painting. | Higher risk of drips and sags, especially on the vertical surface; Difficult to paint the hinge-side edge evenly; Requires more careful masking of hardware. |
For the most professional, brush-mark-free finish, especially with darker colors or semi-gloss paints, removing the door and painting it horizontally is highly recommended.
Protecting Floors, Hardware, and Nearby Walls
If you paint in place:
- Masking: Use painter’s tape (2-inch width is best) to meticulously cover the hinges, handle backplate, and any areas of the trim/wall that should not be painted. A small detail brush can be used to “cut in” around the hardware after the door is dry.
- Floor Protection: Lay down a canvas drop cloth (avoid plastic, as it can become slippery) beneath the door and secure it with tape.
- Secure the Door: Use small wedges or shims under the bottom of the door to prevent it from moving while you work.
Prep Work: The Secret to a Smooth Finish
Preparation is 80% of the job. Skipping these steps will lead to premature peeling or a visibly flawed finish.
Cleaning and Degreasing the Surface
Doors collect hand oils, grime, and cleaning product residue that prevent paint adhesion.
- The Wipe-Down: Use a clean sponge or rag dipped in a mild degreaser solution, like a TSP (trisodium phosphate) substitute or a mix of gentle dish soap and warm water.
- Rinse: Follow up with a rag dampened with clean water to remove all soap residue. Allow the door to dry completely.
Light Sanding and Dust Removal
Sanding is crucial for creating a physical bond between the old and new paint layers.
- Scuff Sand: Lightly sand all surfaces of the door using 180 to 220-grit sandpaper or a sanding sponge. The goal is not to remove all the old paint, but to “dull” the surface gloss.
- Dust Removal: Vacuum the door thoroughly with a brush attachment, and then wipe the surface clean using a tack cloth or a microfiber rag lightly dampened with mineral spirits.
Filling Dents and Caulking Gaps
- Patching: Use a quality wood filler or spackling compound to repair any deep dents, dings, or noticeable scratches. Once dry, sand the patched areas flush with the door surface.
- Caulking: If painting a panel door, check for gaps between the door panels and the surrounding stiles/rails. Use a thin bead of paintable acrylic caulk to fill these gaps for a seamless look. Allow the caulk to fully cure before priming.
Applying the Right Primer Based on Door Material
Primer is not optional for the best results.
- Bare Wood/New Doors: Use an oil-based or shellac-based primer to seal the wood and block tannins from bleeding through.
- High-Gloss/Slick Surface: Use a bonding primer to ensure the paint adheres to the challenging finish underneath.
- Dark-to-Light Color Change: Use a high-hiding primer, ideally tinted slightly gray, to ensure the new color covers uniformly in fewer coats.
Painting Order and Technique
The key to avoiding lap lines (where wet paint meets paint that has started to dry) is to maintain a “wet edge” and follow a structured painting order.
Painting Edges First, Then Panels and Rails
For a typical six-panel door, follow the “W-P-S-R” (Warp, Panels, Stiles, Rails) method, working quickly to maintain a wet edge:
- Edges: Paint all four edges of the door first.
- Panels: Paint the recessed areas of the door panels (the deep rectangular areas).
- Stiles (Vertical): Paint the vertical stiles (the long vertical pieces of wood).
- Rails (Horizontal): Paint the horizontal rails (the short horizontal pieces of wood).
Using a Brush for Recessed Profiles
Use a high-quality 2 or 2.5-inch angled sash brush for precise application in the recessed areas (the corners and profiles of the panels) and on the edges of the door. Use smooth, consistent strokes.
Using a Foam Roller for Flat Sections
Switch to a high-density, mini-foam roller (4 or 6-inch size) immediately after brushing the panels and before the brush strokes dry.
- Application: Load the foam roller lightly and roll out the paint across the panels, stiles, and rails. The foam roller applies a thin, even layer that helps the enamel self-level, minimizing roller texture (stipple).
- Laying Off: After rolling, lightly run your brush or roller unloaded over the painted area one last time to feather the surface and remove any tiny air bubbles or excess paint. This is called “laying off.”
Recommended Number of Coats and Dry Time
- Coats: Always apply at least two coats of the topcoat. The first coat will look thin; the second coat builds the final color and durability.
- Dry Time: Follow the manufacturer’s recommended re-coat time (usually 4–8 hours). Do not rush this. Applying a new coat before the first one is ready can lift the paint and cause a sticky mess.
Brushing vs. Rolling vs. Spraying Interior Doors
The application method significantly affects the final quality and time investment.
When a Sprayer Makes Sense
If you have multiple doors to paint (e.g., 6–10 doors or more) and want a truly flawless, factory-smooth finish, a paint sprayer is the best option.
- Process: Requires removing the doors and hardware, setting up a ventilated spray booth (often using a garage or dedicated workspace), and meticulous masking of everything nearby.
- Finish: Provides the ultimate professional finish with zero brush marks or roller stipple.
How to Avoid Brush Marks and Lap Lines
- Quality Tools: Use a high-quality synthetic brush (for acrylic paint) and a dense foam roller.
- Work in Sections: Paint only one door face at a time (never try to paint the front and back in one go).
- Avoid Overworking: Once the paint is applied and “laid off,” stop touching it. Working the paint after it starts to set up (tacking) will only leave visible marks.
- Flow Improvers: If working in warm or dry conditions, consider adding a paint conditioner or flow-improver additive (compatible with your water-based enamel) to extend the drying time, giving you more time to lay off the paint smoothly.
FAQs About Painting Interior Doors
“Do I need to sand between coats?”
Yes, lightly sanding between topcoats is a best practice for a superior finish. Use very fine sandpaper (220 to 320-grit) or a sanding sponge. This removes any dust nibs, dried bubbles, or slight texture from the previous coat, ensuring the next layer is perfectly smooth. Always wipe away sanding dust with a tack cloth before proceeding.
“How long before I can close or use the door?”
While water-based enamels are typically dry to the touch in 2–4 hours, they are not cured (hardened). Wait at least 24–48 hours after the final coat before replacing the hardware and closing the door. Even then, close the door carefully, as the paint film is still relatively soft. It takes up to 30 days for the paint to achieve maximum hardness.
“Why is my paint sticking to the weatherstripping?”
This is common and is called “blocking.” It happens when the paint is dry but not fully cured, and the surfaces touch and adhere. If the door closes against a frame with rubber or vinyl weatherstripping, the soft nature of the paint can stick to the seal. To prevent this, place a thin sheet of plastic wrap or wax paper between the door and the frame for the first week or two after painting, or wait the full 48 hours before closing the door.
Achieving a perfect, smooth finish on your interior doors requires the right tools, materials, and professional technique.
Let Deluxe General Services handle the detail work. We guarantee a flawless, chip-resistant enamel finish on your doors and trim, transforming your home’s look with minimal disruption. Contact us today to schedule your interior painting project!