

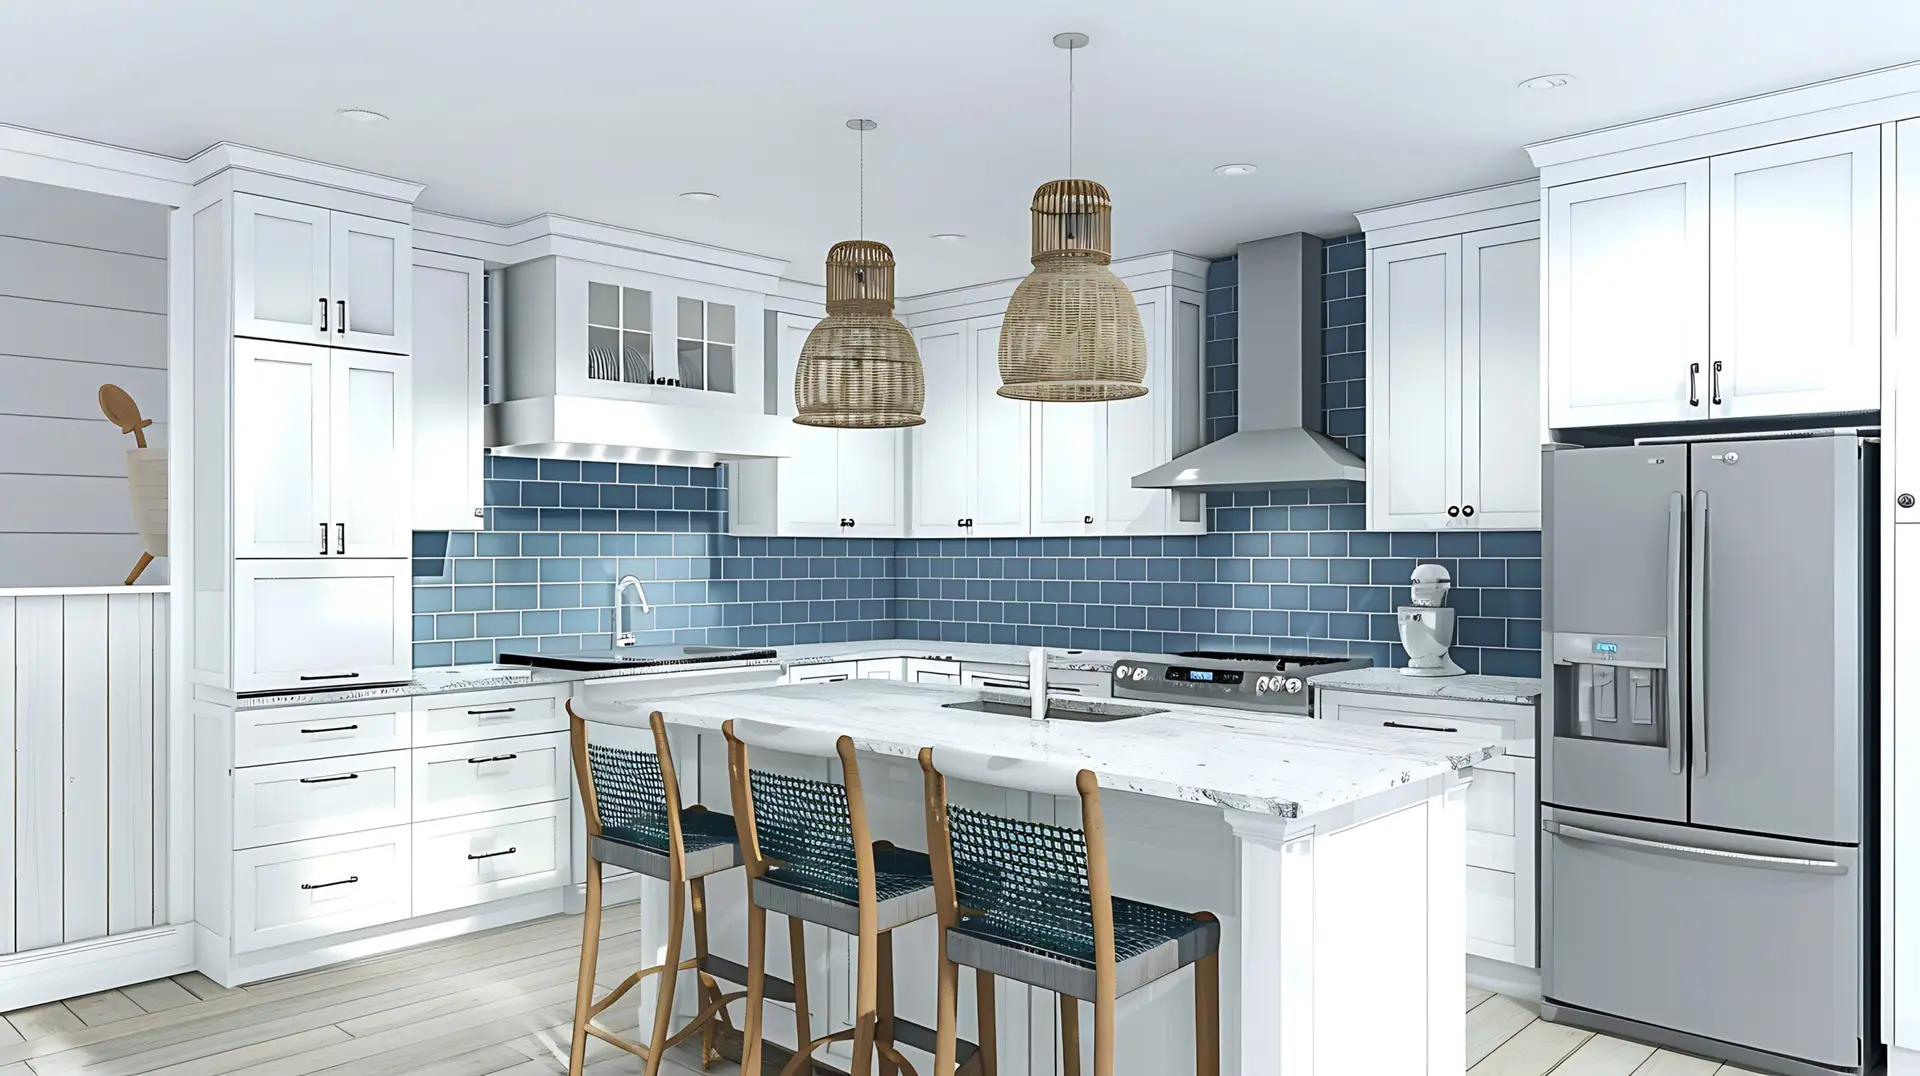
Repainting your kitchen cabinets is an ambitious but rewarding DIY project. When done correctly, the finish can rival a professional installation and dramatically modernize your kitchen’s look. The secret to success lies in the preparation—which is far more critical than the painting itself.
When to Repaint Instead of Replace
Cost Savings and Sustainable Remodeling
If your existing cabinet boxes and door fronts are structurally sound, repainting is almost always the best choice over replacement. New, custom cabinets can easily cost tens of thousands of dollars. Repainting, by contrast, only costs a few hundred dollars for high-quality materials and hardware. Choosing to repaint also keeps perfectly good materials out of a landfill, making it a more sustainable remodeling decision.
Ideal for Solid Wood or Quality Laminate Cabinets
Painting works best on cabinets made from solid wood, wood veneer, or high-quality medium-density fiberboard (MDF). These materials bond well with quality primers and hold a strong finish. While you can paint laminate, it requires highly specialized bonding primers (like shellac or oil-based versions) to prevent the paint from peeling off the slick, non-porous surface over time. Avoid painting cabinets covered in cheap, peeling vinyl or Thermofoil wraps.
Prepping Cabinets for Paint
This is the most critical stage. Do not rush the prep work!
Remove Doors and Hardware
Before starting, you must completely empty the cabinets and remove every door, drawer front, and piece of hardware (handles, hinges, knobs). Label everything with masking tape and a marker to ensure you can reassemble them correctly later. Number the inside of the door and the corresponding cabinet frame (e.g., “U-1” for Upper Cabinet 1).
Clean Grease and Sand Surfaces Lightly
Kitchen grease and grime are the biggest enemies of paint adhesion. Use a powerful degreaser (like TSP substitute) and warm water to scrub every surface—fronts, backs, and frames. Once clean and dry, use a fine-grit sanding block (around 180 to 220 grit) to lightly scuff the surfaces. This step is not meant to remove the old finish, but to create a better “key” or grip for the primer. Wipe off all dust with a tack cloth or vacuum.
Apply a Strong Bonding Primer
The primer must be specifically designed for high-adhesion on slick or previously finished surfaces. Oil-based or shellac-based primers are highly recommended, as they block stains, seal the surface, and provide an exceptionally strong base for the topcoat. Apply one or two thin, even coats and follow the manufacturer’s suggested drying time exactly.
Choosing the Right Paint for Cabinets
Since kitchen cabinets face daily wear, you need paint that offers superior durability and washability.
Semi-Gloss and Satin Finishes
Avoid flat or matte finishes, which show every fingerprint and are difficult to clean.
- Satin: Provides a subtle sheen that reflects light beautifully and is easy to wipe down. This is the most popular choice for modern cabinets.
- Semi-Gloss: Offers the highest durability and is the easiest to clean, but its high shine can highlight surface imperfections.
Latex Enamel or Alkyd Paint Options
- Water-based Acrylic Latex Enamels: These are modern, low-VOC paints that level out nicely, clean up easily with water, and cure to a hard, durable finish. This is the best choice for most DIYers.
- Alkyd (Oil-based or Waterborne Alkyds): Traditional oil-based paints cure the hardest and are the most durable, but they have a strong odor and require mineral spirits for cleanup. Waterborne alkyds offer oil-like durability with water cleanup, making them an excellent middle ground.
Painting Process
Patience is key during the application and curing stages.
Use Smooth Rollers or Sprayers
For a professional, glass-smooth finish:
- Sprayer: If you have access to an HVLP (High Volume, Low Pressure) sprayer, this method provides the fastest, most flawless finish with no brush marks.
- Roller/Brush: Use high-quality synthetic nylon/polyester brushes for tight corners and edges. Use a microfiber or foam roller with a short nap (1/4 inch or less) on the flat surfaces to minimize texture.
Apply Two Coats and Allow Proper Curing
Apply two thin coats of your chosen finish paint, sanding lightly with a 400-grit foam sanding block between coats to knock down any dust nibs or bubbles. While the paint may feel dry to the touch in a few hours, it takes a long time to cure (reach maximum hardness). Avoid rushing this final stage to ensure maximum durability.
FAQs
Can I paint over stained cabinets?
Yes, absolutely. Most kitchen cabinets are stained and lacquered or varnished. The process is identical: thorough cleaning, light sanding/scuffing, and application of a high-adhesion oil or shellac-based primer. The primer creates a completely new, neutral, non-porous surface that accepts the paint finish perfectly, regardless of the stain color underneath.
How long should I wait before reattaching doors?
While the paint may be dry to the touch in 24 hours, it is not fully cured. To avoid scratches, nicks, or permanent marks from the hardware, you should wait at least 3 to 5 days before reattaching the doors and drawer fronts. For maximum durability, handle them gently for the first 30 days while the paint continues to harden.