

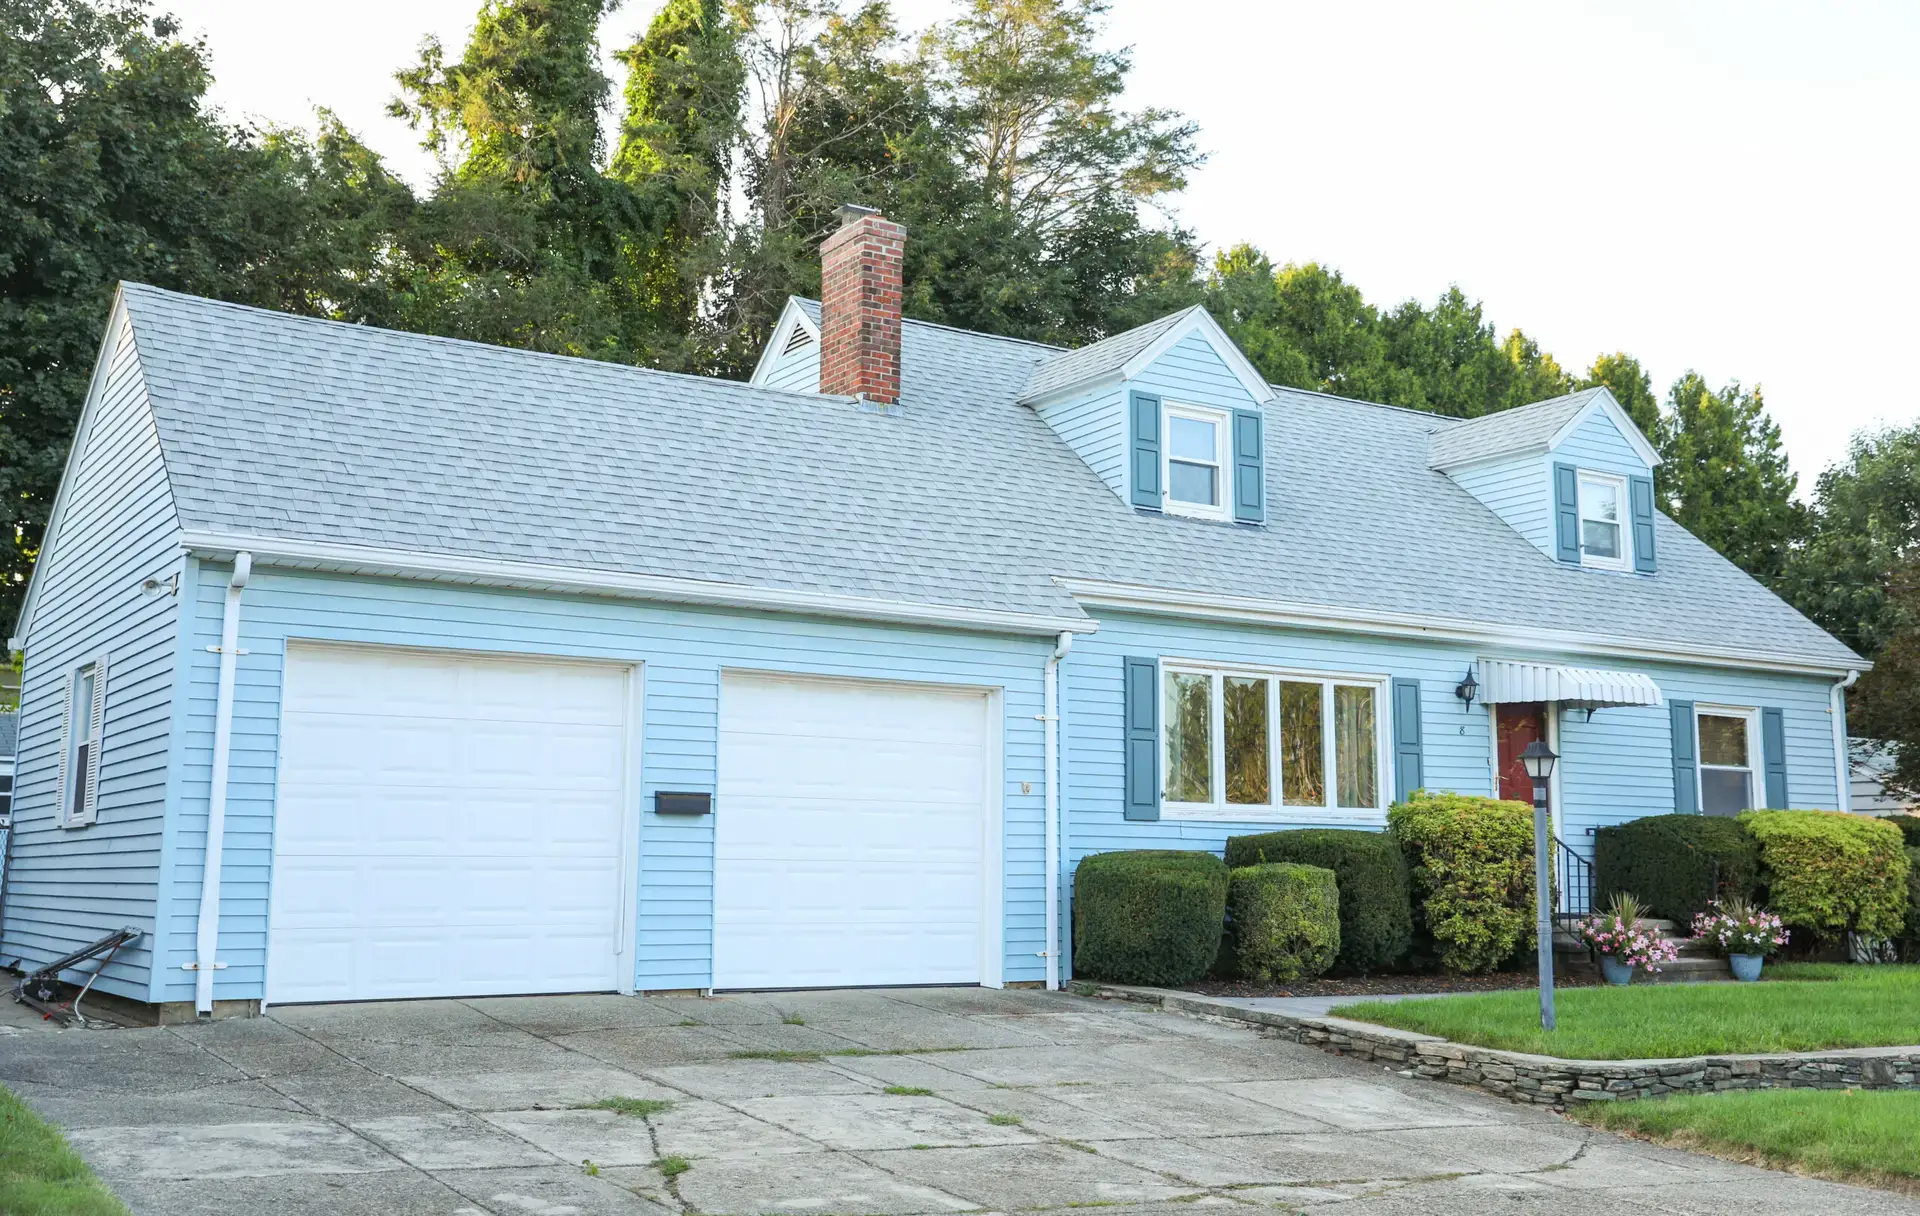
Painting your garage door is one of the most impactful and cost-effective ways to boost your home’s curb appeal. A fresh coat of paint not only revitalizes its appearance but also adds a crucial layer of protection against the elements, extending its lifespan. Whether your garage door is made of steel, aluminum, wood, or fiberglass, the right preparation and painting techniques are key to achieving a smooth, durable, and professional-looking finish.
Tools and materials
Before you begin, gather all the necessary tools and materials. Having everything on hand will ensure a smooth and efficient painting process.
- Safety Gear:
- Work gloves
- Safety glasses
- Dust mask (especially for sanding)
- Cleaning Supplies:
- Mild detergent or degreaser (e.g., dish soap or an automotive degreaser)
- Bucket and sponge/rags
- Stiff brush or soft-bristle scrub brush
- Hose or pressure washer (use with caution)
- Clean water for rinsing
- Preparation Tools:
- Drop cloths or plastic sheeting (to protect the driveway/surrounding areas)
- Painter’s tape (high-quality, 1.5-inch or 2-inch wide)
- Scraper or putty knife (for loose paint or rust)
- Wire brush (for rust on metal doors)
- Sandpaper (120-grit for general sanding, 220-grit for smoothing) or sanding sponge
- Wood putty or exterior spackle (for imperfections on wood/fiberglass doors)
- Putty knife
- Painting Supplies:
- Primer: An exterior-grade primer compatible with your door’s material (e.g., rust-inhibiting primer for metal, all-purpose exterior primer for wood/fiberglass, “vinyl-safe” primer if needed).
- Exterior Paint: High-quality exterior-grade paint specifically designed for garage doors or suitable for your door’s material (100% acrylic latex recommended for most). Choose a satin, semi-gloss, or gloss finish for durability.
- Paint tray and liners
- Roller frame (9-inch or 12-inch)
- Roller covers (3/8-inch nap for smooth doors, 1/2-inch nap for textured doors)
- Angled sash brush (2-inch or 2.5-inch for cutting in and panels)
- Stir stick
Prep work: Cleaning and sanding
Proper preparation is the most crucial step for a long-lasting and beautiful garage door paint job. Do not skip or rush this phase.
- Clear the Area and Protect Surfaces:
- Move any vehicles or items away from the garage door.
- Lay down drop cloths or plastic sheeting on the driveway directly in front of the door and along any adjacent landscaping to protect from drips and overspray.
- Clean the Door Thoroughly:
- Mix a mild detergent or degreaser with warm water.
- Using a sponge or soft-bristle brush, thoroughly wash down the entire garage door to remove all dirt, grime, grease, cobwebs, and any existing mold or mildew. For stubborn mildew, use a mildew-specific cleaner or a 1:3 bleach/water solution, scrub, and rinse thoroughly.
- Rinse the door completely with clean water from a hose or a low-pressure setting on a power washer (use extreme caution with a power washer, keeping the nozzle a safe distance from the surface to avoid damage, especially to wood or vinyl).
- Allow the door to dry completely. No moisture should remain, particularly in crevices.
- Inspect and Repair the Surface:
- Examine the door for any cracks, dents, holes, or peeling paint.
- For wood or fiberglass doors: Fill small holes or cracks with exterior wood putty or spackle using a putty knife. Allow it to dry completely.
- For metal doors (steel or aluminum): If there’s any rust, remove it with a wire brush or sandpaper until the metal is bright. For deeper rust pits, a rust converter product can be used (follow product instructions). Dents can be addressed if minor, but significant damage might require professional repair.
- Scrape off any loose or peeling paint with a scraper or putty knife. Work meticulously to remove all failing paint.
- Sand the Door:
- Lightly sand the entire door surface with 120-grit sandpaper or a sanding sponge. This creates a “tooth” for the new paint to adhere to and smooths out any repaired areas or rough patches.
- For areas where old paint meets bare material, feather the edges with sandpaper to create a smooth transition. For a very smooth finish, you can follow up with 220-grit sandpaper.
- After sanding, thoroughly wipe down the door with a damp (not wet) cloth to remove all sanding dust. Allow it to dry completely.
- Mask Off Adjacent Areas:
- Use high-quality painter’s tape to meticulously mask off any areas you don’t want to paint, such as window glass, weather stripping, hinges, handles, and the door frame where it meets the house siding. Press the tape down firmly to ensure a tight seal and prevent paint bleed.
Primer and paint application
Applying primer and paint correctly ensures an even, durable, and professional-looking finish. Choose an optimal painting day with moderate temperatures and low humidity.
- Apply Primer:
- Primer is crucial for proper adhesion, especially on bare spots, previously unpainted doors, or if you’re making a drastic color change.
- Stir the primer thoroughly.
- Using your angled sash brush, “cut in” and paint the recessed panels, edges, and any narrow sections of the door.
- Immediately after cutting in, use your roller to apply primer to the main flat sections of the door. Load the roller evenly and apply in overlapping “W” or “M” patterns for consistent coverage.
- Apply a thin, even coat. Don’t over-saturate the roller, as this can lead to drips.
- Allow the primer to dry completely according to the manufacturer’s instructions. This is essential for the primer to bond properly and create a stable base for the topcoat.
- Apply First Coat of Paint:
- Stir your chosen exterior paint thoroughly.
- Start with the panels (if applicable): Use your angled sash brush to paint the recessed panels first.
- Then paint the stiles and rails: Work on the vertical stiles (vertical sections) and then the horizontal rails (horizontal sections) between the panels.
- For flush doors (no panels): Use your roller for the main flat areas, then your brush for edges and any trim.
- Apply paint in thin, even coats to avoid drips and runs. Work systematically from top to bottom.
- If your door has multiple sections, paint one section at a time, allowing the roller to overlap slightly into the previous section to maintain a “wet edge” and prevent lap marks.
- Allow Proper Drying Time (Between Coats):
- Let the first coat of paint dry completely. This is crucial for proper adhesion and a smooth final finish.
- Always check the paint can for recommended recoat times. This can range from a few hours to overnight, depending on the paint type, temperature, and humidity. Applying a second coat too soon can cause bubbling or peeling.
Drying and maintenance tips
Patience during drying and ongoing maintenance will ensure your garage door stays looking great for years.
- Apply Second Coat:
- Once the first coat is completely dry to the touch (and the recoat time has passed), apply a second thin, even coat of paint using the same techniques. Two coats provide better durability, coverage, and a richer color.
- Remove Painter’s Tape:
- Once the final coat is dry to the touch, but before it fully cures and hardens, carefully and slowly remove the painter’s tape. Pull it off at a 45-degree angle to get a crisp line. If you wait too long, the paint might bond to the tape and tear when removed.
- Allow for Full Cure:
- While your garage door may be dry to the touch in a few hours, it takes much longer (often 7-30 days) for the paint to fully cure and harden to its maximum durability.
- During the curing process, be gentle with the door. Avoid harsh impacts or cleaning during this time. Keep the garage door open periodically (if weather permits) to aid in ventilation and curing.
- Regular Cleaning:
- Periodically wash your painted garage door with mild soap and water to remove dirt, dust, and environmental buildup. This prevents grime from degrading the paint finish.
- Inspect Annually:
- Once a year, inspect your garage door for any signs of wear, such as chipping, cracking, or minor rust spots.
- Touch-Ups:
- For small chips or areas where paint has worn away, clean the spot, lightly sand (if necessary), apply a small dab of primer to any bare spots, and then touch up with your original paint. Addressing small issues quickly prevents them from becoming larger problems.
By following these detailed steps, your garage door will not only look fantastic but also be well-protected against the elements, standing up to daily use and maintaining its curb appeal for a long time.