

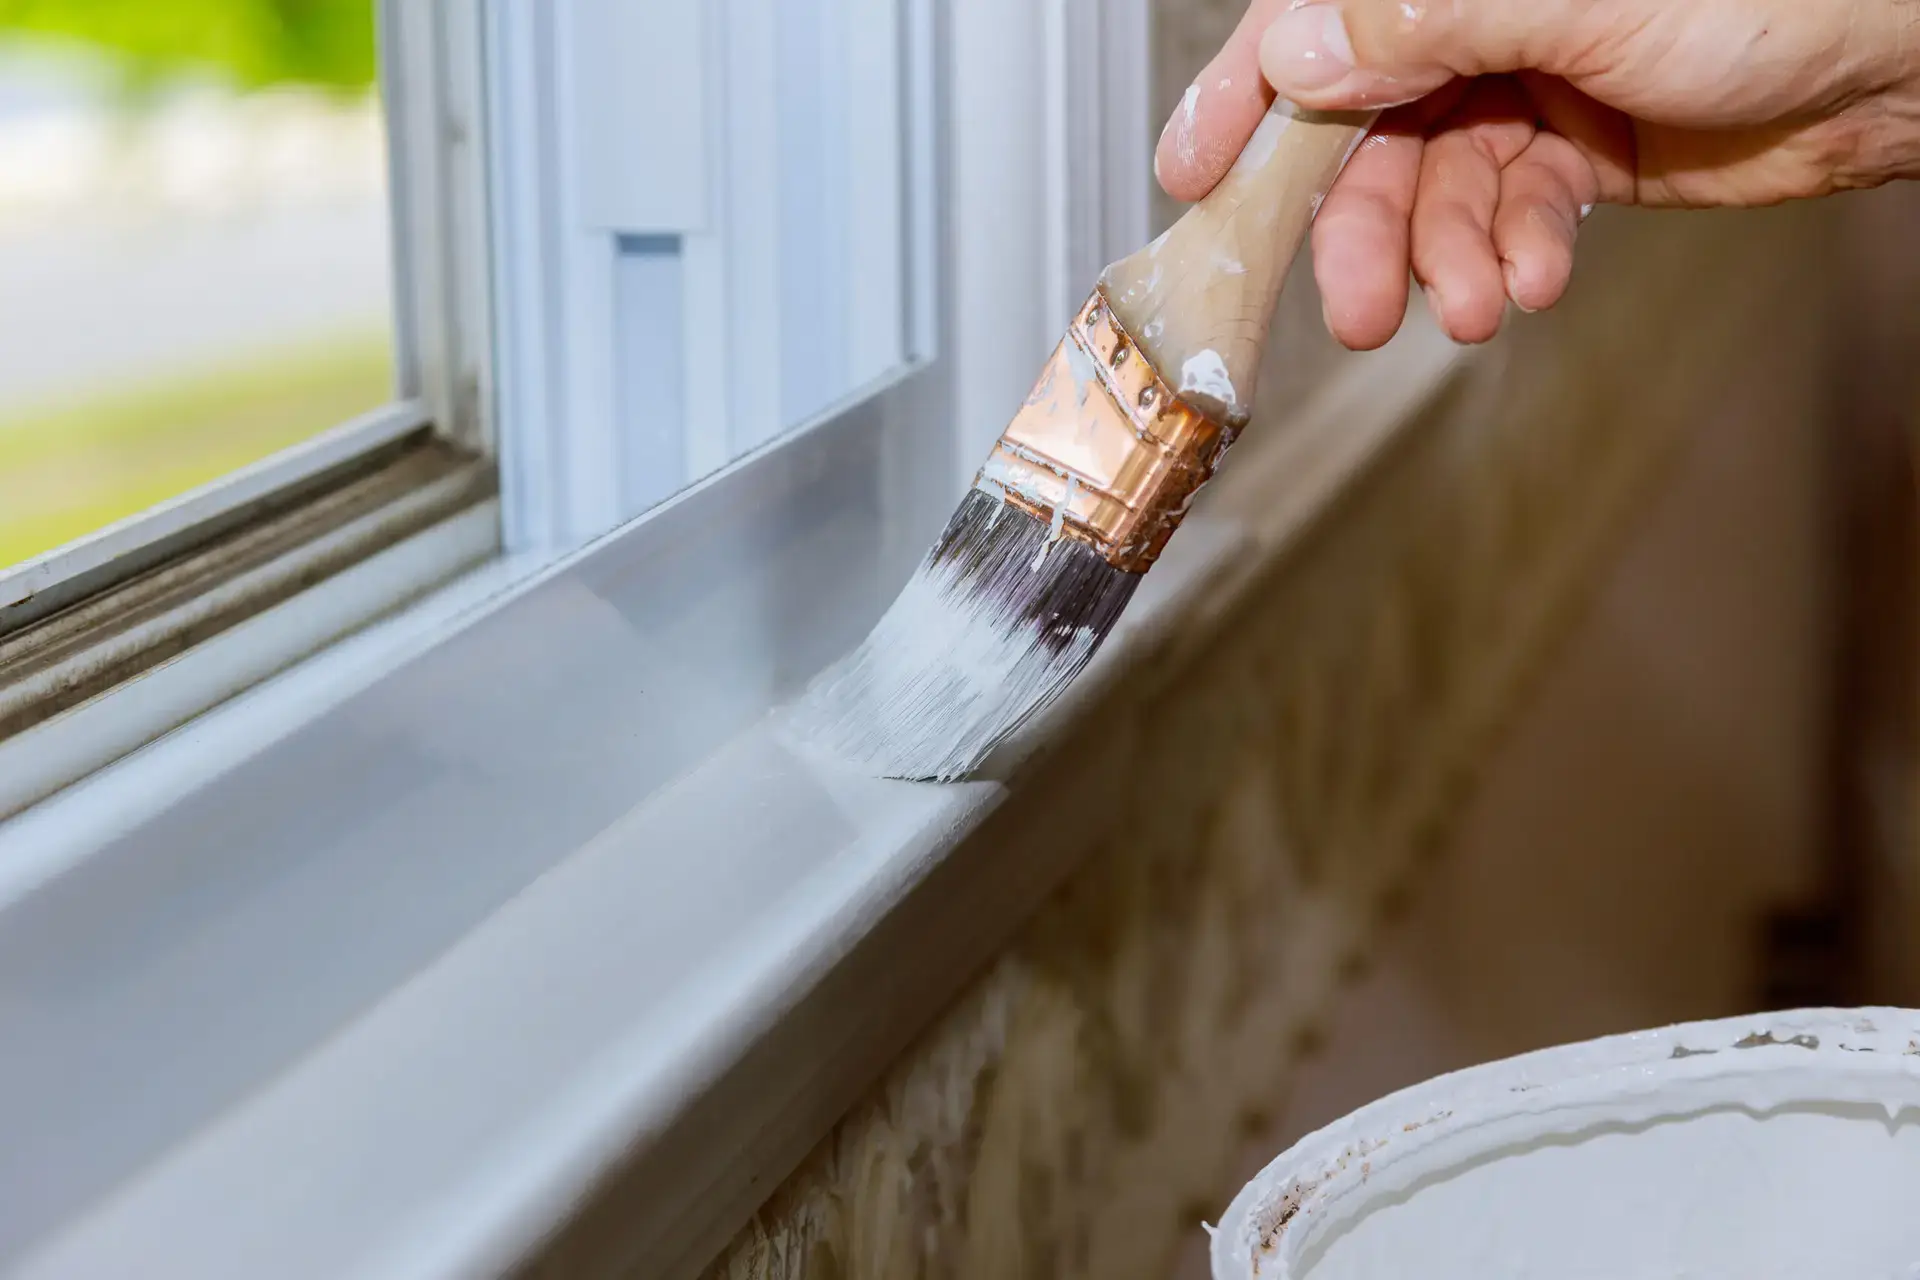
Painting metal window frames is an effective way to update your home’s exterior or interior aesthetic, protecting the frames from corrosion and extending their lifespan. While durable, metal (especially aluminum or older steel frames) can show signs of wear, fading, or minor corrosion over time. Unlike wood or vinyl, painting metal requires specific preparation and products to ensure proper adhesion and a long-lasting finish. Delux General Services provides a comprehensive, step-by-step guide on how to properly paint metal window frames, ensuring a smooth, durable, and professional-looking result.
Tools and materials needed
Having all your supplies ready before you begin will make the process much smoother.
- Cleaning Supplies:
- Mild detergent (e.g., dish soap) or TSP (Trisodium Phosphate) substitute.
- Degreaser (e.g., mineral spirits or a dedicated degreaser).
- Clean rags or sponges.
- Wire brush or stiff-bristle nylon brush.
- Scrub pad or fine-grit steel wool (for rust/corrosion).
- Preparation Tools:
- Sandpaper: 180-grit to 220-grit for general scuffing; coarser grits (80-120) if significant rust or old peeling paint needs removal.
- Wire brush or power sander with a wire brush attachment (for heavy rust).
- Scraper or putty knife (for loose paint/rust).
- Drywall compound or exterior-grade metal filler (for small dents or imperfections).
- Tack cloth or microfiber cloths.
- Masking Supplies:
- Painter’s tape (high-quality, low-tack for glass, medium-tack for surrounding surfaces).
- Plastic sheeting or drop cloths.
- Painting Supplies:
- Primer: Etching primer for bare metal, or a high-quality rust-inhibiting metal primer (e.g., Zinsser Bulls-Eye 1-2-3, Sherwin-Williams Pro-Cryl, Suvinil Fundo Nivelador para Metais). Choose one specifically designed for aluminum or ferrous metals as appropriate.
- Paint: High-quality exterior-grade enamel paint specifically formulated for metal surfaces (e.g., 100% acrylic latex for exterior metal, or a direct-to-metal (DTM) paint). Look for brands like Sherwin-Williams, Benjamin Moore, Coral, Suvinil, Renner that offer metal-specific enamels.
- Sheen: Semi-gloss or gloss is usually recommended for durability and ease of cleaning.
- Brushes: High-quality angled sash brush (1.5 to 2.5 inches) for cutting in and detail work.
- Rollers (Optional): Small foam roller or fine-nap roller (4-inch) for flatter sections of the frame.
- Paint tray or container.
- Safety Gear:
- Safety glasses or goggles.
- Gloves (disposable or reusable).
- Dust mask or respirator (especially during sanding and priming).
- Extension Cord/Ladders: As needed for exterior work.
Preparation and cleaning
Thorough preparation is paramount for paint adhesion on metal frames. Skipping steps here will lead to peeling paint later.
- Clear the Area & Protect: Remove any curtains, blinds, or window coverings. Lay down drop cloths or plastic sheeting on the floor (interior) or ground (exterior) to protect from drips.
- Mask Off: Meticulously apply painter’s tape to the glass panes, surrounding walls, and any hardware you don’t want painted. Use a putty knife or specialized tape applicator to press the tape firmly against the glass edges to prevent paint bleed-through.
- Deep Clean:
- Remove Loose Debris: Use a brush or vacuum to remove dust, dirt, and cobwebs.
- Wash Thoroughly: Mix a mild detergent or TSP substitute with water. Wash the entire frame (and surrounding area) to remove dirt, grime, and mildew. For stubborn grease, use a degreaser.
- Rinse Completely: Rinse all surfaces thoroughly with clean water multiple times to ensure no cleaner residue remains. Allow to dry completely. Any moisture will compromise adhesion.
- Address Rust and Old Paint:
- Scrape: Use a paint scraper or putty knife to remove any loose, flaking, or peeling old paint.
- Remove Rust/Corrosion: For rust (on steel frames) or severe oxidation/pitting (on aluminum), use a wire brush, steel wool, or coarse-grit sandpaper (80-120 grit) to remove all traces of rust or powdery corrosion. Get down to bare, solid metal. For extensive rust, consider a power sander with a wire brush attachment.
- Smooth and Feather: Sand the entire frame with 180-220 grit sandpaper to create a profile (a “tooth”) for the primer to adhere to. Feather the edges where old paint meets bare metal to create a smooth transition.
- Clean Dust Again: After sanding, wipe down the entire frame thoroughly with a tack cloth or a slightly damp (with mineral spirits for oil-based primer, or just water for water-based primer) microfiber cloth to remove ALL sanding dust and degreasing residue. Repeat until the cloth comes away clean. Allow to dry completely.
Priming for better adhesion
Primer is absolutely essential for painting metal window frames. It provides the crucial bond between the slick metal surface and the topcoat, and protects against corrosion.
- Choose the Right Primer:
- For Ferrous Metals (Steel/Iron) with Rust: Use a rust-inhibiting primer (e.g., Red Oxide Primer, or a high-quality multi-purpose metal primer designed for rust prevention).
- For Aluminum or Non-Ferrous Metals (no rust): Use an etching primer (which chemically etches the surface for superior adhesion) or a specialized bonding primer designed for smooth, non-porous surfaces and metals.
- For Previously Painted Metal (good condition): A high-quality all-purpose metal primer or a bonding primer will usually suffice after proper sanding.
- Application:
- Stir the primer thoroughly.
- Apply one thin, even coat of primer using a high-quality brush. Focus on getting good coverage, especially in corners and crevices.
- Avoid applying too thick, which can lead to drips or uneven drying.
- Allow the primer to dry completely according to the manufacturer’s instructions. This is crucial for proper adhesion. Some metal primers might require a specific recoat window.
- Light Sanding (Optional, but Recommended): Once the primer is fully dry, you can very lightly scuff-sand with 220-grit sandpaper to smooth out any brush marks or imperfections, then wipe off dust with a tack cloth. This provides an even smoother base for the paint.
Painting techniques
Applying the topcoat requires patience and precision for a clean, durable finish.
- Choose the Right Paint: Ensure you are using an exterior-grade enamel specifically formulated for metal. Acrylic latex enamels are often preferred for their flexibility and UV resistance, especially if the primer is water-based. Direct-to-metal (DTM) paints can sometimes eliminate the need for a separate primer, but verify their specific use for windows and outdoor exposure.
- Stir Paint: Stir your paint thoroughly before and periodically during use.
- Application Method:
- Brush: An angled sash brush (1.5 to 2.5 inches) is ideal for cutting in precise lines along the glass and for reaching into corners and intricate frame details. Load the brush moderately and apply long, even strokes.
- Small Roller (Optional): For flatter, wider sections of the frame, a small foam roller or a fine-nap roller can provide a very smooth finish with minimal brush marks.
- Apply Thin Coats: Apply two thin, even coats of paint rather than one thick coat. Thin coats dry and cure better, adhere more effectively, and are less prone to drips and runs.
- Allow Drying Time: Let each coat dry completely according to the paint manufacturer’s instructions before applying the next. Rushing this step can lead to peeling or a soft finish.
- Follow the Sun (Exterior): If painting exterior frames, try to follow the sun around the house. Paint the side that is currently in shade but will be in sun later in the day, or paint early in the morning before direct sun hits. Avoid painting in direct, intense sunlight, which can cause the paint to dry too quickly and lead to brush marks, blistering, or poor adhesion. Also, be mindful of temperature and humidity (as per the “Exterior Painting Temperature Guide”).
- Remove Tape: While the final coat of paint is still slightly wet (but not sticky to the touch), carefully and slowly pull away the painter’s tape at a 45-degree angle. If the paint dries completely, the tape might pull off paint flakes.
- Cure Time: Allow the newly painted frames to fully cure (this can take several days to a few weeks depending on the product) before aggressively cleaning or putting stress on them. Avoid closing windows tightly during the initial curing phase if possible.
Maintenance tips
Proper maintenance will help extend the life of your freshly painted metal window frames.
- Regular Cleaning: Clean your painted metal frames periodically with a mild detergent and water. Use a soft cloth or sponge. Avoid abrasive cleaners, harsh chemicals, or scrubbing pads, as these can scratch or damage the paint finish.
- Inspect Annually: Once a year, inspect your window frames for any signs of chipping, peeling, or new corrosion.
- Touch-Ups: Address any small chips or scratches promptly with touch-up paint. This prevents moisture from reaching the metal and causing rust or corrosion under the paint.
- Re-caulk as Needed: Check the caulking around the window frames where they meet the wall or siding. If you notice any cracks, gaps, or deterioration, re-caulk with an exterior-grade, paintable caulk to prevent moisture intrusion.
- Monitor for Rust/Corrosion: If you see any new rust bleeding through, it indicates that the underlying metal was not fully prepared or properly primed. Address these areas by sanding, re-priming with a rust-inhibiting primer, and repainting.
- Keep Tracks Clean: For sliding windows, regularly clean and lubricate the tracks (with silicone spray) to ensure smooth operation, which also reduces stress on the frames.
By following these detailed steps and maintenance tips, you can transform your metal window frames, enhancing your home’s appearance and providing lasting protection. For complex projects or if you prefer professional quality, Delux General Services offers expert painting services for all types of window frames.
Ready to give your metal window frames a fresh, new look and extend their life? Don’t let fading or minor corrosion detract from your home’s curb appeal! Delux General Services specializes in meticulous preparation and expert application of paints designed for metal surfaces, ensuring a durable and beautiful finish. Contact us today for a free consultation and estimate for your window frame painting project!